Replacing Ink Cartridges 25
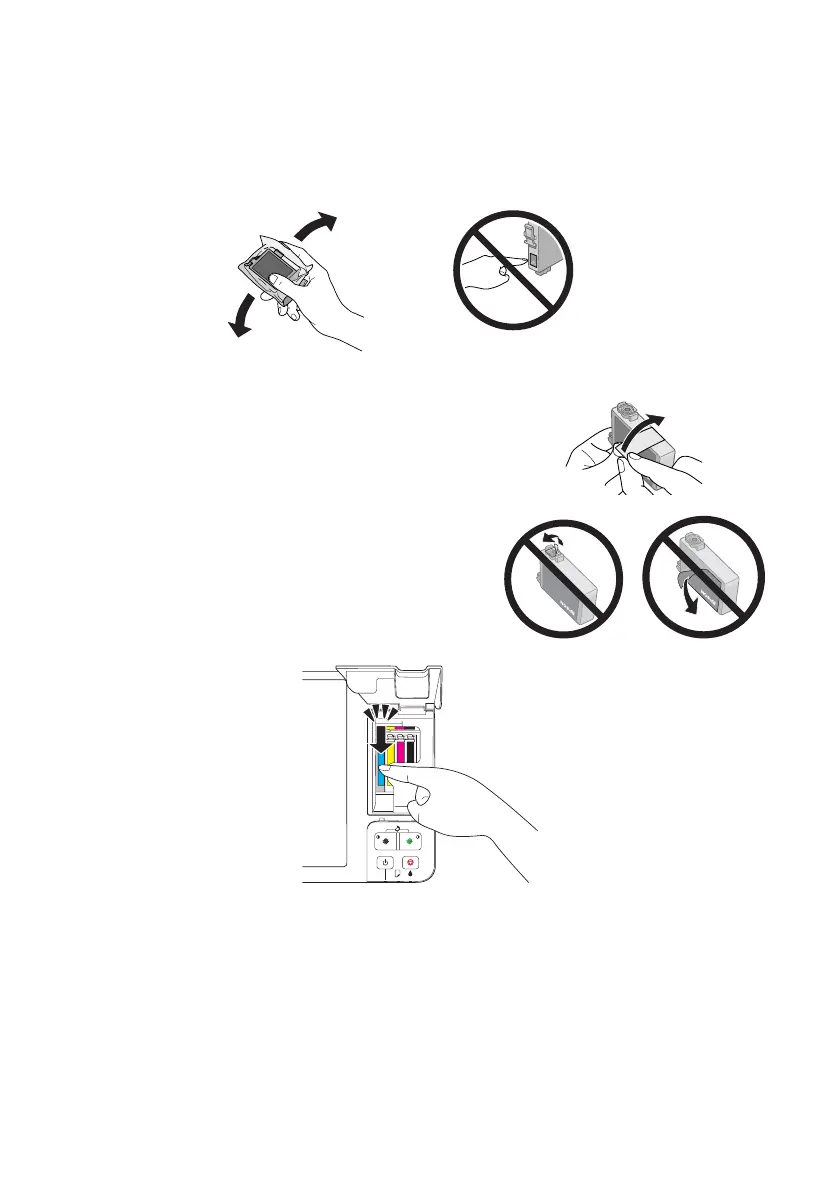
6. Before you open the new cartridge package, shake it gently four or five times.
Then remove the cartridge from the package.
Caution:
Do not touch the green chip on the front of the cartridge. This can damage the ink
cartridge.
7. Remove the yellow tape from the bottom of
the ink cartridge.
Caution:
Do not remove any other labels or seals, or ink
may leak.
8. Insert the new ink cartridge into the holder
and push it down until it clicks into place.
9. Press the
y Stop button. If another cartridge is low or expended, it moves to
the replacement position. Repeat steps 5 through 8 to replace any other
cartridges that need to be replaced.
When you press the
y Stop button and no other cartridges need to be
replaced, the print head moves to its home position and the printer starts
priming the ink. This takes about 1 1/2 minutes.
 Loading...