12 Loading Paper
9. Slide the roll paper edge guide against the right side of the paper, but not too
tightly.
Caution:
Do not load roll paper or canvas media into the auto sheet feeder (marked with up
orange triangles).
10. Guide the paper into the slot until it meets resistance and hold it there until
the printer pulls it in slightly. Once the printer begins feeding the paper, let go
of it.
Note:
When loading canvas media, leave 2 to 3 inches of slack in the roll as it feeds and
prints for the best results. If you have trouble feeding canvas media, check that the
edge is straight and reload it, making sure to keep the roll slack.
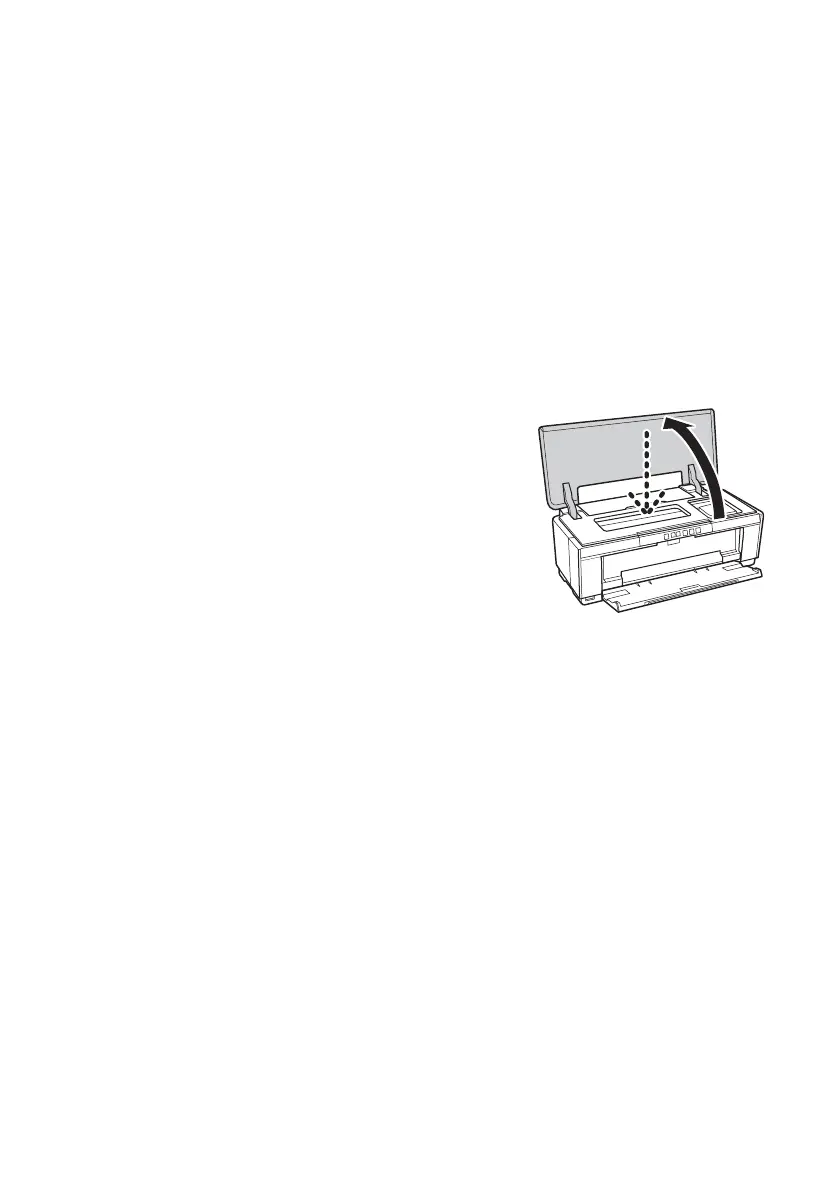
11. Open the printer cover and look into the printer
to make sure the roll paper or canvas media is
feeding straight. The paper must feed straight so
the printer can properly identify the edge of it.
If it is crooked or the front edge is visible, you
may receive a paper jam error when you print.
To avoid this, press and hold the M roll paper
button for three seconds to back the paper out.
Remove the paper from the printer, press the
I paper button to clear the paper out error, then load the roll paper or
canvas media again.
12. For roll paper, turn the knobs on the roll paper holders backward to remove
the excess slack. (Leave 2 to 3 inches of slack for canvas media.)
13. Close the printer cover and do not open it during printing.
Removing Roll Paper Prints and Roll Paper
1. To remove your roll paper or canvas media prints, press the M roll paper
button to feed the paper forward, then cut off your printed photos straight
across the paper at the cutting guideline.
Caution:
Do not pull on the paper as you cut it to avoid damaging your printout. Also do not
cut the paper too close to the printer to avoid paper feeding problems.
2. To continue printing on roll paper or canvas media, press the M roll paper
button again to return the paper to printing position.

 Loading...


