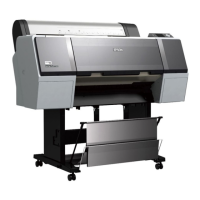
Pro 7900 and 9900 Field Repair Guide 10/6/10
Print Head Removal Printer Component, Software Item, LCD Display, Printer Button Page 148.
Print Head Removal
Note: The Print Head Nozzle Plate on the Pro 79_9900 is as fragile as tin foil. Any contact with the
Nozzle plate will damage the Print Head.
Note: A long shafted (6”) number 1 phillips screw driver is necessary for this procedure.
Print Head Removal Overview
• Input the New Print Head’s Head Rank ID (if the Print Head is to be replaced).
• Release the Carriage Mechanism.
• Remove the Ink Cartridges to bleed off the Ink System pressure.
• Unplug the Printer.
• Remove the Old Print Head.
Print Head Removal Detail
1. If you are replacing the Print Head, run the Servprog.exe and input the new Print Head’s
calibration value (
Head Rank ID).
2. Release the Carriage Mechanism, following the directions found in the Carriage Release
Chapter, located in the Reference Section.
3. Partially remove 1 Ink Cartridge, to ensure that the Ink System is un-pressurized.
4. Unplug the Printer.
5. Remove the Cover (Top).
6. Remove the Cover (Left Side).

 Loading...


