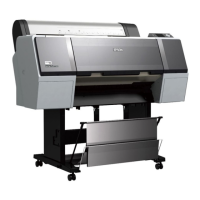
Pro 7900 and 9900 Field Repair Guide 10/6/10
Rear AD Sensor Adjustment Printer Component, Software Item, LCD Display, Printer Button Page 343.
Rear AD Sensor Adjustment
Purpose: The Rear AD Sensor Adjustment calibrates the RearAD Sensor so that it correctly recognizes media. The
RearAD Sensor detects media in the Printer. It also reports the end of the media.
Special Tools: Special media is not required. Doubleweight matte media works well. It is acceptable to use the cus-
tomers media if they are having trouble with the Printer recognizing it. Do not use glossy (reflec-
tive) media.
1. Enter Self Testing mode: Down, Right, and OK buttons, and turn on the Printer.
2. Navigate to SELF TESTING\Mecha Adjustment\RearAD
3. Press the Right Arrow to display the [Enter] Start.
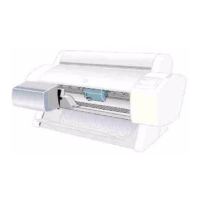
4. Place media in to position and sample it to adjust the Rear AD Sensor.
Note: This picture shows the Printer without
the Top Cover. It is not necessary to
remove the Top Cover.
1. Place the Media in front of the Rear AD Sensor.
2. Press the OK button to sample the media.
3. The Printer’s LCD will display a value when
finished.

 Loading...


