Pro 7900 and 9900 Field Repair Guide 10/6/10
Ink Mark Sensor Position Adjustment Printer Component, Software Item, LCD Display, Printer Button Page 312.
Ink Mark Sensor Position Adjustment
Note: The Ink Mark Sensor Position Adjustment sets the gap between the Ink Mark Sensor and the
Platen (media).
Note: If the Ink Mark Sensor Position Jig is not available, move the Ink Mark Sensor as close as
possible to the Platen. Ensure that the Ink Mark Sensor is not closer than the Print Head Nozzle
Plate.
Special Tools: Ink Mark Sensor Position Jig (2.6mm and 2.7mm) Epson Part # 1424365
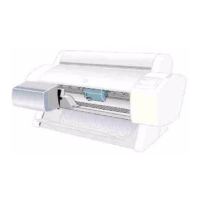
1. Release the Carriage Mechanism.
1.1 Enter Self Testing mode: Down, Right, and OK buttons, and turn on the Printer.
1.2 Navigate to SELF TESTING\Mecha Adjustment\IM Sensor Gap
1.3 Press the Right Arrow to display the [Enter] Start.
1.4 Press the OK button to release the Carriage.
2. Identify the 2 Jigs.
2.6 mm 2.7mm
Bottom Views
2 Level Jig

 Loading...


