14
Setting Up Your Stylus Scan 2000
4. Double-click the folder for your preferred language, then double-click the EPSON
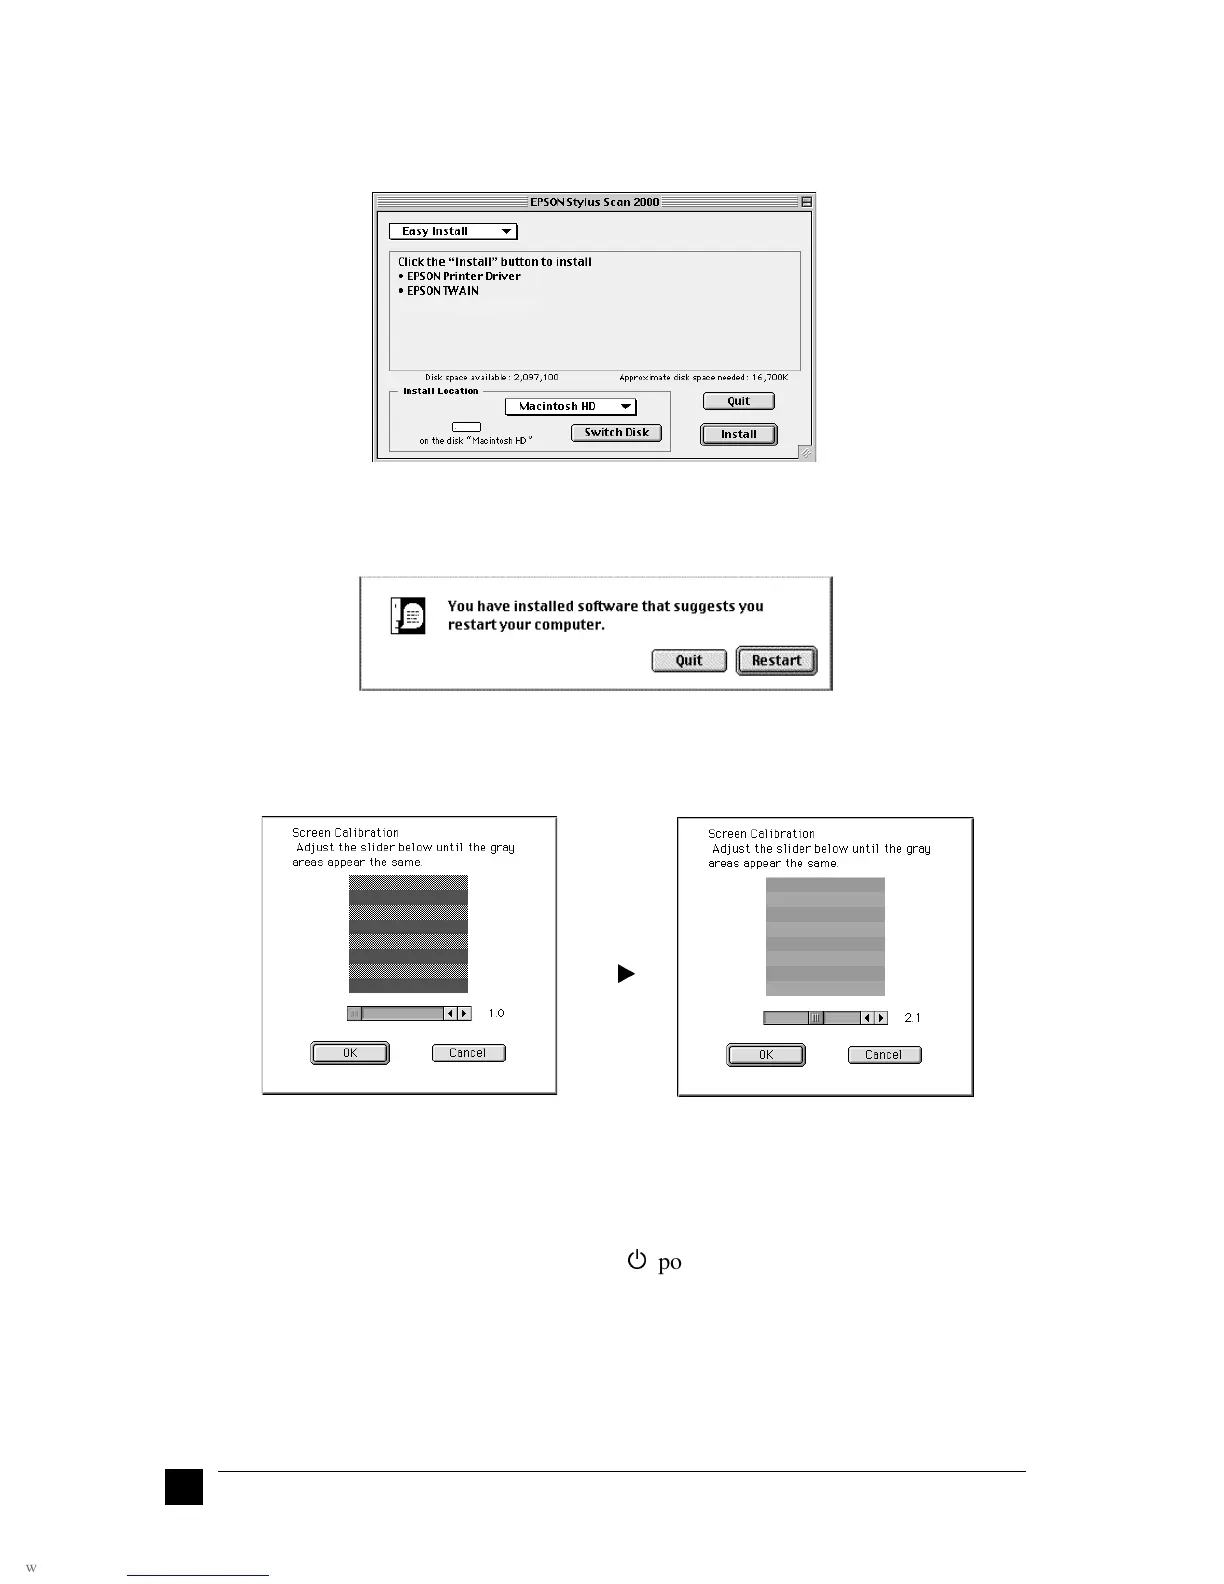
Stylus Scan 2000 icon. The following dialog box appears.
5. Click Install, then follow the on-screen instructions.
6. When the following dialog box appears, click Restart.
7. The EPSON Screen Calibration utility starts automatically. In the following
window, move the slider to the right or left until the two shades of the gray
horizontal stripes match.
Note:
The gray stripes will not perfectly blend together; however, try to make the two
tones match as closely as possible.
8. Click OK to register the calibration setting. The computer restarts automatically.
9. Turn on the Stylus Scan by pressing its
P
power button.
10. Plug the appropriate end of the USB cable into the USB port at the back of the
Stylus Scan. (The end that fits the Stylus Scan has a different shape from the end
that fits the computer.)
Note:
To connect the Stylus Scan to a USB port, use a standard shielded USB cable.
d

 Loading...


