4 When you see the Select Your Connection screen, select
one of the following and follow the on-screen instructions:
• Wireless connection
In most cases, the software installer automatically
attempts to set up your wireless connection. If setup
is unsuccessful, you may need to enter your network
name (SSID) and password.
• Direct USB connection
Make sure you have a USB cable (not included).
• Wired network connection
Make sure you have an Ethernet cable (not included).
Mobile printing
Connect wirelessly from your smartphone, tablet, or computer.
Print documents and photos from across the room or around
the world:
• Print directly from your iOS device. Simply connect your
printer and device to the same network and tap the action
icon to select the print option.
• Use Epson Print Enabler (free from Google Play™) with
Android™ devices (v4.4 or later). Then connect your printer
and device to the same network and tap the menu icon to
select the print option.
• Print remotely with Epson Connect™ and Google Cloud
Print™. See your online User’s Guide for instructions or
learn more at www.epson.com/connect (U.S.) or
www.epson.ca/connect (Canada).
Any problems?
Network setup was unsuccessful.
• Make sure you select the right network name (SSID).
• Restart your router (turn it off and then on), then try to
connect to it again.
• The printer can only connect to a network that supports
2.4 GHz connections. If your router offers both 2.4 GHz and
5 GHz connections, make sure the 2.4 GHz connection is
enabled.
• If you see a firewall alert message, click Unblock or Allow
to let setup continue.
• If your network has security enabled, make sure you enter
your network password (WEP key or WPA passphrase)
correctly. Be sure to enter your password in the correct
case.
There are lines or incorrect colors in my printouts.
Run a nozzle check to see if there are any gaps in the printout.
Then clean the print head, if necessary. See the online User’s
Guide for more information.
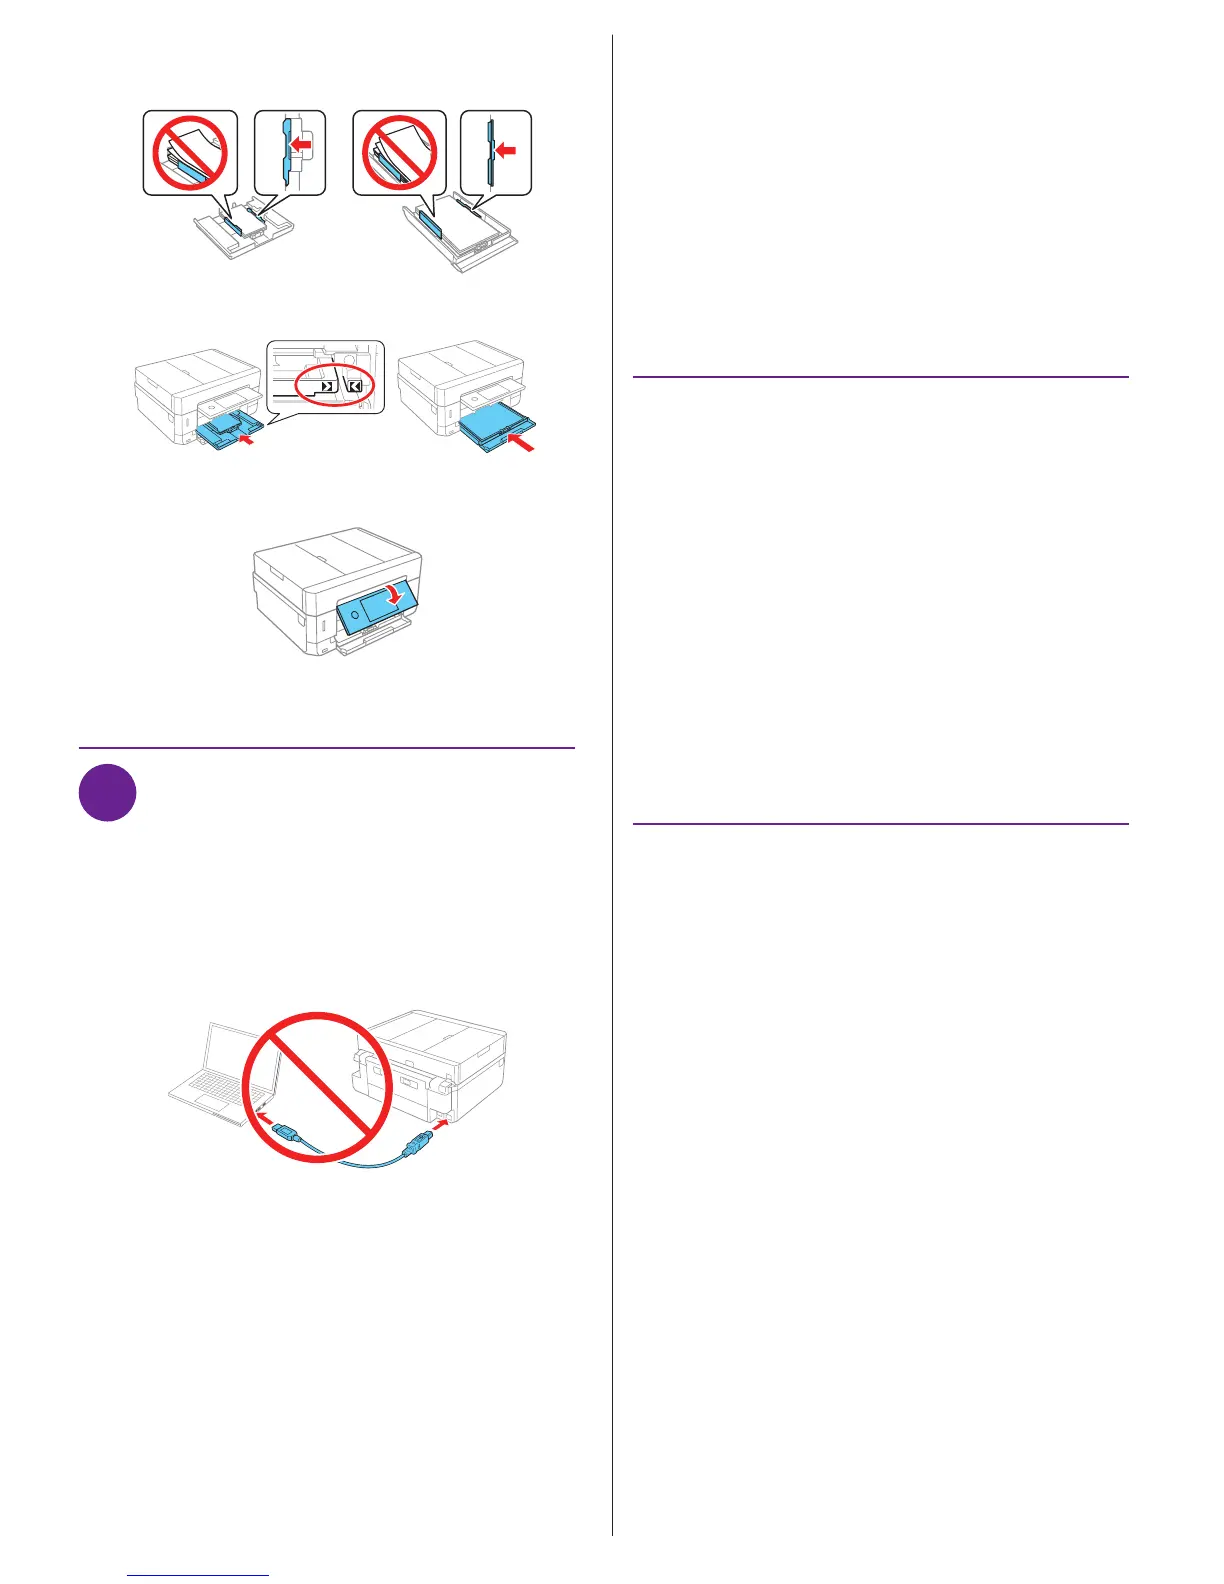
5 Slide the side edge guides against the paper, but not too
tight. Make sure the paper is under the tabs on the side
edge guides.
Cassette 1 Cassette 2
6 Keep the cassette flat as you insert it all the way.
Cassette 1 Cassette 2
7 Lower the control panel.
8 Select the paper settings on the product’s control panel.
5
Install software
Note: If you are using a Mac or your computer does not have a
CD/DVD drive, an Internet connection is required to obtain the product
software.
To print from a Chromebook™, go to www.epson.com/support/gcp
(U.S.) or www.epson.ca/support/gcp (Canada) for instructions.
1 Make sure the product is NOT CONNECTED to your
computer.
Windows
®
: If you see a Found New Hardware screen, click
Cancel and disconnect the USB cable.
2 Insert the product CD (Windows only) or download and
run your product’s software package. For the latest
software, visit: www.epson.com/support/xp7100 (U.S.)
or www.epson.ca/support/xp7100 (Canada).
3 Follow the instructions on the computer screen to run the
setup program.
XP7100_SH_E_CPD55769.indd 2

 Loading...