39
If the MAX! wall thermostat was taught-in to the MAX!
cube, the current date and time will be transferred to
the MAX! wall thermostat automatically.
During operation without the MAX! Cube date and
time can be changed at any time via „dAt“ in the con-
guration menu (see section 17).
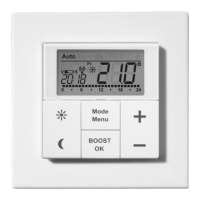
8. Mounting
You can either use screws or adhesive strips to mount the
MAX! wall thermostat to a wall in the frame supplied or in-
tegrate it into an existing switch (please refer to sec. 9).
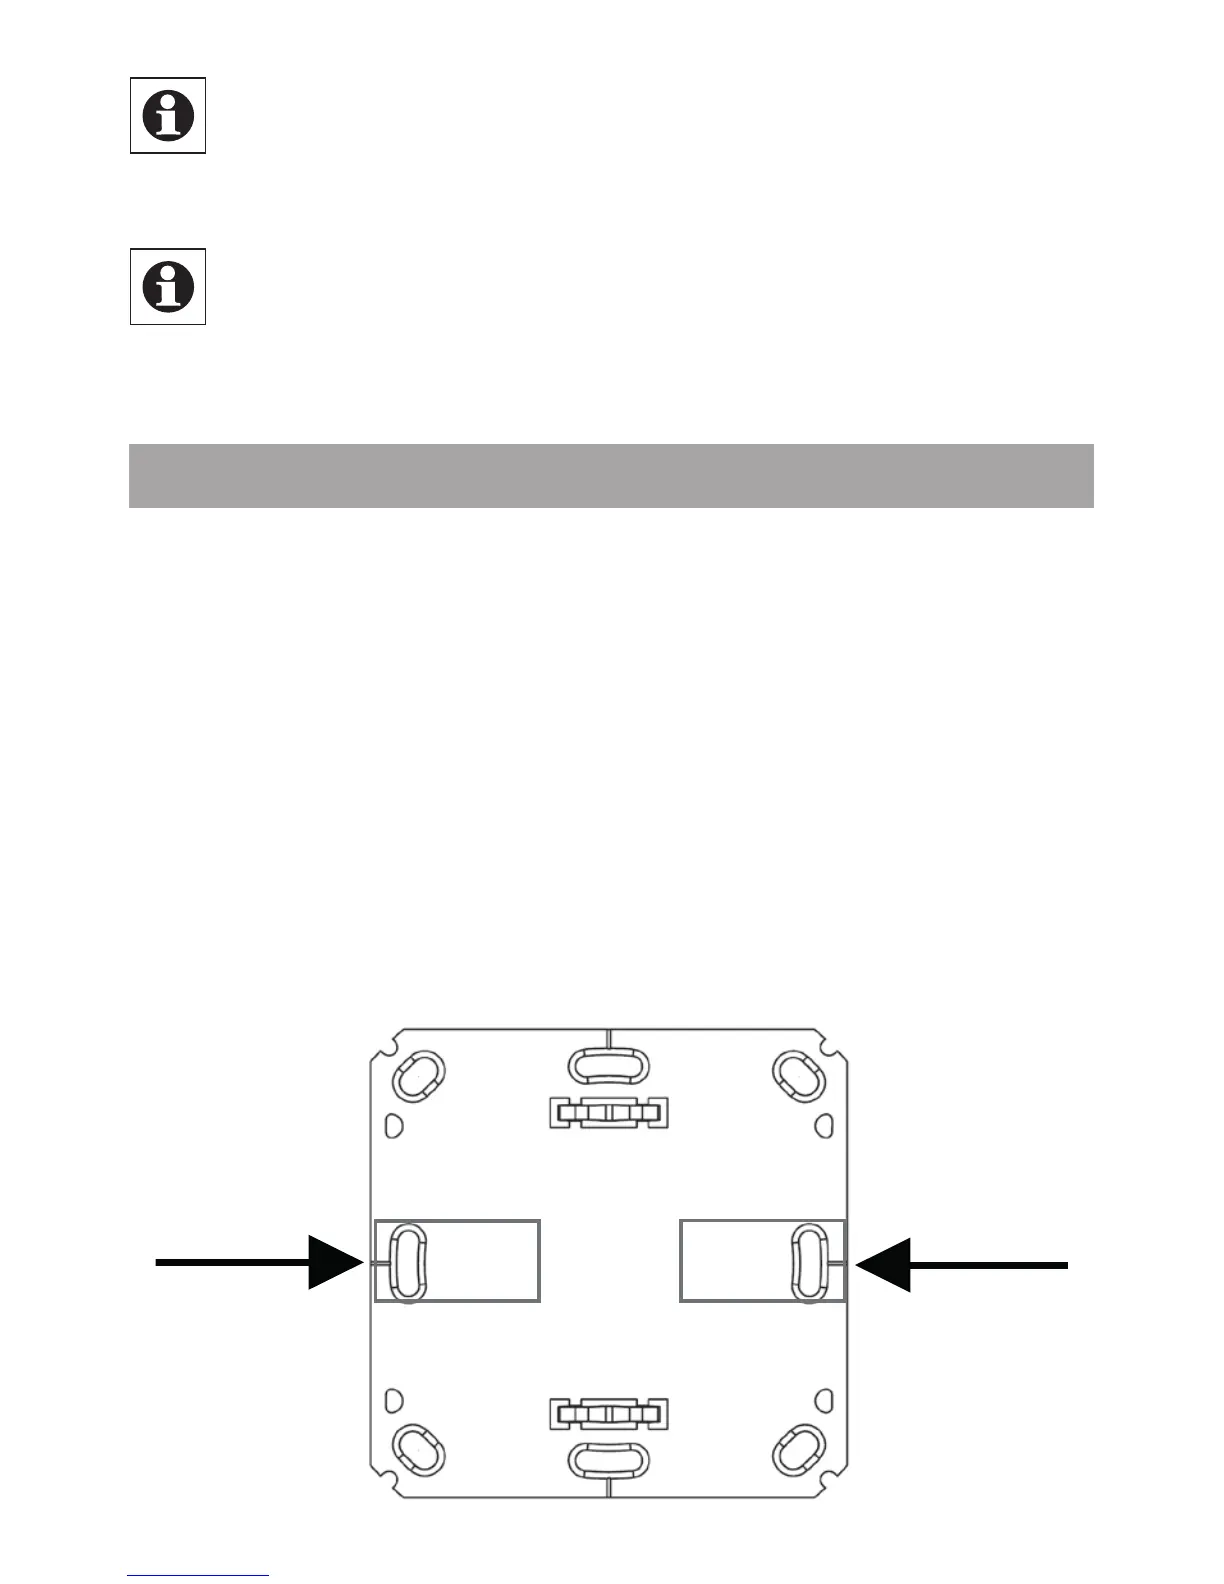
Adhesive strip mounting:
• Choose a site for installation. The surface on which you
are mounting the MAX! Wall Thermostat
+
must be clean,
dry and greaseless.
• For mounting of the assembled MAX! Wall Thermostat
+
,
attach the adhesive strips to the back side of the moun-
ting plate. You should be able to read the letters on the
back side (according to gure).