-- 1 0 --
cga9d1ea
OPERATION
The joint tracking equipment is adjustable for different kinds of joint tracking, such as
tracking by sensing the edge and tracking by sensing the groove. The adjustment is made both
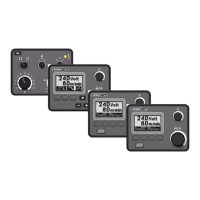
on the control box and on the sensor.
S Joint tracking by sensing the edge:
Set the selector switch on the control box to or depending on whether the de-
sired sensing direction is left or right. The two stop screws shall be screwed home, see
figure on page 7. This means that the sensor fingers are laterally spring--loaded and thus
permit edge sensing. Joint tracking by sensing the edge is used for fillet j oints and similar
joints, see also table below.
S Joint tracking by sensing the groove:
Set the selector switch on the control box to
or depending on whether vertical
and horizontal sensing is desired or vertical sensing only. The two stop screws shall be
screwed out at least two turns or to stop, see figure on page 7. T his will disengage the
spring--load of the sensor fingers and permit groove sensing. If the stop screws are not
screwed out there is a risk that the sensor fingers start ”climbing” the joint walls of shal-
low V and U joints. See also joint table below for correct settings.
Examples of some different types of j oints and of the guide f inger angle against the
guiding edges.
Joint type Settings, control box
Double--flanged butt joint
I--weld
A=Guide bar
V--weld
1/2 V--weld
1/2 V--weld
U--weld