EasyManua.ls Logo

ESAB EMP 210 - User Manual

ESAB EMP 210
80 pages
Print Icon
To Next Page IconTo Next Page
Loading...
0463 815 101 GB 20210923
ESAB EMP 210
3-In-1 Multiprocess Welding System
ESAB EM 210
MIG/MAG Welding System
Instruction manual

Table of Contents

Questions and Answers

  • Z
    Zoe BarrettJul 29, 2025
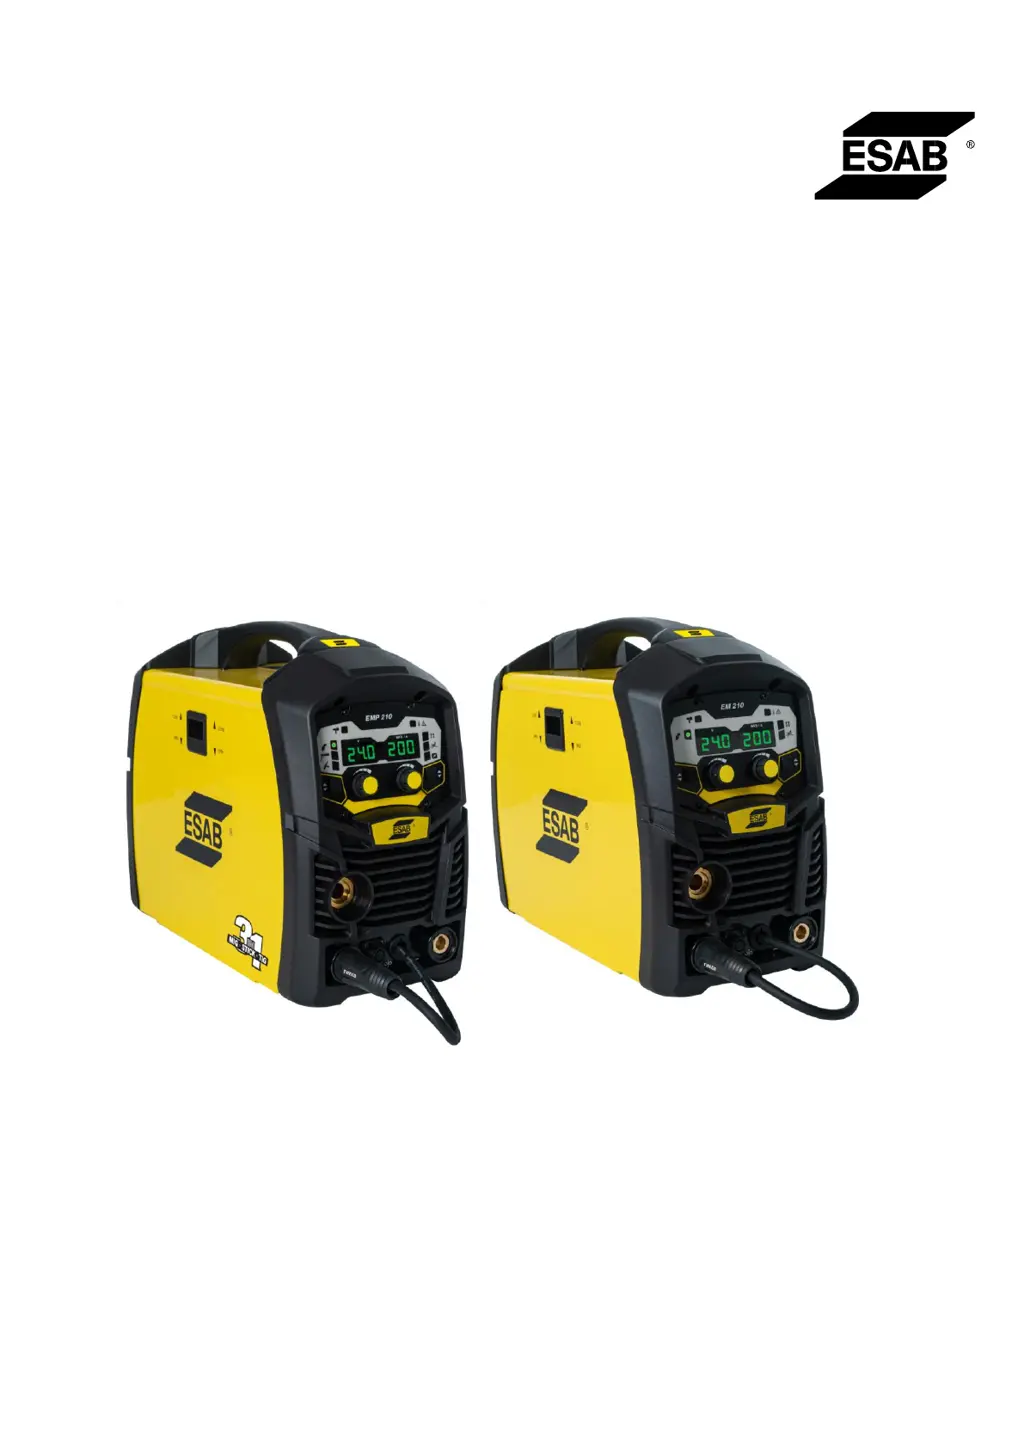
    Why welding arc cannot be established in MIG mode on my ESAB EMP 210?
    • C
      Courtney ValenciaJul 29, 2025
      If a welding arc cannot be established in MIG mode, it could be due to the MIG gun polarity lead not being connected to a welding output terminal. Ensure the MIG gun polarity lead is connected to either the positive or negative welding output terminal as needed. Another possible cause is poor or no work lead contact. Clean the work clamp area to ensure good electrical contact.
  • C
    Christopher MartinezAug 2, 2025
    How to fix inconsistent wire feed on ESAB Welding System?
    • C
      Casey BradleyAug 2, 2025
      Inconsistent wire feed can be caused by several factors: 1. A worn or dirty contact tip might be the culprit, so replace it if necessary. 2. Check the feed roll for wear and replace if needed. 3. Excessive brake tension on the wire reel hub can also cause issues, so reduce the brake tension on the spool hub. 4. Lastly, a worn, kinked, or dirty conduit liner can cause problems; clean or replace it.
  • K
    Kristen RuizAug 8, 2025
    What to do if ESAB EMP 210 won't start welding when the torch trigger is pressed?
    • A
      Abigail JacksonAug 8, 2025
      If your ESAB Welding System doesn't start when the torch trigger is pressed, even though the power is on, it could be due to the power source not being in the correct mode. Set the power source to the correct mode of operation using the process selection switch. Alternatively, the torch trigger might be faulty, in which case you should repair or replace the torch trigger switch/lead.
  • M
    Maria ThomasAug 12, 2025
    Why ESAB EMP 210 Welding System will not feed wire in MIG mode?
    • O
      oconnorsaraAug 13, 2025
      If your ESAB Welding System isn't feeding wire in MIG mode, it could be due to electrode wire stuck in the conduit liner or contact tip (burnback jam). Check for a clogged or kinked MIG gun conduit liner or a worn contact tip, and replace any faulty components. If the issue persists, there may be an internal fault in the power source, and you should contact an authorized ESAB service technician.
  • R
    Robert MartinAug 17, 2025
    How to stop welding wire from continuing to feed after releasing the torch trigger on ESAB EMP 210 Welding System?
    • J
      Jeremy AndrewsAug 17, 2025
      If the welding wire continues to feed after releasing the torch trigger, the trigger mode selection switch might be in 4T latch mode. Change the trigger mode selection switch from 4T latch mode to 2T normal mode. Another cause could be shorted torch trigger leads, so repair or replace the torch trigger switch/lead.
  • A
    Alicia KeithAug 23, 2025
    What to do if fault indicator is illuminated on ESAB EMP 210 Welding System?
    • J
      Joshua SandersAug 23, 2025
      If the fault indicator is illuminated and the power source won't start welding when the torch trigger is pressed, the duty cycle of the power source may have been exceeded. Leave the power source switched ON and allow it to cool down. Do not start welding until the fault indicator is turned off.

Summary

1 Safety

General Safety Precautions

Lists essential safety measures for personal protection and bystander safety.

Fire and Electrical Hazards

Details precautions against fires, explosions, and electrical shock.

Environmental and Health Hazards

Covers fumes, gases, EMF, and cylinder handling safety.

Equipment Handling and Maintenance Safety

Warns about moving parts, falling equipment, and safe maintenance practices.

1.3 User Responsibility

Defines user responsibility for ensuring safe operation and adherence to precautions.

3 Technical Data

ESAB EMP 210 Specifications

Presents detailed technical specifications for the ESAB EMP 210 welding system.

ESAB EM 210 Specifications

Provides detailed technical specifications for the ESAB EM 210 welding system.

4 Installation

4.1 Installing 12.5 lb Spool (8 in. diameter)

Provides step-by-step instructions for installing an 8-inch diameter wire spool.

4.2 Installing 2 lb spool (4 in. diameter)

Details the procedure for installing a 4-inch diameter wire spool.

4.3 Inserting Wire into Wire Feed Mechanism

Explains how to properly feed welding wire into the wire feed system.

5 Operation

5.1 Victor Regulator Usage

Introduces the Victor regulator and its function in pressure reduction for welding.

System Leak Testing and Shutdown

Details leak testing, regulator shutdown, and associated warnings.

Controls and Indicators

Introduces controls and indicators for EMP 210 and EM 210 models.

6 Basic Welding Guide

7 Maintenance

7.1 Routine Service and Calibration

Details requirements for routine service, testing, and calibration of the equipment.

8 Troubleshooting

8.1 Power Source Problems

Lists common power source problems, causes, and corrective actions.

MIG (GMAW;FCAW) Welding Troubleshooting

Addresses common problems encountered during MIG/FCAW welding, including porosity.

MMA (SMAW) Welding Troubleshooting

Provides troubleshooting guidance for MMA welding specific to the EMP 210.

TIG (L-GTAW) Welding Troubleshooting

Provides troubleshooting guidance for TIG welding specific to the EMP 210.

Error Codes and Descriptions

Explains error codes displayed by the power source and their meanings.

ESAB EMP 210 Specifications

General IconGeneral
Output Range5 - 210 A
Weight29 lbs (13.2 kg)
Welding ProcessesMIG
Maximum Plate Thickness3/8 in (9.5 mm)
Input Voltage120/230V
Duty Cycle20% @ 210A (230V), 20% @ 110A (120V)

Related product manuals