24
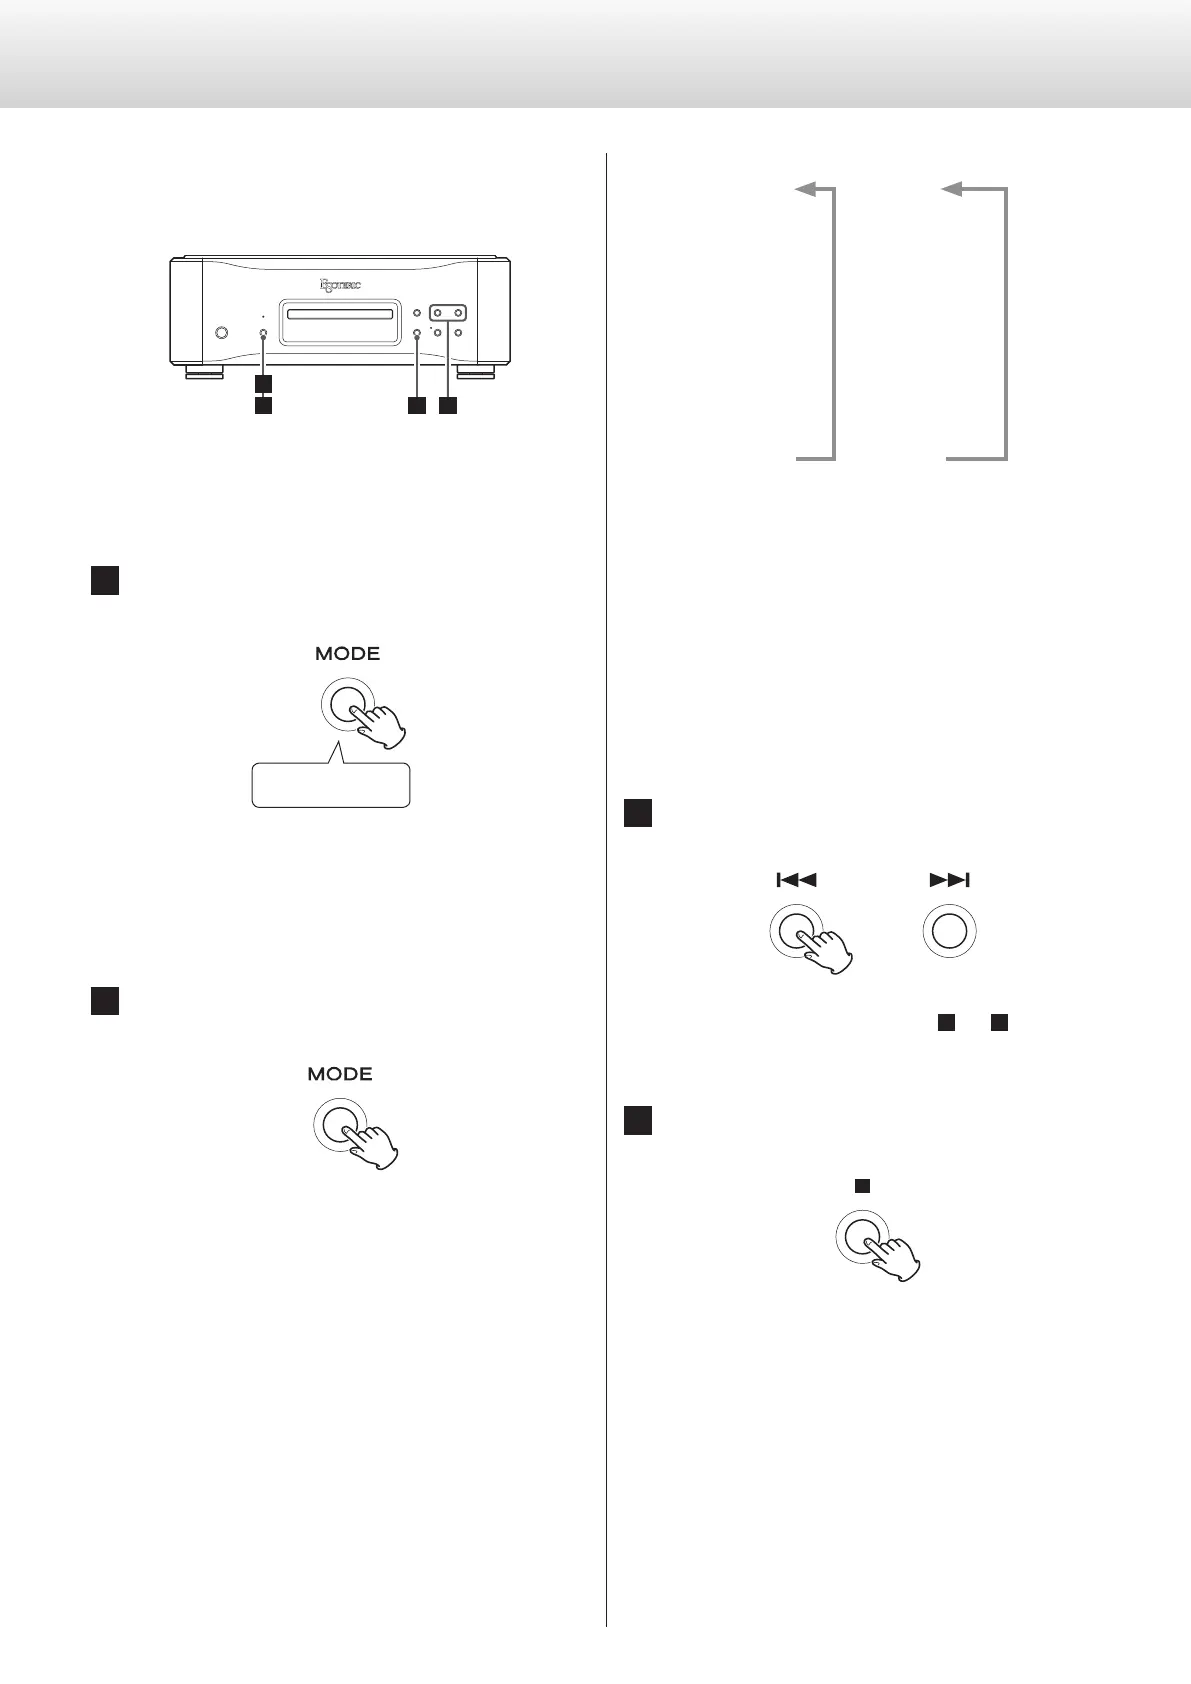
Setting mode
The settings for this unit are divided into two groups: MENU1 and
MENU2.
MENU1 or MENU2 will be shown depending on how the MODE but-
ton is pressed.
1
34
2
Changing settings
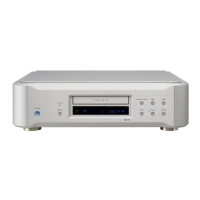
1 When stopped or during playback, press and
hold the MODE button.
Press and hold
MENU1 will be shown.
To show MENU2, press and hold the MODE button again while
MENU1 is shown.
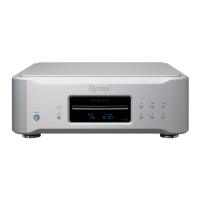
2 Press the MODE button repeatedly to select the
item to change.
Each time you press the MODE button, the item shown on the
display changes as follows.
MENU1 MENU2
PCMF>
c
CLK>
c
AOUT>
c
DOUT>
c
DPaOFF>
c
APS>
PCMG>
c
PCMΔΣ>
c
DSDF>
c
RS232C>
c
menuTM>
c
F/W ver.
o Depending on the selected source and operation status,
some items might not appear.
o If nothing is done for the number of seconds set using the
Automatic menu closing time (seconds) setting (menuTM>),
setting mode will end and the display will return to normal
(page27).
Setting mode will not end automatically, however, if menuTM
is set to ∞.
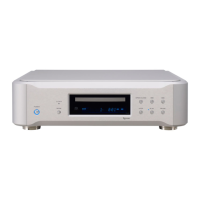
3 Use the skip (.//) buttons to change
settings.
To change multiple items, repeat steps
2
and
3
.
4 Press the stop (8) button.
Setting mode will end and the display will return to normal.
Setting mode will also end and the display will return to normal
if nothing is done for the number of seconds set for menuTM.
Setting mode will not end automatically, however, if menuTM is
set to ∞.
o Settings are retained even if the power plug is disconnected.