1. INSTRUCTION FOR WALL MOUNTING
Warning
Unsecured product could be dislodged and fall which causes injury to either patient or
examiner.
Warning
All cables related to the product shall be handled with care for preventing the examiner
or the patient from any kinds of dangers.
Note
Be sure that the position you choose to mount the product shall be within the reach of a
power outlet.
1. Find an appropriate point on the wall which will support the product, which will hang from the wall-
mount bracket attached to the wall.
> Make sure that the refraction distance meets the requirements for either direct view or mirror
arrangement.
2. Level the supplied wall mount bracket with the metal tabs facing up and out on your wall and mark
the holes on the installation.
3. Place the wall mount bracket on the wall, and screw or tap the screws (nail) into the holes.
4. Hang the product by lining up the holes on the back of unit with the metal tabs of the wall mount
bracket and hang the unit on these tabs.
Caution
Do not overdrive the inserts into the wall.
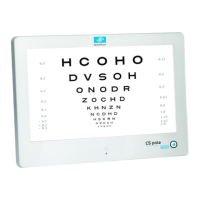
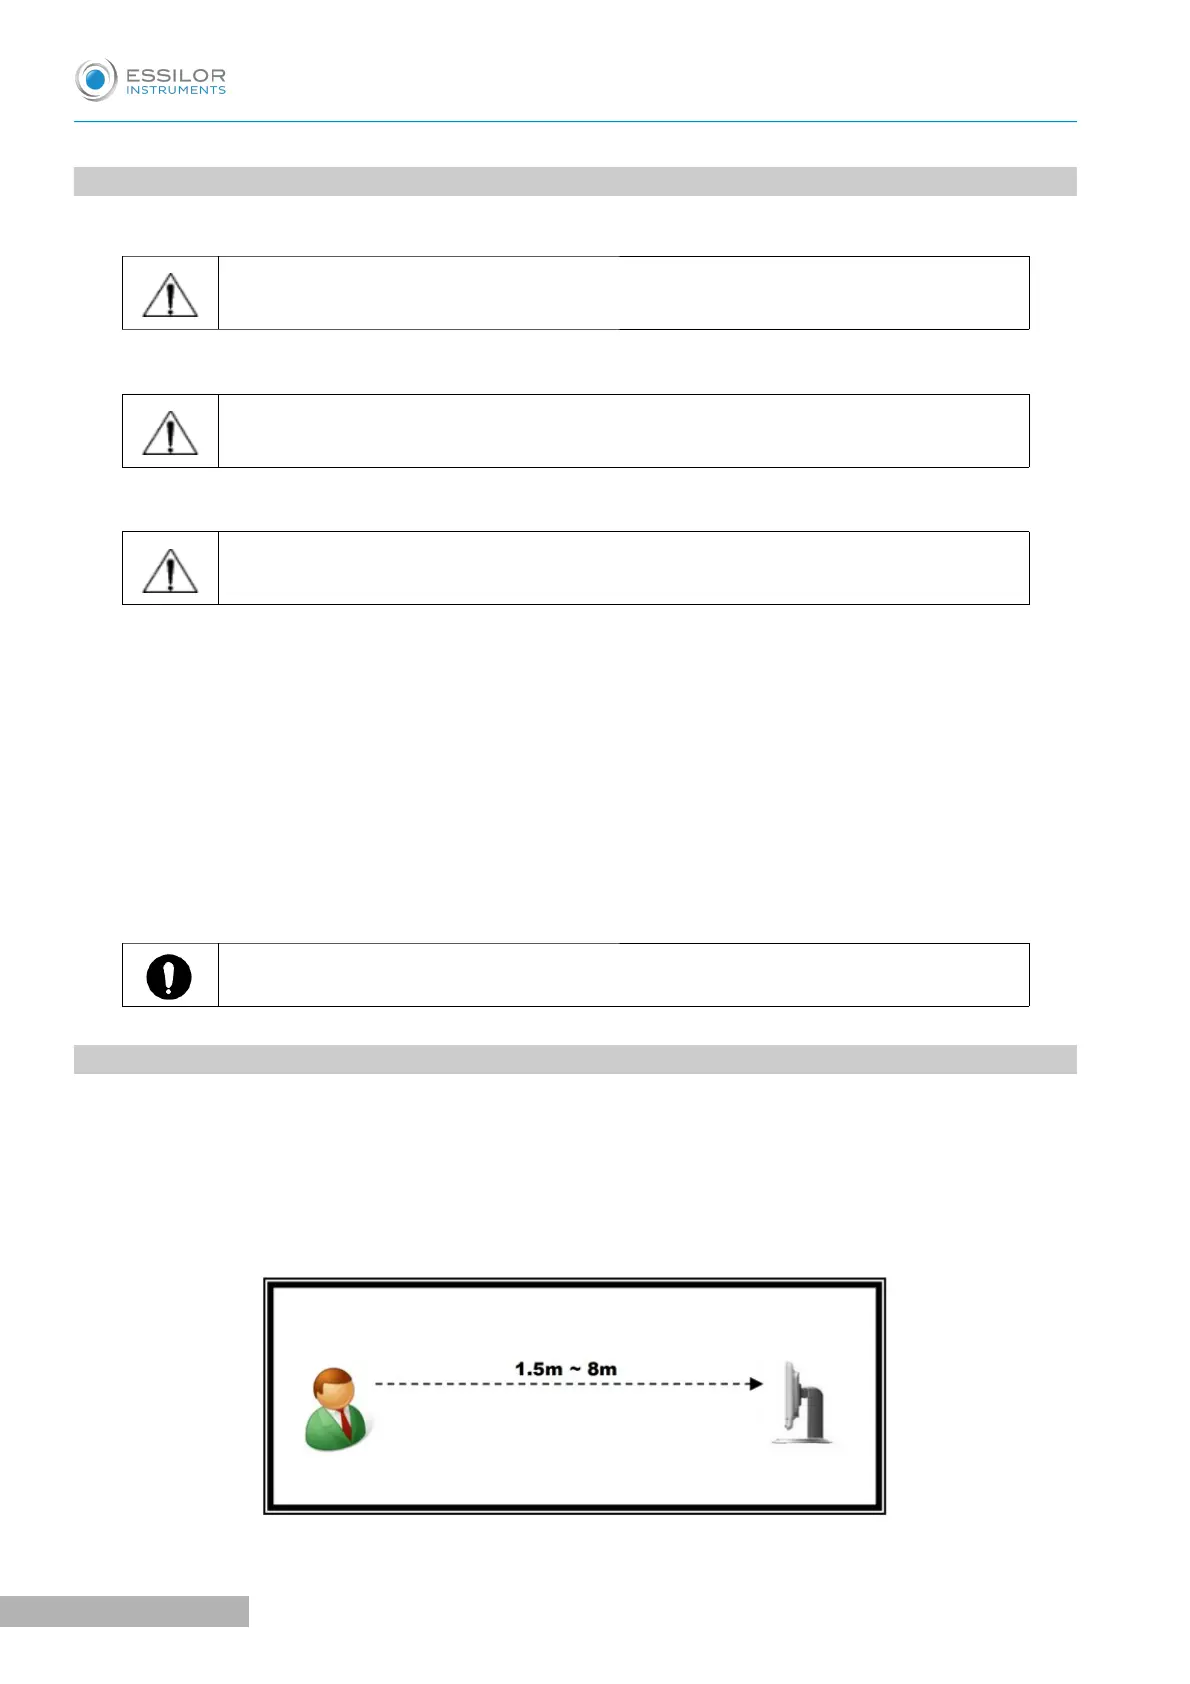
2. VIEWING DISTANCE (LCD DISPLAY POSITION)
As operation by remote control is available, an operator can examine the patient checking the proper change
of the charts.
Please put the product so that the center of the LCD screen is at the level of patient's eyes as this product is
affected by illumination.
 Loading...