22 DUSTOMAT 21-67 H 09302-52-00
10.5.1 Replacing the pre-filter on a DUSTOMAT -21, -41, -61,
Remove the crank from the cleaning device in order to loosen the threaded
fastening pin. Now the crank can be pulled out. After that, loosen the clamping
ring that holds the cover plate and remove the cover plate.
The four fastening bolts of the now-visible bearing block must be removed. The
bearing block can be removed along with the shaft. Pull the dust collection bag
over the upper part of the vacuum. The upper part will now tilt backwards. On the
underside of the filter part, six nuts are visible (M8, SW 13); remove them. Now
the used filter can be pulled out of the upper part by pulling it upward on the
cleaning shaft. In this way, the dust collection bag turns over the entire filter, so
that no dangerous dust enters the environment. Close the dust collection bag with
the supplied band so that no dust can escape.
Install the new filter by performing the same process in reverse. Additionally, the
filter cartridge must be sealed at the upper side with sealing compound.
10.5.2 Replacing the pre-filter on a DUSTOMAT -22, -42, -62,
Next loosen the clamping ring that holds the cover plate and remove the cover
plate. Loosening the clamping ring can be easier if the device has been turned on
and the exhaust port closed.
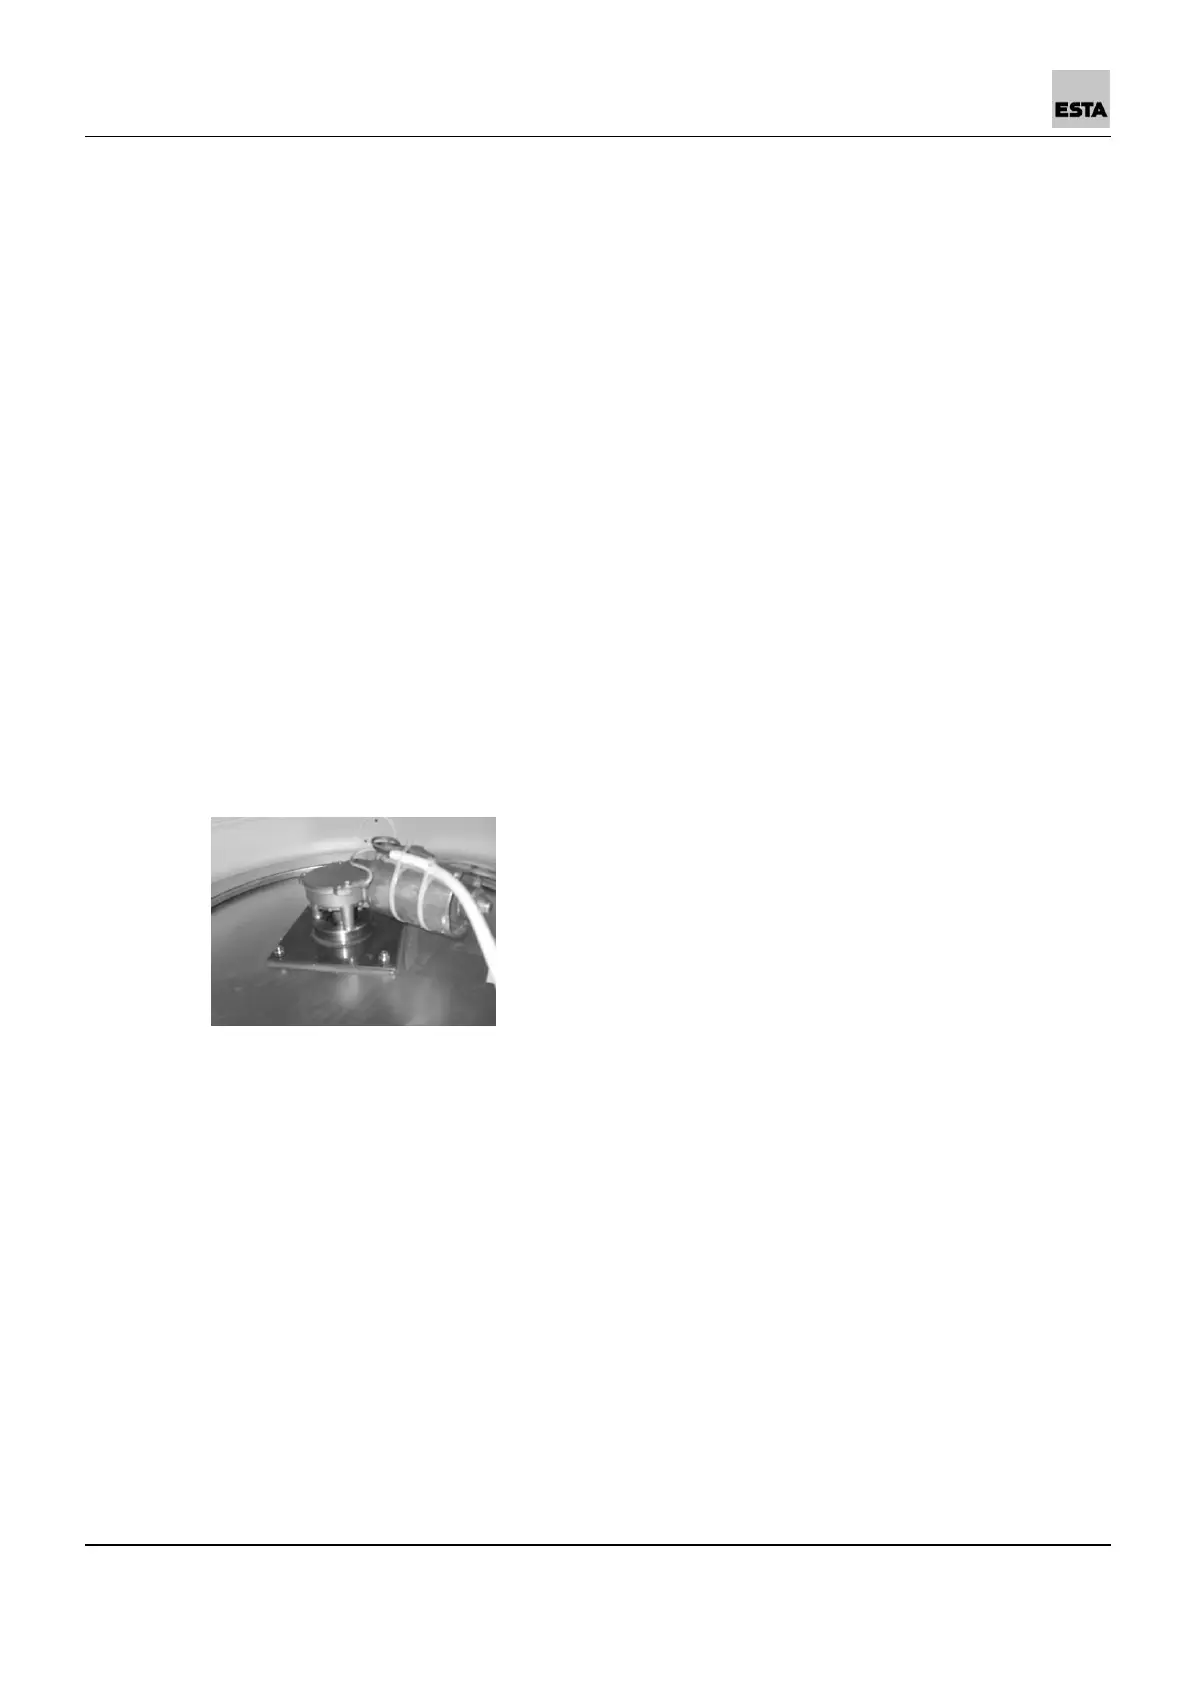
The cables must be disengaged from the motor after
the power supply has been interrupted. To do this,
remove the cable tie, then the plug connections, along
with the earthing (ground) cable.
Pull a dust collection bag over the upper part, tip the
upper part, and remove the six screws on the
underside of the filter part. Now the used filter can be
pulled from the upper part into the dust collection bag.
To remove the cleaning equipment, next remove the two screws on the brush
shaft in order to be able to remove the brush. In the connection to it, remove the
two adjusting rings on the brush shaft and four nuts on the upper side of the filter
cartridge. This allows the cleaning equipment to be pulled from the cartridge and
installed in the new cartridge.
Install the new filter by performing the same process in reverse. Additionally, the
filter cartridge must be sealed at the upper side with sealing compound.