24 25
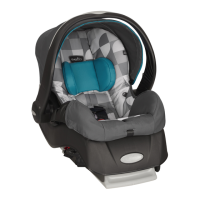
Installing the Carrier without
the Base
After securing the infant, place the restraint into your
vehicle. Adjust the restraint so that the level line A is
parallel with the vehicle floor.
Note: Generally, the center rear seating position is the
safest. This infant restraint MUST face the rear of
the vehicle.
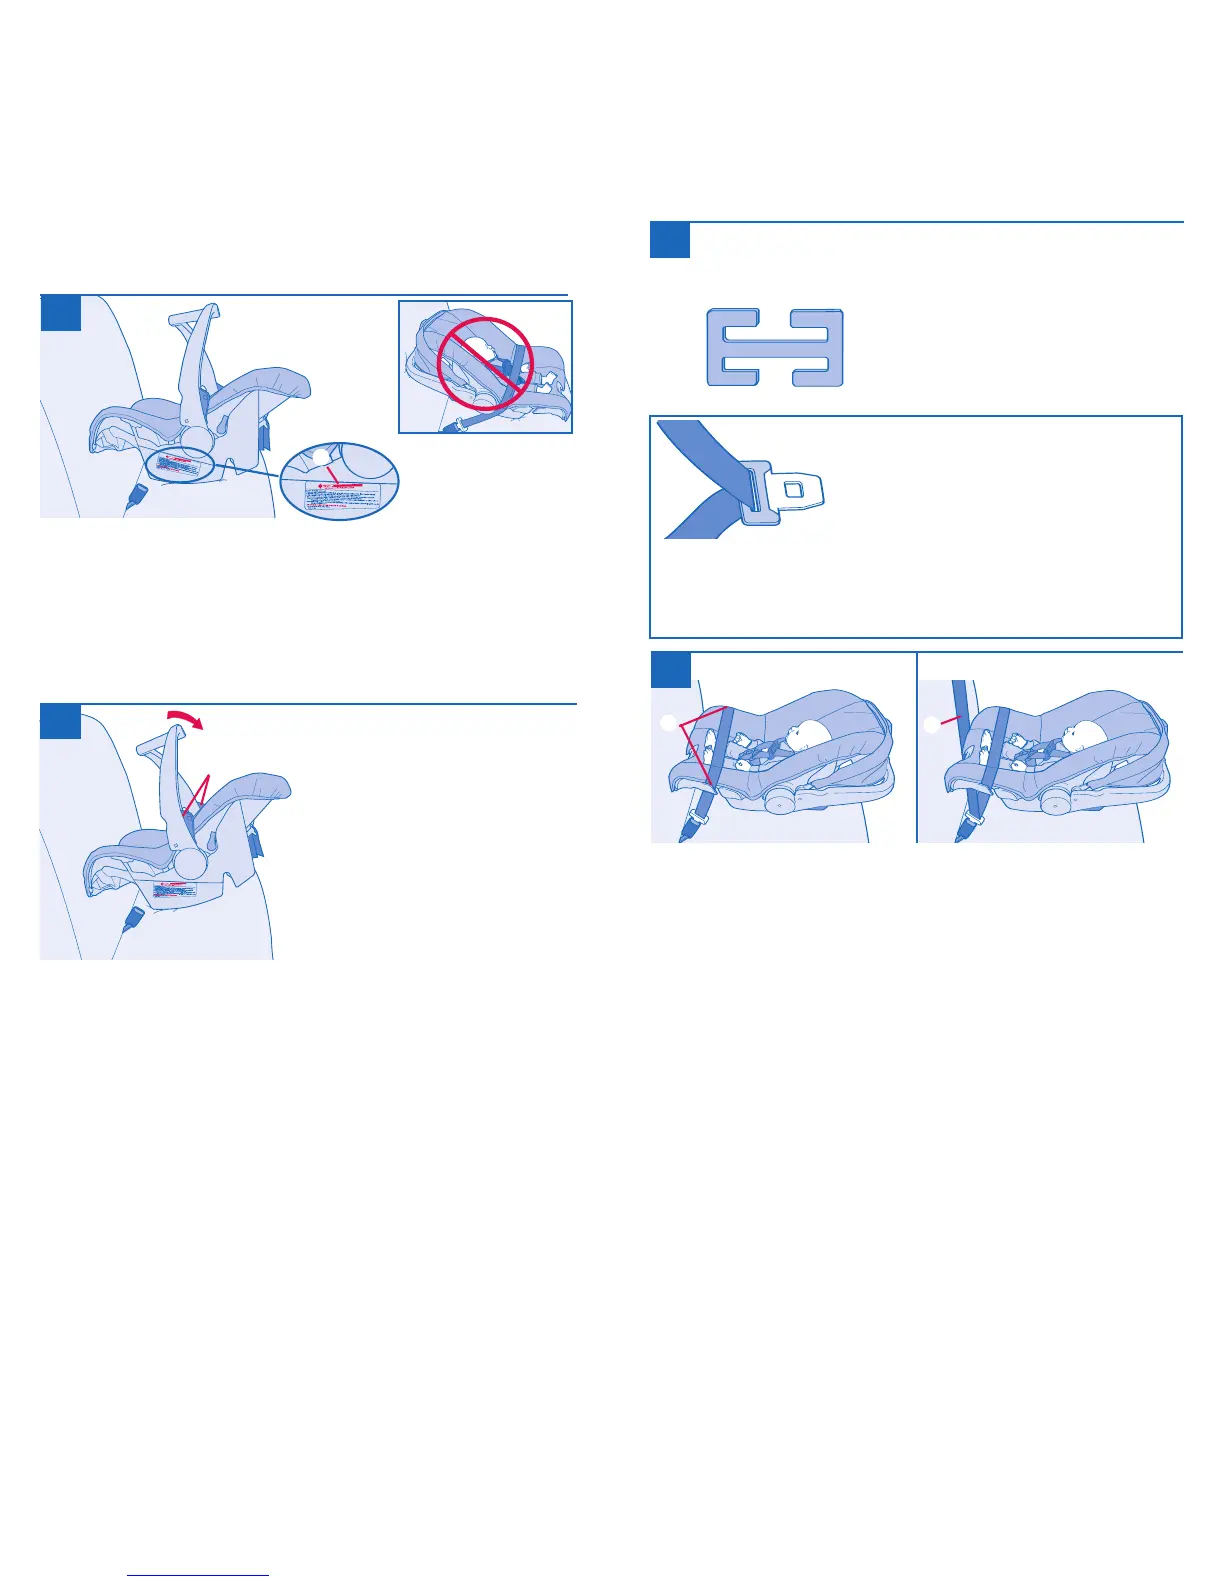
Rotate the handle to
the down position by
squeezing both handle
triggers B.
1
2
B
You may rotate the handle to the farthest
position behind the restraint for more room
in small vehicles.
A
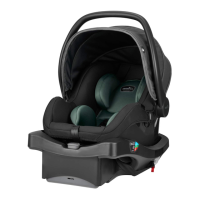
Route ONLY the lap portion of the vehicle seat belt
through the belt slots C on the carrier.
In vehicles with a lap and shoulder belt D, DO NOT
route the shoulder belt through the belt slots. Instead,
let it lay across the vehicle seat back, as shown.
LAP BELT
LAP AND SHOULDER BELT
D
C
4
If you have this type of seat
belt (below) in your vehicle,
you MUST install the carrier
using the locking clip (p. 34).
Lap/shoulder seat belt combination
that has a buckle tongue that slides
freely along the belt without locking
into place and is equipped with an
emergency locking retractor (ELR).
Some ELR vehicle belts can be switched so that they lock
when tightened.
Consult your vehicle owner’s manual
before installing the locking clip.
Check Your Vehicle Seat Belt Type
3
Locking Clip