10
2. Horn
You can sound the horn by pressing one of these buttons. When you use the horn, you will hear a beep sound. The
Excel Outback has a horn button on both the left and right side of the dashboard, so that you can press it with either the
left and right hand.
3. Lighting
The Excel Outback is also equipped with lighting. Use this button to turn on your lighting. The main purpose of the
lighting, in addition to getting a better view, is to be clearly seen by other road users, so that no dangerous situations
arise. Pressing the button again turns o the lighting. The use of lighting is never superuous, but certainly use it in
darker conditions and bad weather conditions.
4. Hazard lights
When you want to draw the attention of other road users to danger, you can use the hazard lights. By pressing the
button, all hazard lights will ash and a beep will sound. To turn the lights o, press the button again.
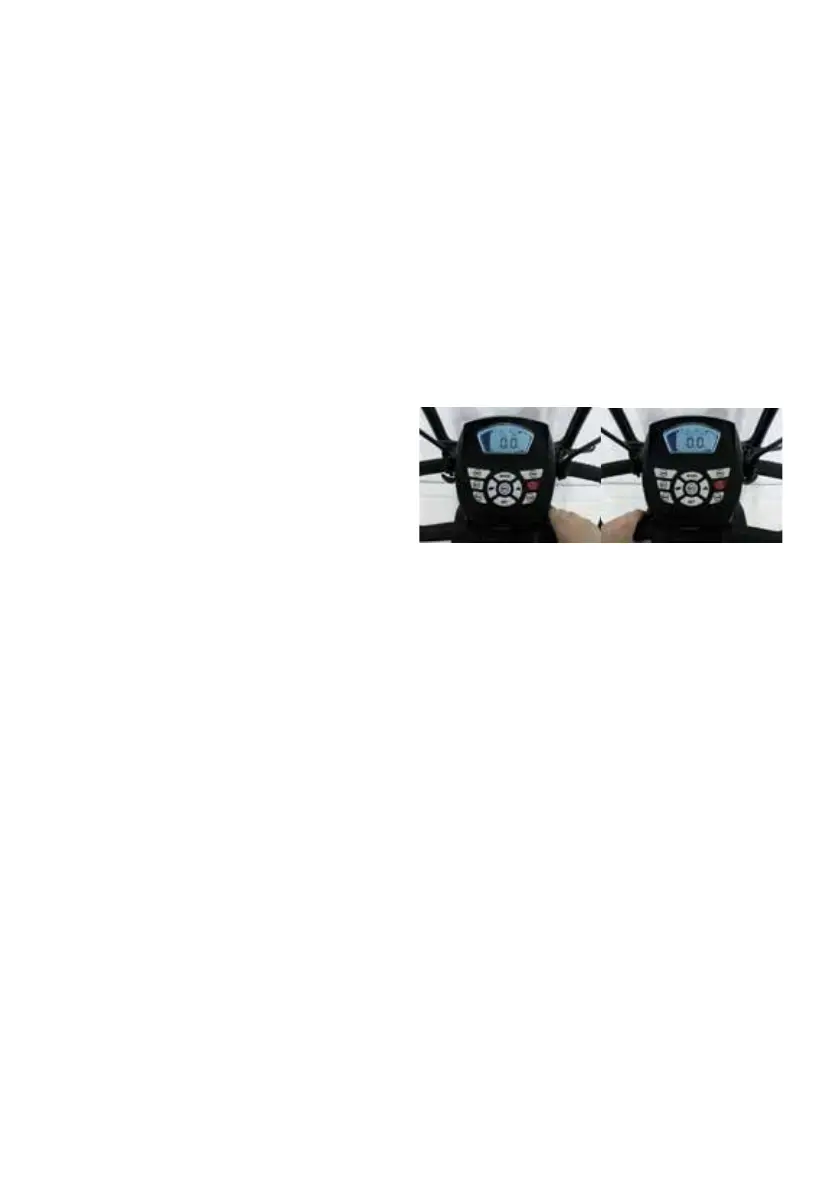
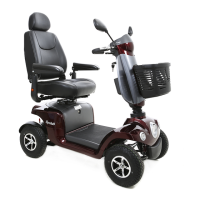
5. Wig-wag system
The Excel Outback is operated by means of a wigwag system. To drive forward with your scooter, pull the right lever
toward you, as shown in photo 1. Driving backwards with the Excel Outback is of course also possible. You do this
by pulling the left lever towards you (Photo 2). The Excel
Outback is equipped with automatic braking system. This
ensures that when you release the forward or reverse lever,
the scooter brakes automatically.
6. Battery indicator
Just as the selected speed is indicated by dashes on the
right side of the screen, you will nd a similar display on the
left side of the screen, but for the battery capacity. 10 bars
indicate that the battery is full and fewer bars indicate the
battery is drained. It is important to never run your batteries
completely down to empty. By recharging the batteries
at about 20 percent, indicated by 2 of the 10 lines, the
batteries will last longer.
7. Indicator
These buttons turn the turn signals on and o. This way you can indicate which way you are going to travel if you need
to turn somewhere. When you press one of the buttons, the turn signal lights will ash on the side you pressed and a
chime will sound to indicate that the turn signal is on. By pressing the same button again, the light and sound signal will
stop.
8. Higher / lower speed
On the display you can see that there are 10 speed settings that can be set with the hare and tortoise buttons. With the
H/L button you can switch between Higher and Lower speed. So if you want to be a little more careful, switching to the
L position cuts the speed in half. This way you don’t have to push the speed all the way down every time. When the low
setting is set, an L will appear on your display. When the high setting is turned on, you will see a H on the screen.
9. Mode and set buttons
Settings of the display can be changed with the Mode and Set buttons. Allows you to change the units of speed,
distance travelled and temperature (Kilometres/Miles and degrees Celsius/Fahrenheit), and change the clock display from
24 hour format or AM/PM. By pressing mode, one of these options will ash on the screen to indicate that it can now be
changed. With the H/L button you can then switch between kilometres or miles display, or Celsius or Fahrenheit. Also, if
the clock is selected and therefore ashes, the time can be changed. With the turn signal buttons, the hours (left arrow)
or the minutes (right arrow) can be increased by 1 step at a time. You cannot decrease these numbers, so if the number
needs to be lower, you must increase it until the number jumps back to 0. With the Set button, you conrm the chosen
setting and the option on the screen will stop ashing.
EXCEL OUTBACK | Photo 1 EXCEL OUTBACK | Photo 2