Do you have a question about the Exerpeutic Pro Stride 21 and is the answer not in the manual?
Read instructions, warm-up, check components, use on flat surface, wear proper clothes, avoid outdoor use, household use only.
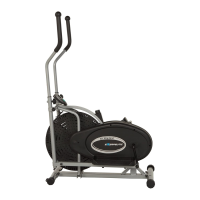
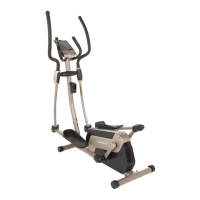
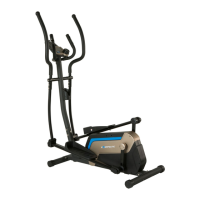
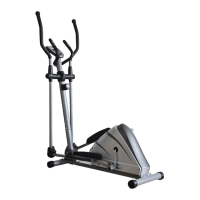
Hold handlebars, place foot on lowest pedal, stride over frame, reverse for dismounting.
One person use, keep children/pets away, adult use only, minimum 6ft space required for safe operation.
Stop if experiencing pain or discomfort. Consult physician before starting exercise programs.
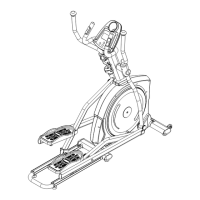
Attach Front Stabilizer (9) to Main Frame (1) using specified bolts, washers, and nuts.
Attach U Shape Rail (12) to Main Frame (1) using M8x20x1.5T Curve Washers (45) and M8x16mm Bolts (56).
Turn adjustable levelers on front stabilizer, main frame, or U shape rail to level the trainer and prevent wobble.
Install Front Post (2) and connect Tension Cable (96) and Sensor Wire II (94) to Main Frame (1).
Apply lubricant to horizontal axles of Front Post (2) and axles of Crank (11) for smooth operation.
Install Right/Left Handrail Arms (4/3) and Right/Left Rotate Bars (8/7) onto respective axles using bolts and washers.
Attach Left/Right Handrails (13, 14) to Left/Right Handrail Arms (3, 4) using bolts, nuts, and washers.
Insert Sensor Wire I (93) and attach Hand Pulse Handlebar (15) to Front Post (2) using M8x25mm Bolts (106).
Attach Left/Right Front Post Decorative Covers (68, 69) to Front Post (2) using M5x16mm Bolts (55).
| Stride Length | 21 Inches |
|---|---|
| Display | LCD |
| Transportation Wheels | Yes |
| Warranty | 1 year limited |
| Display Functions | Time, Speed, Distance, Calories Burned, Heart Rate |
| Heart Rate Monitor | Hand Pulse Sensors |