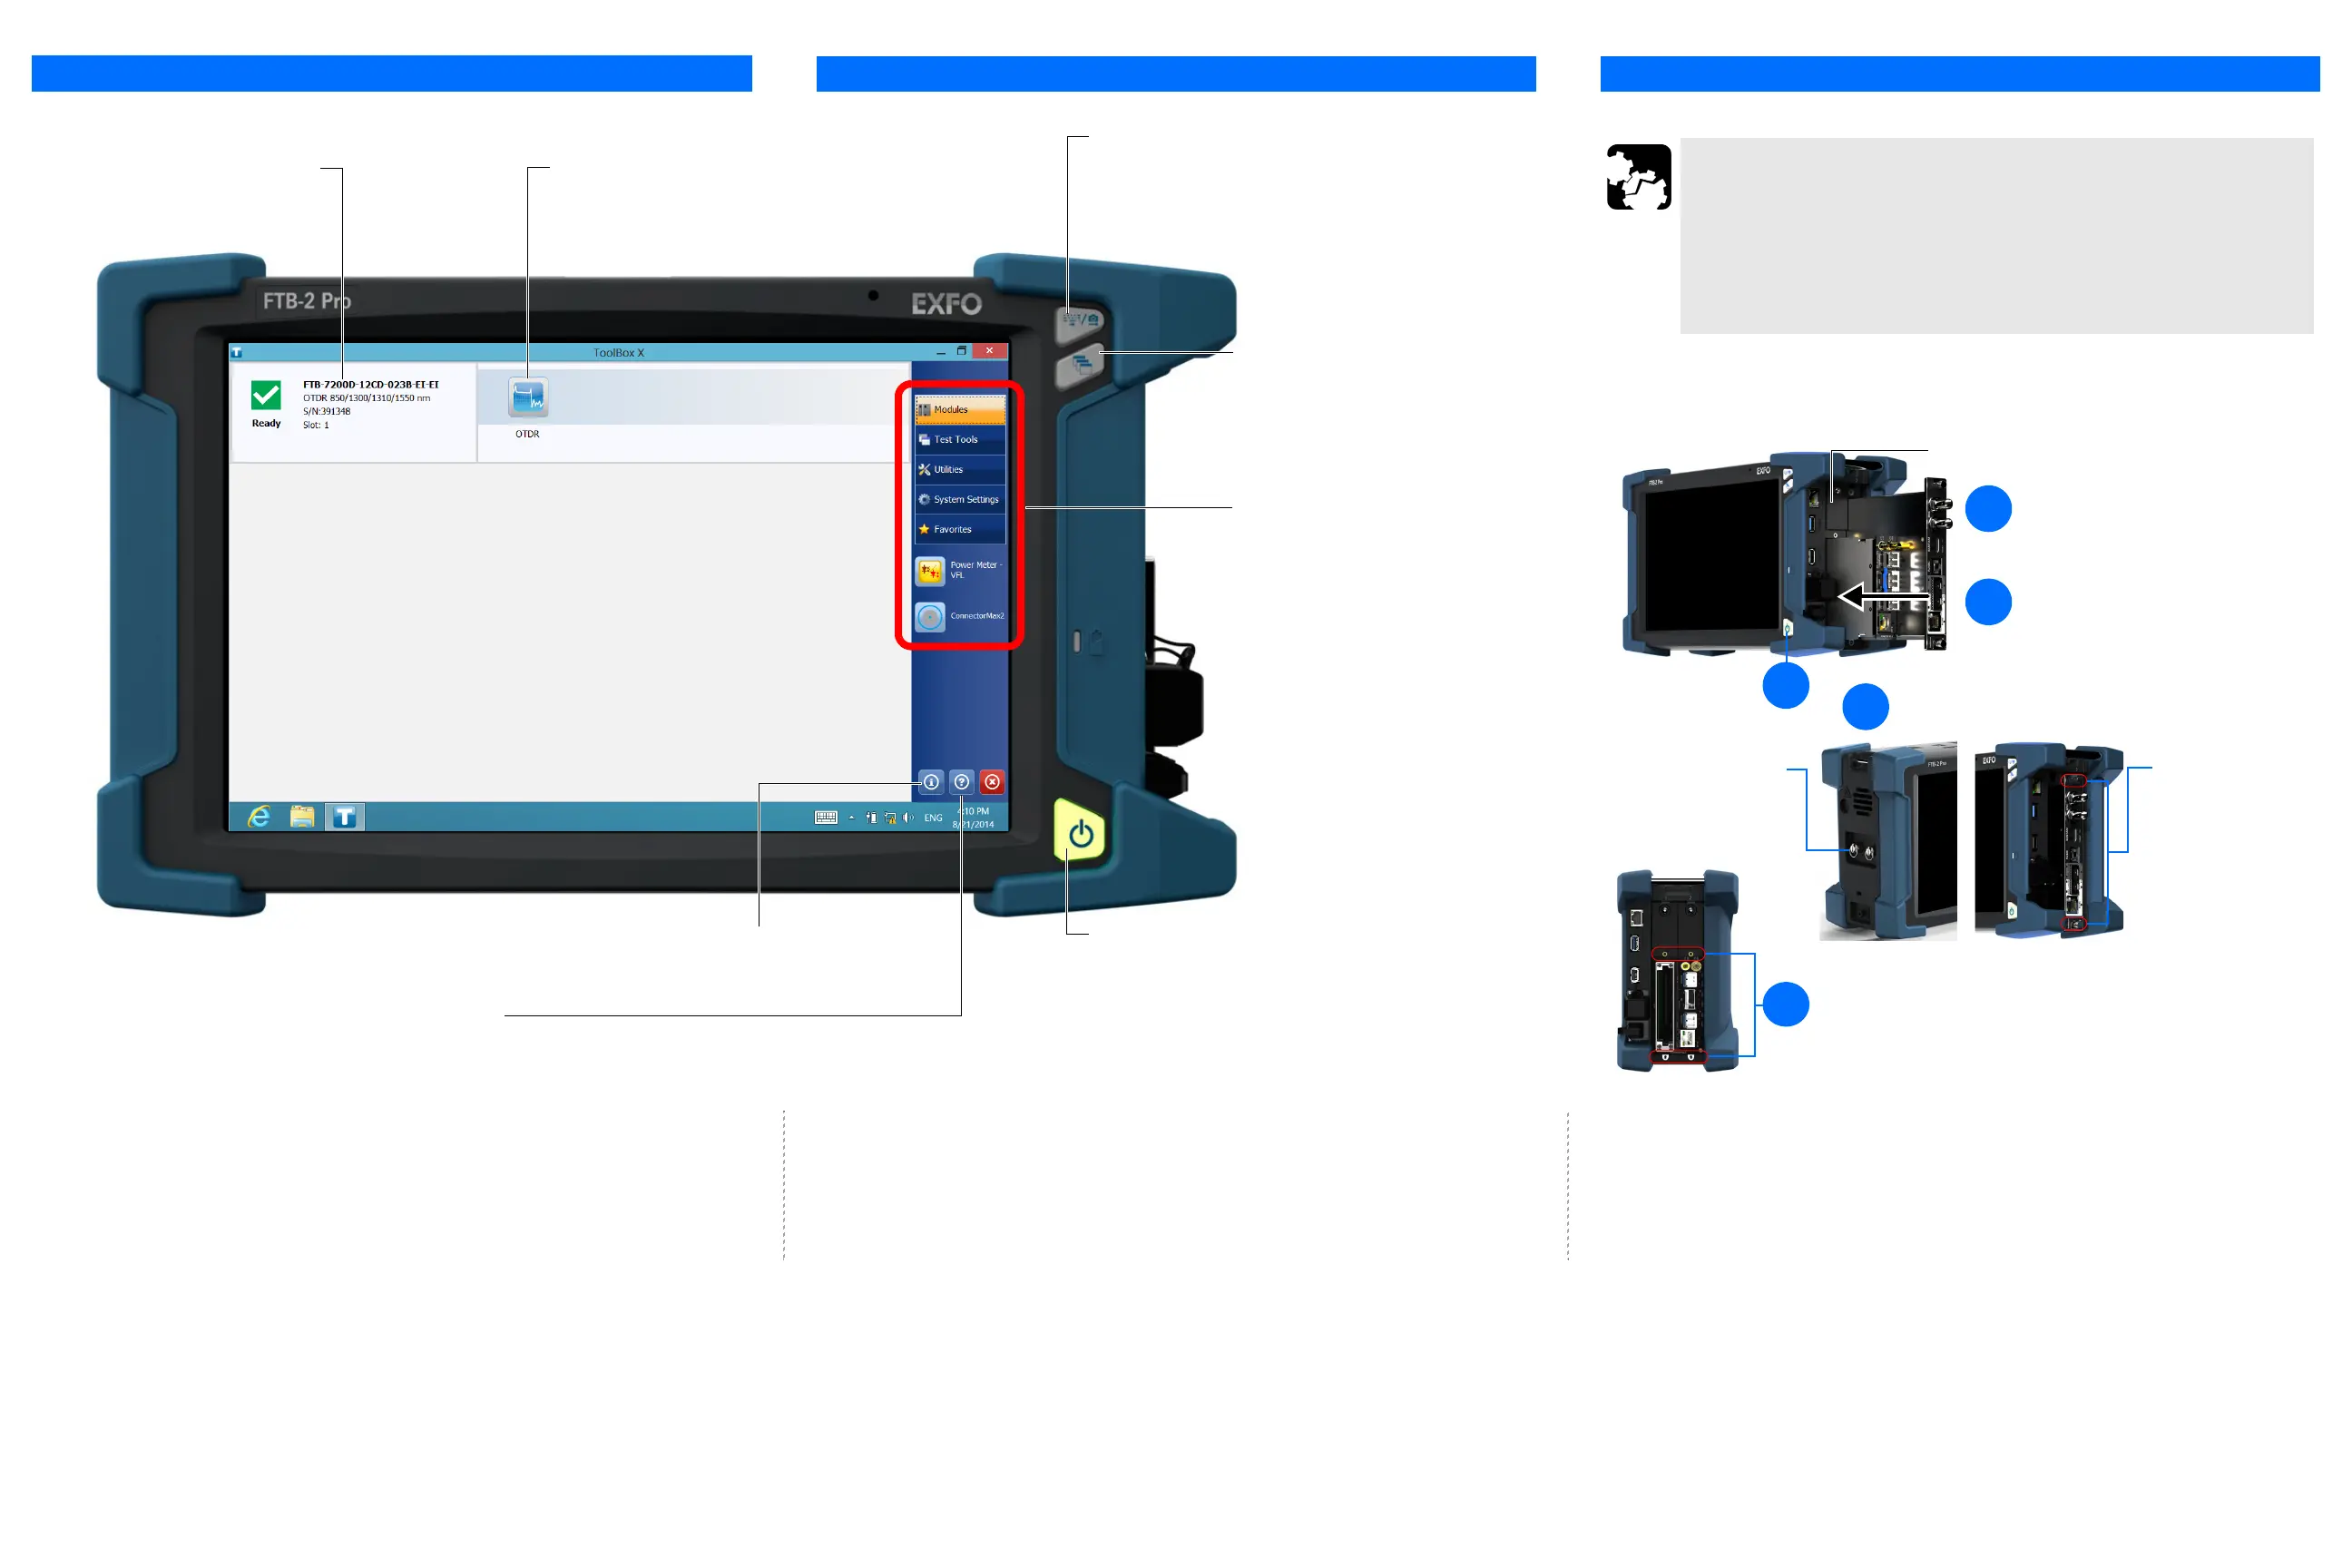
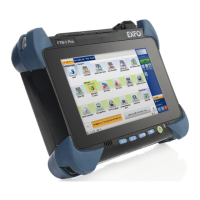
Keyboard/screen capture button
Press once to show the on-screen keyboard.
Press once again to hide it.
Hold down for a few seconds to take a screen capture.
Task-switching button
Press once to view the list of running applications.
Press as many times as needed to select the
desired application.
On/Off button
Press for one second to turn the unit on.
Press for one second to send the unit to sleep (default behavior).
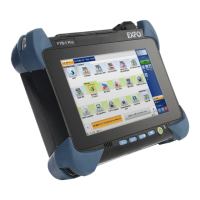
Using Your Unit
Information about the inserted module To start the applications related to
the module
Button bar
To access modules and instruments, test tools,
utilities, documentation, and to configure your unit
To retrieve information about your unit
To view the online help
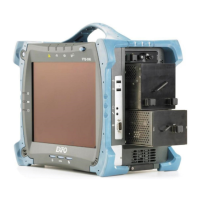
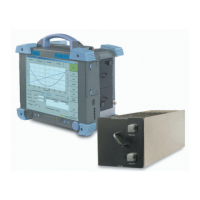
Inserting Modules
1
For an FTB module,
press to turn off your
unit.
CAUTION
For FTB modules: Never insert or remove a module while the unit is
turned on. This will result in immediate and irreparable damage to
both the module and unit.
For FTBx modules: There is no need to turn off your unit before
inserting or removing modules. However, to remove them properly
and avoid problems, follow the instructions from the user guide.
2
Place the module vertically so that you can
see its faceplate and the protruding edges are
on the left side.
3
Insert the protruding edges of the module into
the grooves and push all the way to the back.
4
Secure the module.
For an FTBx module, turn
the two retaining screws
clockwise.
For an FTB module, turn the
retaining screw (located on
the left panel) clockwise.
For heavier FTB modules such as the OSA or the FTB-88100NGE
PowerBlazer, secure the module with front locking screws
(turn clockwise).
5
Module adapters (must be installed before inserting FTB modules)