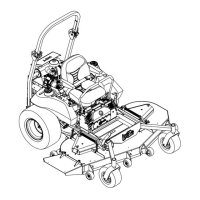
D.Usingoneofthetwowiretiesincludedsecure
thewirenearwheretheseatholduprodis
connectedtotheseatframe.
E.Usingthesecondwiretie,securethewireagainto
approximatelythemiddleoftheseatholduprod.
F.Connecttheseatwiretothemainwiringharness
lead.Slowlylowertheseatcheckingthatthewire
cannotcontactanymovingpartsorpinchpoints.
Readjustwiretiesifnecessary.
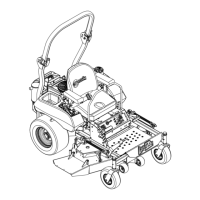
ServicingtheBattery
Warning
CALIFORNIA
Proposition65Warning
Batteryposts,terminals,andrelated
accessoriescontainleadandleadcompounds,
chemicalsknowntotheStateofCalifornia
tocausecancerandreproductiveharm.
Washhandsafterhandling.
Note:Themachineisshippedwithalledleadacid
battery.
1.Unhookseatlatchandtiltseatuptogainaccessto
thebattery.
Danger
Chargingthebatterymayproduceexplosive
gasses.Batterygassescanexplodecausing
seriousinjury.
•Keepsparks,ames,orcigarettesawayfrom
battery.
•Ventilatewhenchargingorusingbatteryin
anenclosedspace.
•Makesureventingpathofbatteryisalways
openoncebatteryislledwithacid.
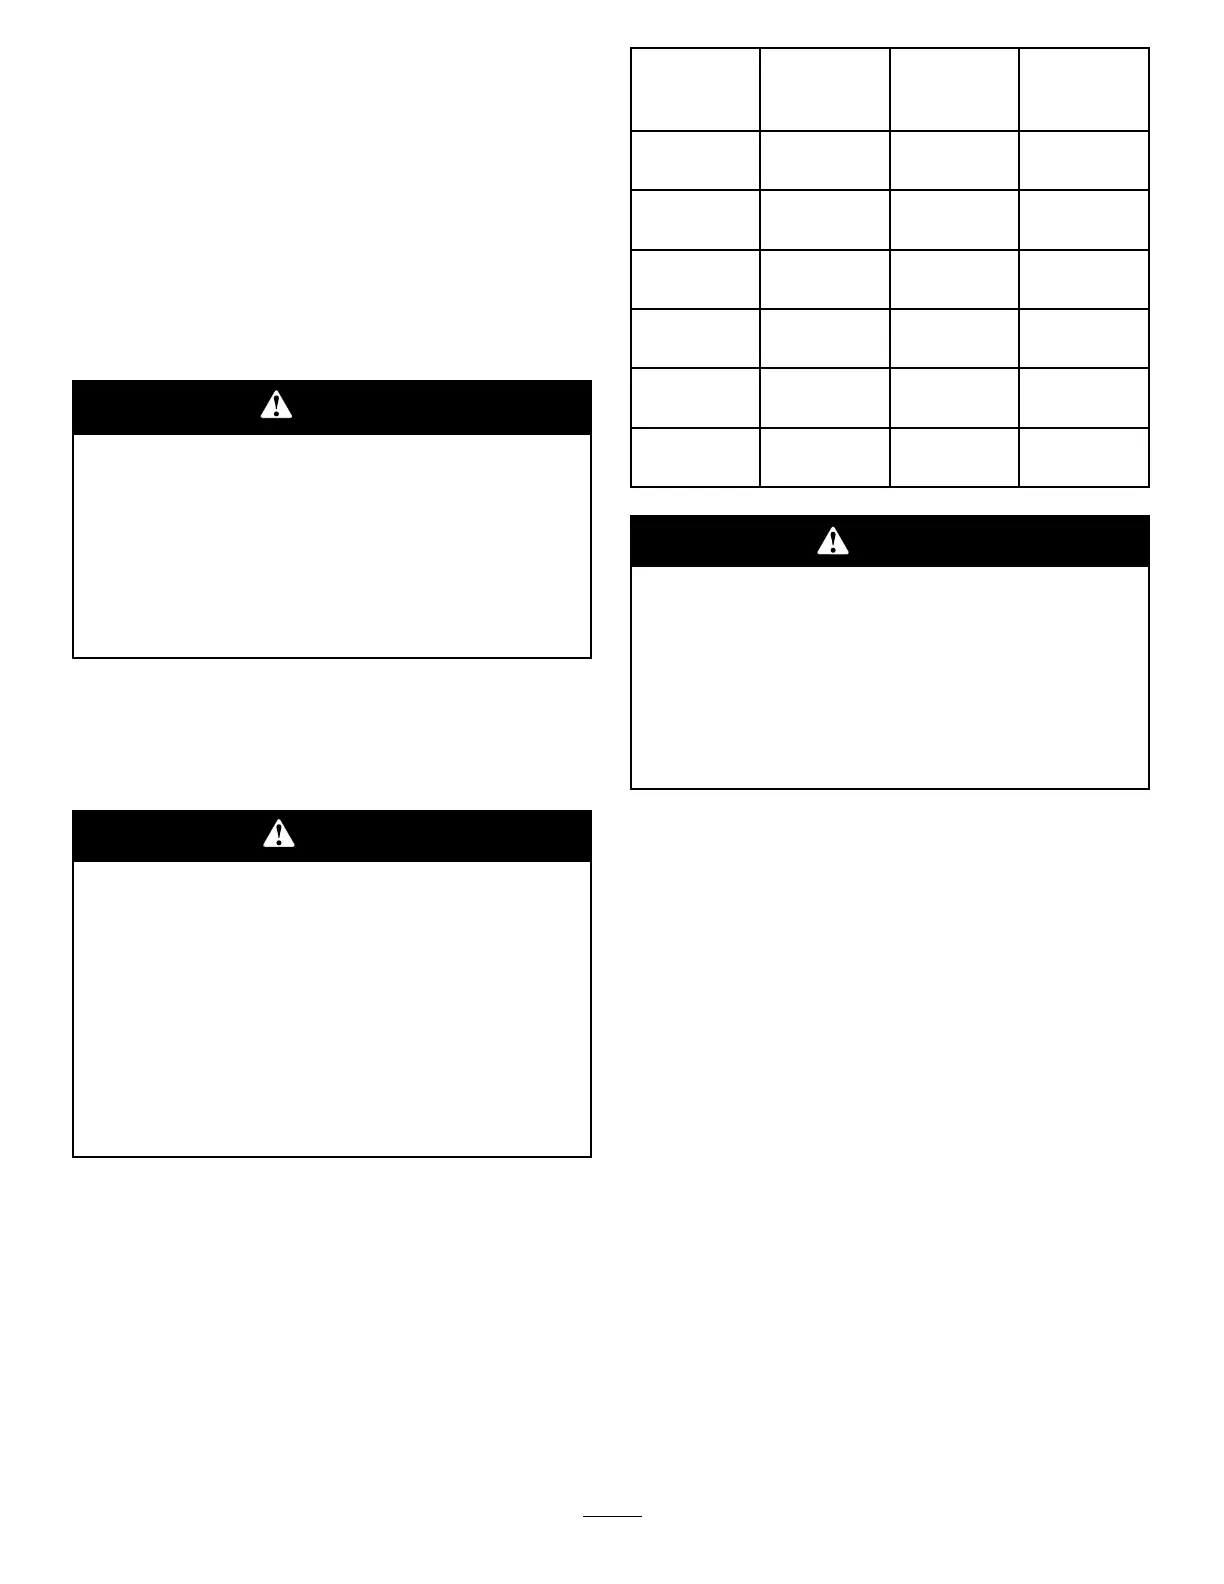
2.Checkthevoltageofthebatterywithadigital
voltmeter.Locatethevoltagereadingofthebattery
inthetablebelowandchargethebatteryforthe
recommendedtimeintervaltobringthechargeup
toafullchargeof12.6voltsorgreater.
Important:Makesurethenegativebattery
cablesaredisconnectedandthebatterycharger
usedforchargingthebatteryhasanoutputof
16voltsand7ampsorlesstoavoiddamaging
thebattery(seechartforrecommendedcharger
settings).
Voltage
Reading
Percent
Charge
Maximum
Charger
Settings
Charging
Interval
12.6or
greater
100%
16volts/7
amps
NoCharging
Required
12.4–12.675–100%
16volts/7
amps
30Minutes
12.2–12.450–75%
16volts/7
amps
1Hour
12.0–12.225–50%
14.4volts/4
amps
2Hours
11.7–12.00–25%
14.4volts/4
amps
3Hours
11.7orless
0%
14.4volts/2
amps
6Hoursor
More
Caution
Iftheignitionisinthe“ON”positionthere
ispotentialforsparksandengagementof
components.Sparkscouldcauseanexplosion
ormovingpartscouldaccidentallyengage
causingpersonalinjury
Besureignitionswitchisinthe“OFF”position
beforechargingthebattery.
3.Connectthenegativebatterycables.
Note:Ifthepositivecableisalsodisconnected,
connectthepositive(red)cabletothepositive
batteryterminalrst,thenthenegative(black)cable
tothenegativebatteryterminal.Slipinsulatorboot
overthepositiveterminal.
Note:Iftimedoesnotpermitchargingthebattery,
orifchargingequipmentisnotavailable,connect
thenegativebatterycablesandrunthevehicle
continuouslyfor20to30minutestosufciently
chargethebattery.
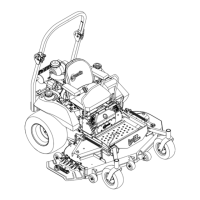
InstallingtheCanisterAirCleaner
Kohler
1.Removeaircleaner(withbracketattached)from
seatframe.Keepaircleanerandmountingbracket
together.
2.Removethetoptwovalvecovermountingscrews
frombothleftandrightsideenginevalvecovers.
Keepscrewsforre-attachingaircleaner.
3.Positiontheaircleanerassemblyovertheengine,
aligningaircleanerbracketholeswithtopholesin
4

 Loading...