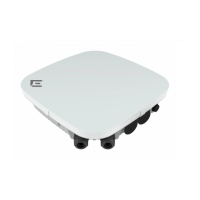
4. When using a AP305C/CX or AP410C access point, attach the Ethernet port cap to the access point
Ethernet port.
For more information about Ethernet cap, refer to Ethernet Cap Accessory Information on page 13.
5. Align the red dot on the back of the access point against the accessory red dot.
Note
The accessory has a circular tip that fits into the circular depression on the back of the
access point.
6. Press and rotate the access point 1/8
th
turn clockwise until it clicks into place on the accessory.
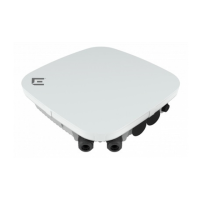
7. Attach the Cat5e RJ45 cable to the ETH0 port on AP305C/CX or the Cat6 RJ45 cable to the ETH0
or ETH1 port on AP410C.
8. Place the cable cover over the Ethernet cable.
9. Replace the ceiling tiles.
Install the Access Point on a Wall or a Solid Ceiling Using AH-ACC-BKT-AX-TB
Accessory
Before You Begin
The following hardware is required for installing the AH-ACC-BKT-AX-TB accessory on a wall or a solid
ceiling:
• An indoor access point
• One AH-ACC-BKT-AX-TB Accessory
• Two M3.5 pan head wood screws
• Two screw-in anchors
Note
The wood screws and screw-in anchors come in a separate plastic bag.
About This Task
You can use the AH-ACC-BKT-AX-TB accessory for flat surface wall installation.
Procedure
1. Using the AH-ACC-BKT-AX-TB accessory as a template, mark and drill two mounting holes.
2. Attach the accessory to the wall using the M3.5 pan head wood screws.
Use push-in anchors or screw-in anchors for drywall or plastic board installations.
Note
Screw-in anchors must be used for solid ceiling installations.
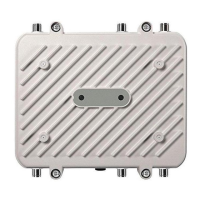
3. When using a AP305C/CX or AP410C access point, attach the Ethernet port cap to the access point
Ethernet port.
For more information about Ethernet cap, refer to Ethernet Cap Accessory Information on page 13.
4. Attach the access point to the accessory by aligning the red dot on the accessory and the access
point.
5. Press and rotate the access point 1/8
th
turn clockwise until it clicks into place on the accessory.
Indoor Mounting Accessory Installation
Install the Access Point on a Wall or a Solid Ceiling
Using AH-ACC-BKT-AX-TB Accessory
Wi-Fi 6 (802.11ax) Access Points 21
 Loading...