3. Using a slotted screwdriver, tighten the clamp screws to a minimum torque of 14 in-lbs. until the
access point is securely mounted onto the pole.
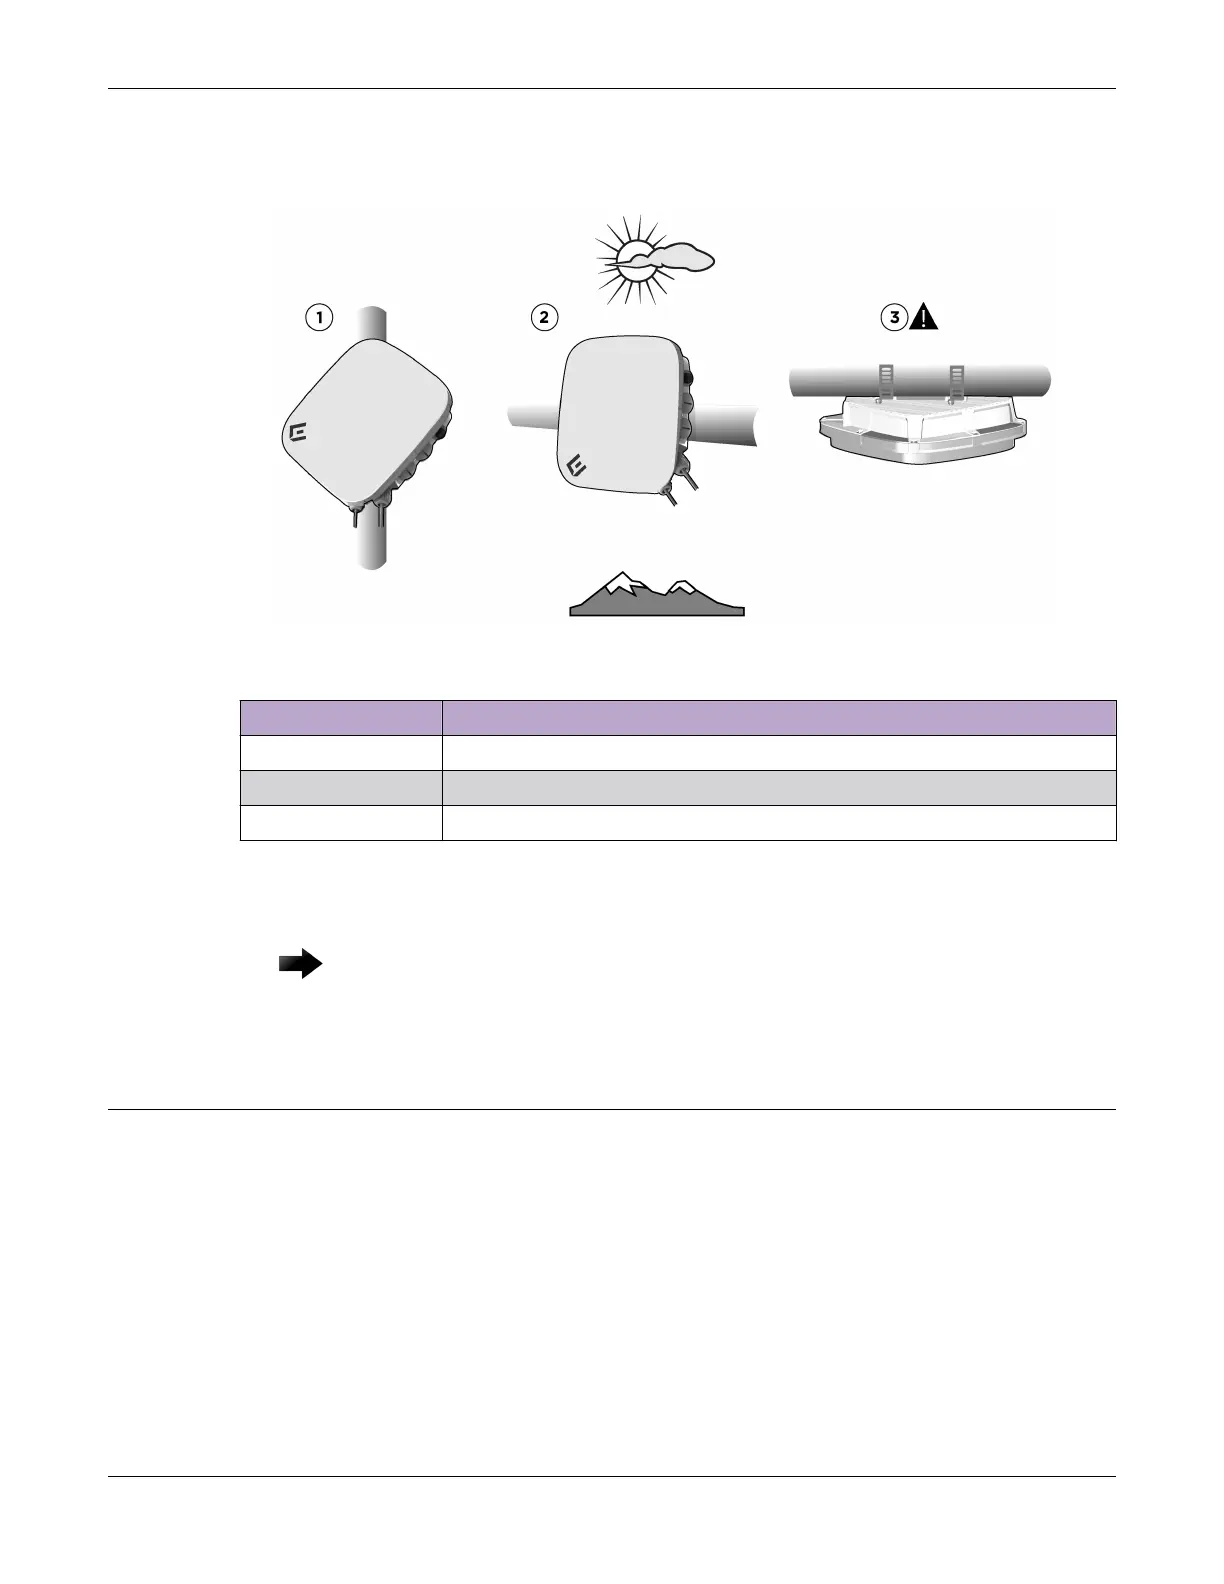
Figure 12: Access point pole mount positions
Callout Description
1 Vertically oriented access point mounted onto a pole
2 Horizontally oriented access point mounted onto a pole
3 Access point mounted onto a horizontal pole (indoor warehouse installation)
As an added security measure, you can thread a safety strap through one of the cable clamp slots in
addition to the cable clamps. Connect the other end of the strap to a secure object.
Important
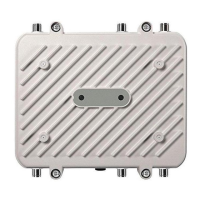
The access point LAN glands must face down to eliminate water from entering the chassis.
Install the Access Point on a Flat Surface Using AH-ACC-BKT-ASM
Accessory
Install the access point on a vertical or horizontal outdoor flat surface using the AH-ACC-BKT-ASM
accessory.
Before You Begin
The following hardware is required to install the access point to a flat surface:
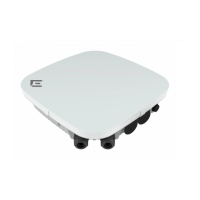
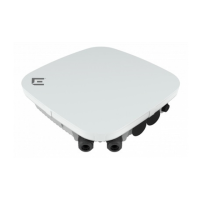
• An access point (AP460C, or AP460S6C, or AP460S12C)
• AH-ACC-BKT-ASM wall accessory (must be purchased separately)
• Four M5 bolts
• Four wall mount screws and screw-in anchors (must be provided by the installer)
Install the Access Point on a Flat Surface Using AH-
ACC-BKT-ASM Accessory Outdoor Mounting Accessory Installation
30 Wi-Fi 6 (802.11ax) Access Points
 Loading...