7
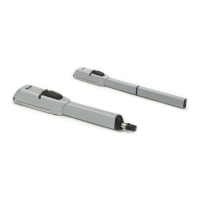
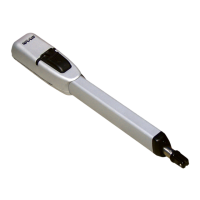
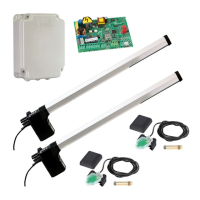
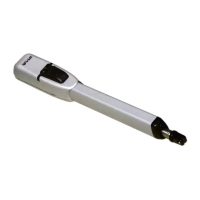
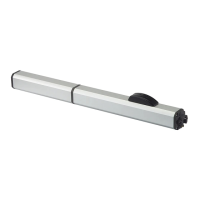
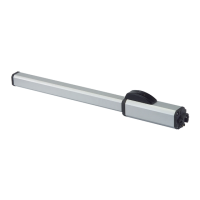
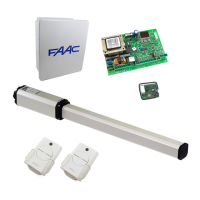
Operators 412
Photocells
Control unit
Pushbutton
Receiver
Flashing light
4. INSTALLATION
4.1. PRELIMINARY CHECKS
To ensure trouble-free operation, make sure that the gate (whether
existing or yet to be installed) has the following specifications:
• max. length of each gate leaf: 14 ft.
• strong and rigid leaf frame
• smooth gate movement, with no stiff points
• hinges in good condition
• gate swings level
• mechanical travel limit stops
If any welding has to be done on the gate, do this before installing
the automation system. The good status of the gate structure
directly influences the reliability and safety of the automation
system.
4.2. INSTALLATION OF THE OPERATORS
1) Mount the rear bracket to the gate post according to the
dimensions in par. 2.1 or 2.3. Adjust the length of the bracket
if necessary.
Warning: Follow the specified dimensions to ensure correct
operations.
In case of steel gate posts, weld the bracket directly to the
gate post.
A
B
D
C
E
In case of brick/concrete gate posts, mount a wall plate
(fig. 3), and weld the bracket to the plate.
2) Mount the operator to the rear bracket using the suppled
bolt (fig. 3).
Opening
angle
A (in) B (in) C (in) D* E (in)
90°
N/A less than A
110°
N/A less than A
* The dimension D is not a constraint in this configuration
2.3. OUTWARD OPENING
3. WIRING
Fig. 4
Fig. 5
NOTE: There are two different versions of the 412 operator,
left and right hand. The operator attached to the hinge on
the left of the gate must be an SX model. If the hinge is on
the right side, the DX model must be installed. Installing the
operator on the wrong side makes it impossible to install the
protective cover. For correct installation the operator must
be positioned as shown in fig. 3.
3) Release the operator (see par. 5).
4) Extend the rod to the end of its stroke (fig. 4).
5) Lock the operator (see par. 6).
6) Rotate the operator rod two full turns clockwise (fig. 4).
7) Fit the front bracket onto the rod as shown in fig. 5.
Fig. 3
• Use suitable rigid/flexible conduits for laying power cables.
• Always keep low voltage accessory cables separate from AC~power
cables. To avoid interference, use separate conduits.