ENGLISH
6) Position again the cover by sliding it on the lower casting and make sure that it reaches the stop, Fig.25.
7) Screw both lower screws, Fig.25.
8) Re-position the two front plugs.
4.8. Start-up
ATTENTION: Cut power before any job on the system or on the operator.
Carefully observe points 10, 11, 12, 13 and 14 of the SAFETY GENERAL RULES.
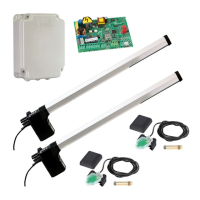
With reference to the indications in Fig.3, set the ducts and carry out the electrical connections of the control board and of the
chosen accessories.
Always separate power cables from control and safety cables (push button, receiver, photocells, etc.). To avoid any electrical noise
whatever in the unit, use separate sheaths.
1) Power up the system and check the LED condition as shown in the table of the control board instructions.
2) Program the control board according to the needs by following the given instructions.
5. TESTING THE AUTOMATED SYSTEM
• Carefully check operating efficiency of the automated system and of all accessories connected to it, paying special attention
to the safety devices.
• Hand the “User’s Guide” to the final user together with the Maintenance sheet.
• Explain correct operation and use of the automated system to the user.
• Indicate the potentially dangerous areas of the automated system to the user.
Fig. 25