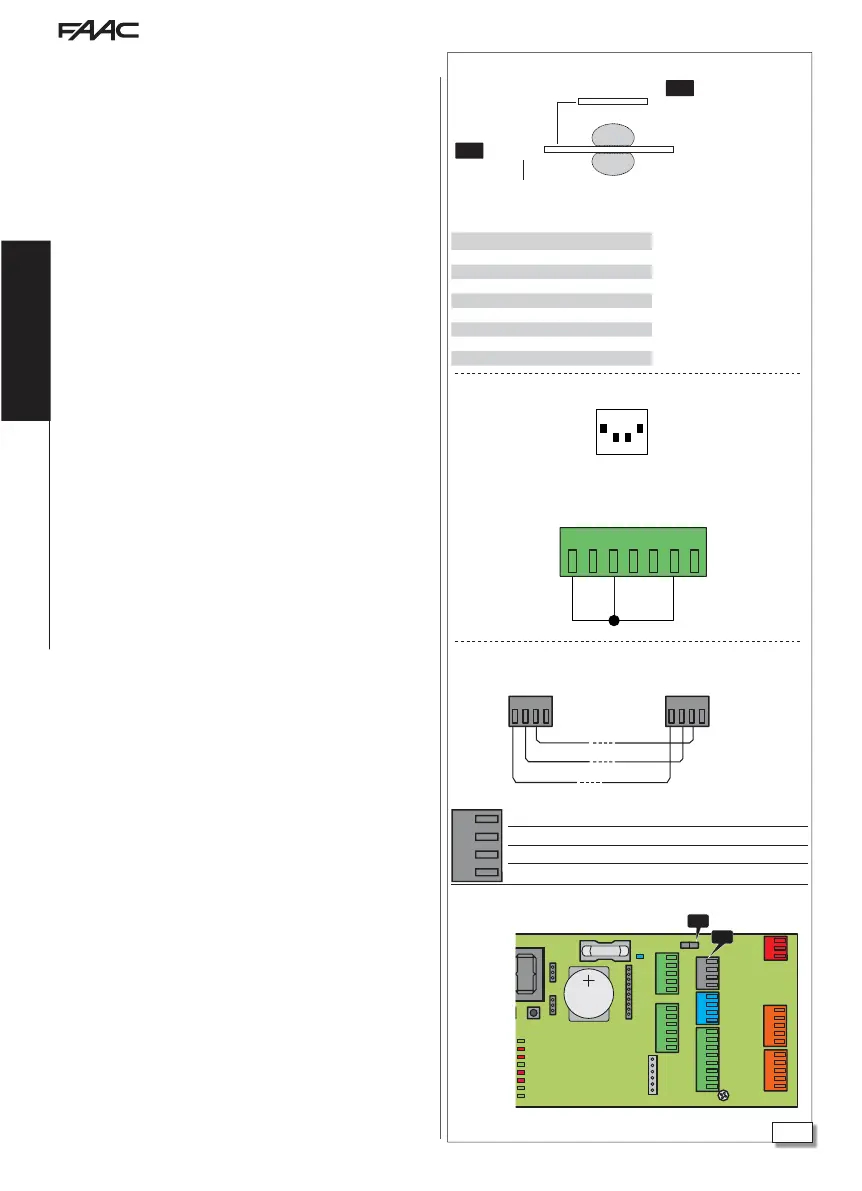
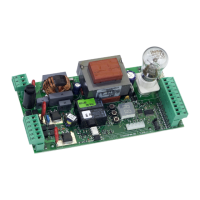
J18
E1SL E1AS (DIP switch)
1 9
2 10
3 11
4 12
5 13
6 14
7 15
8
J26
Translation of the original instructions
EN GL IS H
9.2 AIRSLIDE
An AIRSLIDE device can be installed that is controlled by the automa-
tion via the INTERCOM network. AIRSLIDE is activated when the
door is opening or closing, or open (status other than “closed”) and
deactivates when the door is closed. The fan speed can be auto-
matically decreased when people are detected(via safety detectors)
in the access.
INSTALLING AIRSLIDE
1. Install the AIRSLIDE device following the instructions provided. On
the E1AS board:
- assign ID=9 using the DIP switch SW4
- place a jumper between inputs 1 and 3 and the negative (6) on
terminal board J1
2. With the mains power supply switched off and the emergency
battery disconnected, make the network connection between
the boards.
3. Turn power on to the boards.
4. With the SDK EVO connected to the E1SL, assign ID 1 to E1SL and
then enable AIRSLIDE:
- /PROGRAMMING/INTERCOM/ID:
… INTERCOM ID ID = 1
… AIRSLIDE ENABLED (ID = 9)
5. Register the boards on the network (each board is called a NODE).
… NODES ENTRY
… ARE YOU SURE? OK … WAIT … NODE LIST
6. Enable the function and program the speed of the fan:
… NODE LIST select the ID AIRSLIDE and OK
… FUNCTION select ENABLED and OK
… SPEED1 1…4 adjusts the normal speed (e.g. = 3) and OK
… SPEED2 1…4 adjusts the reduced speed (e.g. =1) and OK
If you do not require a variable speed,, assign the same value to both.
7. Lastly, press ESC repeatedly until you return to the main menu
of SDK EVO.
The NODE LIST menu displays a menu for each board connected
the network.
- /PROGRAMMING/INTERCOM/NODE LIST press OK
note: ID indicated with (*) = NOT on network, ID indicated with (!) = error
NODE LIST select an ID and press OK to display the menu
… ID = 1 (A1400 AIR) and OK displays::
INFO ( FWversion) …ERRORS …WARNINGS …CYCLES NUMBER …MAINTE-
NANCE allows the door to be placed in manual mode (select MANUAL) or restore
operation (select DISABLED)
… ID = 9 (AIRSLIDE) and OK displays:
INFO (FWversion) …FUNCTION (ENABLED = on network / DISABLED NON on net-
work) …SPEED1 (adjustable) …SPEED2 (adjustable)
To install additional AIRSLIDE, proceed in the same way keeping to
the pre-set ID associations.
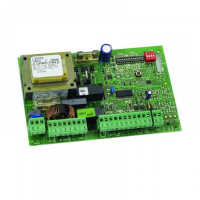
Network connection between boards E1SL (J18) / E1AS (J2)
J18