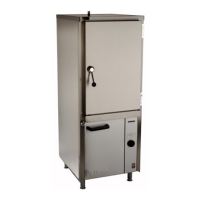
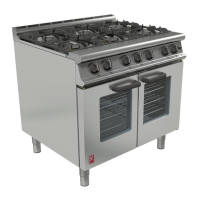
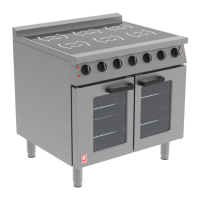
3.7.2 Open Top Burner – Injector Assembly (G2102 C only)
To Remove
Remove lift-off hob components as detailed in Section 3.2.3.
Undo gas supply pipe compression fitting and screws securing injector assembly.
Remove burner injector assembly.
Replace in reverse order.
To Clean
Detailed cleaning procedure is given in Section 4 of User Instructions.
3.8 INJECTORS
If injector requires cleaning, do so with a wooden splinter or similar non-metallic instrument. Do not
broach with a drill as this might effectively increase the diameter of injector orifice.
3.8.1 Oven Injector
Remove burner as detailed in Section 3.7 then remove injector by unscrewing it from burner.
Separate injector from elbow fitting.
Replace in reverse order.
3.8.2 Open Top Injectors (G2102 C only)
Remove pan support, burner head and aluminium bezel.
Place socket down main burner body centre. Undo and carefully remove injector.
Replace in reverse order.
3.9 OPEN TOP PRESSURE GOVERNOR (G2102 C only)
The type of governor used is maintenance free. Check that blue dust cap for the vent is fitted and in
good repair. This will protect the breather hole.
3.10 OVEN DOOR SWITCH
To gain access, proceed as follows:
Withdraw oven control panel.
Remove RH side panel (as Section 3.2.5).
Remove screws holding microswitch bracket and withdraw switch by moving it down and forward.
Note wire location and pull off connectors.
Remove microswitch from bracket.
Replace all parts in reverse order.
Note - The trip lever bracket holes are slotted to enable switch operation to be adjusted with respect
to degree of door opening. Adjust so that fan goes off when centre edge of door is open approx.
100mm. Apply a few drops of oil to trip lever bearing occasionally.
3.11 OVEN LIGHT
To replace bulb, proceed as follows:
From inside oven, undo lens fixings and remove lens.
Unscrew bulb, taking care not to let it fall down behind oven back panel.
Fit new bulb and replace lens.
The correct type of bulb must be used.

 Loading...