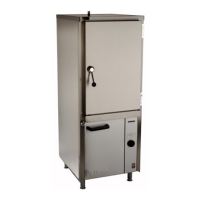
3.12 OVEN FAN
This is removed from inside oven compartment, as follows:
Remove oven grid shelves and any loose items.
Remove oven chamber back panel as detailed in Section 3.2.4.
Remove fixings around fan back panel insert.
Remove nuts from studs around inner periphery and break seal around the edge.
Using two handles, pull fan assembly forward onto base of oven.
Remove wires from fan motor terminals, previously noting location of numbered wires and withdraw
assembly clear of the oven.
Dismantle inner fan from shaft by removing centre fixing screw and pulling fan off.
Remove motor by undoing 4 slotted screws (1 per leg of spider mounting).
Re-fit replacement motor in reverse order. Ensure mounting plate is properly resealed using a high
temperature, food contact safe sealant, e.g. Ambersil.
Note - Do not fit inner fan from one motor on to another. Doing so is likely to result in assembly
being imbalanced, causing vibration and excessive noise.
When fitting fan to shaft, ensure pin in shaft is engaged in mating slot in fan boss.
3.13 CAPACITOR.
Warning: Always ensure that capacitor is safely discharged before handling.
To replace, proceed as follows:
Remove RH side panel (as Section 3.2.5).
Disconnect capacitor connections at terminal block mounted on panel, first noting the positions.
Remove hex nut at rear of capacitor and remove capacitor.
Replace in reverse order.
3.14 BUZZER
To replace, proceed as follows:
Withdraw oven control panel (as Section 3.2.1) and undo fixings for burner chamber grille.
Undo floor bracket fixing.
Remove buzzer fixing to bracket and disconnect electrical connections.
Replace in reverse order.
3.15 NEONS
Open oven control panel as detailed in Section 3.2.1.
Disconnect wiring and fixing nut.
Withdraw neon forwards.
Replace in reverse order.
3.16 OVEN LIGHT PUSH BUTTON
Open oven control panel as detailed in Section 3.2.1.
Remove electrical connectors at rear.
Undo fixing nut and remove.
Replace in reverse order.

 Loading...