Do you have a question about the Fanvil X6U and is the answer not in the manual?
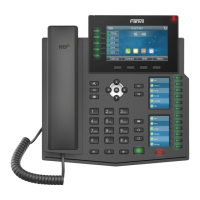
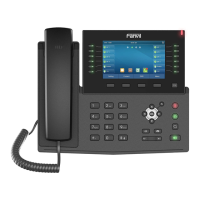
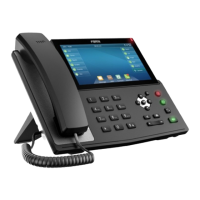
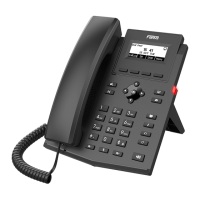
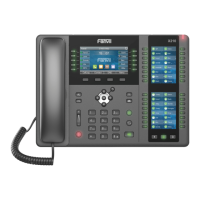
Identify the specific Fanvil phone model for successful setup and registration.
Ensure the Fanvil phone is loaded with the correct firmware version for PBXware compatibility.
Ensure a fully configured and operational DHCP server is available on the network.
Verify the installed PBXware version to ensure compatibility with the Fanvil phone.
Connect the phone to power using the provided AC adapter and connect to the network.
Connect the phone to power via a PoE-compliant network switch or router.
Locate the Fanvil phone's IP address on its display for web interface access.
Reset the Fanvil phone to its default factory settings if it has been previously used.
Manually configure the phone settings for extension registration on PBXware.
Configure Universal Auto-Detection (UAD) settings in PBXware for Fanvil phone compatibility.
Create a new PBXware extension for the Fanvil phone, including model and location.
Enter the phone's credentials and server address for registration on PBXware.
Configure UAD settings in PBXware for automatic phone provisioning.
Create a PBXware extension for automatic phone provisioning.
Register the Fanvil phone using auto-provisioning methods like TFTP or HTTP.
Configure Busy Lamp Field (BLF) settings for Fanvil phones within PBXware extensions.
Configure the Fanvil phone's DSS keys for BLF functionality via its web interface.
| Handset type | Wired handset |
|---|---|
| Product type | IP Phone |
| Product color | Black |
| Backlight keypad | Yes |
| Ethernet LAN interface type | Gigabit Ethernet |
| Supported network protocols | IPv4, IPv6 |
| Headset connectivity | Wireless |
| Ethernet LAN (RJ-45) ports | 2 |
| Caller ID | - |
| Lines quantity | 20 lines |
| Phonebook capacity | - entries |
| Keypad number of keys | 60 |
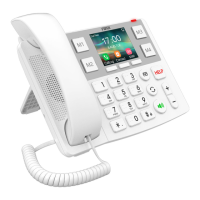
| Display diagonal | 4.3 \ |
| Display resolution | 480 x 272 pixels |
| Number of handles included | - pc(s) |
| Voice codecs | G.722, OPUS |