PRESETS
20
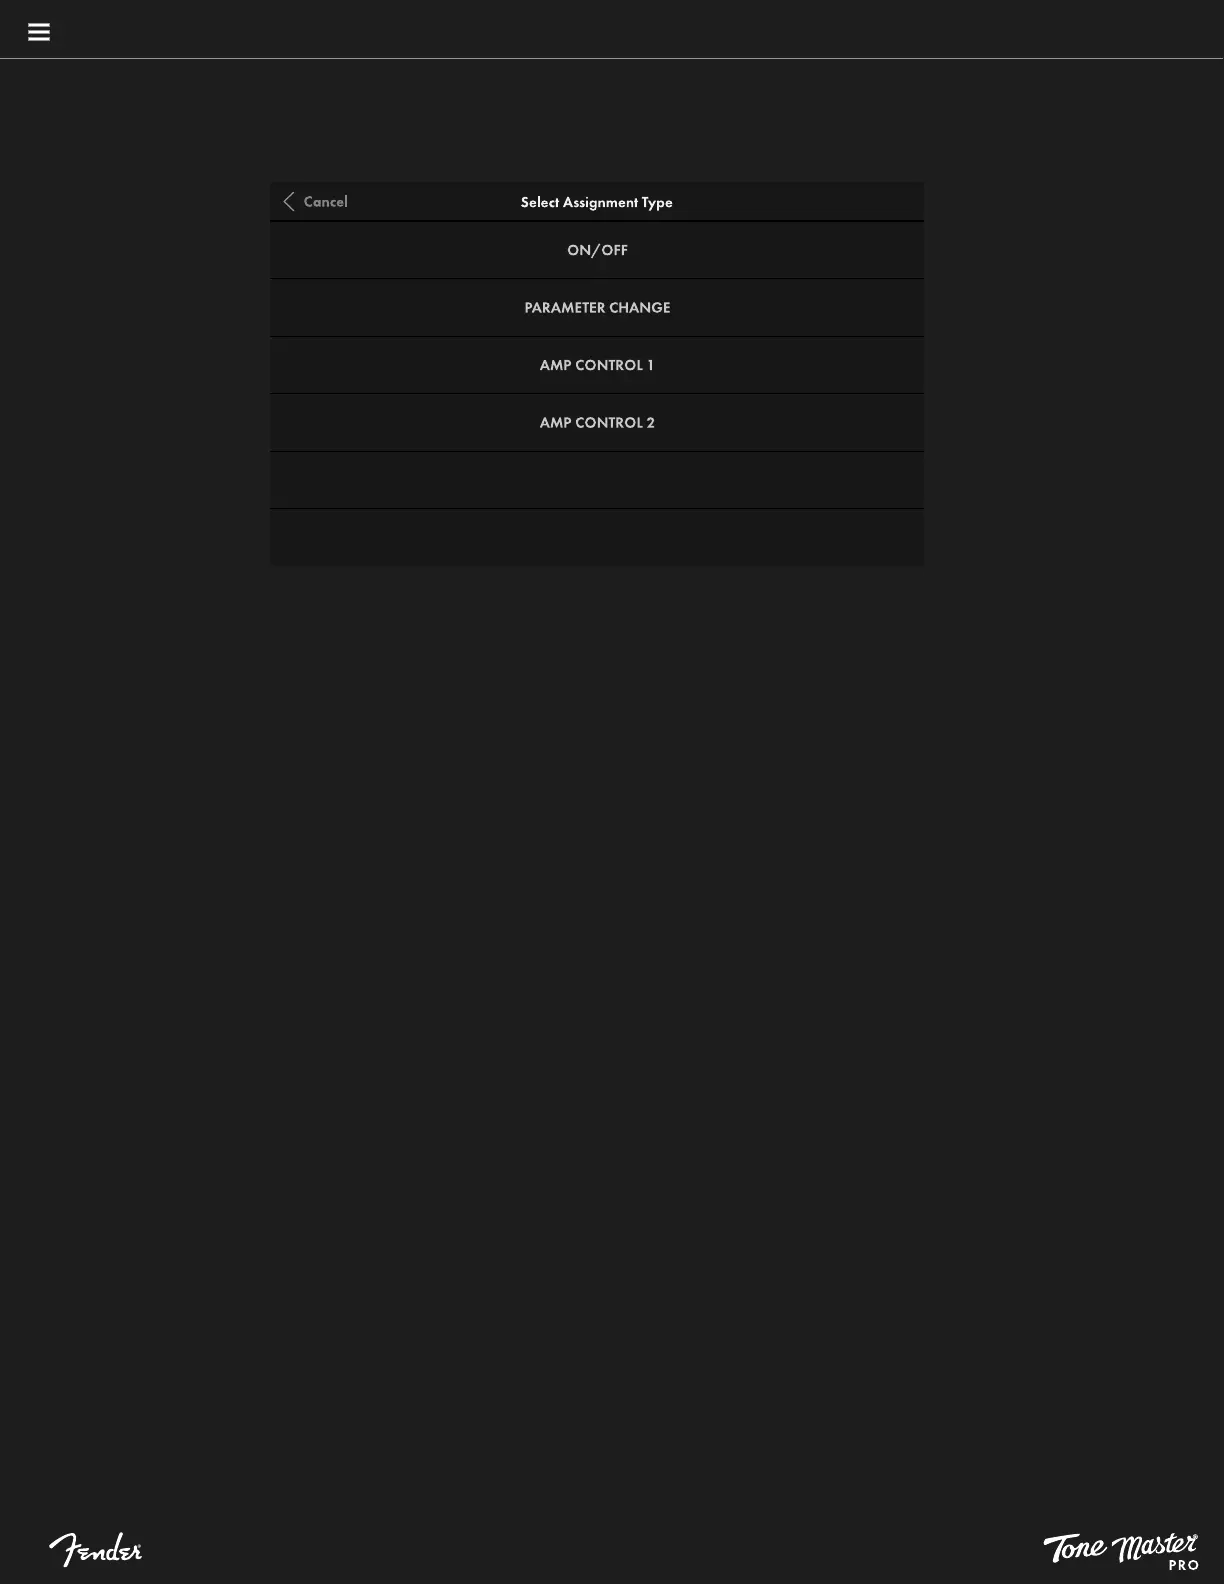
FOOTSWITCH ASSIGNMENT TYPES
The first step to creating a footswitch assignment is to select the desired assignment type:
• ON/OFF: Delivers true stompbox functionality by turning multiple blocks on and off simultaneously. On/off functions can also be used
to toggle between two or more blocks for A/B selection. To configure this, assign each block, then return to preset view using the
back arrow and bypass one or more of the assigned blocks by touching it and selecting the BYPASS switch in the lower ribbon. Pressing
the footswitch will now A/B toggle between the two assigned blocks, which is useful for engaging multiple effects and amps (for
example, one clean and one dirty) during performance. Note that there is no limit to how many blocks can be assigned to a single
on/off assignment.
• PARAMETER CHANGE: Assign a footswitch to toggle between two control settings on an amp or effect. After assigning a footswitch
as described above, touch PARAMETER CHANGE in the Select Assignment Type screen. In the signal path shown, touch an amp or
effect blocks to be controlled with the selected footswitch; then touch CONFIRM. After assigning a block to the Parameter Change
assignment, the Select Parameter screen shown will display the control parameters for the selected block. Touch the specific parameter
to be controlled, then confirm the active and inactive values by sliding a finger on the gradient slider.
For example, a footswitch can be assigned to control a reverb mix with two different settings, such as 50 percent and 15 percent. One
percentage can be assigned as the active footswitch value and the other as the inactive value; the footswitch will then toggle between
both values. The selected control values with be displayed in the Preset Assignment screen, along with the color, switch and custom
label parameters described above. One block can be assigned per Parameter Change assignment.
• AMP CONTROL 1/2: Assign a footswitch to control switching functions on external devices using the rear panel AMP CTRL jack. After
assigning a footswitch as described above, touch AMP CONTROL 1 or AMP CONTROL 2 in the Select Assignment Type screen. In the
Preset Footswitch Assignment screen shown, the user can configure active and inactive LED colors, momentary or latching switch
operation and custom labeling.
To access both AMP CONTROL 1 and AMP CONTROL 2 functionality from the single rear-panel AMP CTRL jack, a 1/4” TRS-to-dual
mono insert cable is necessary (tip is AMP CONTROL 1; ring is AMP CONTROL 2). For example, AMP CONTROL 1 can be used to
control the channel switching on an external amplifier, while AMP CONTROL 2 can be used to control reverb on/off.
Powerful footswitch assignments can be made by combining them; these will appear as MULTI in the scribble strips (like any other, this
name can be changed by creating a custom label).