V2.0
TM
FENIEX. 2017 INSTRUCTION MANUAL
WEB. www.feniex.com
4
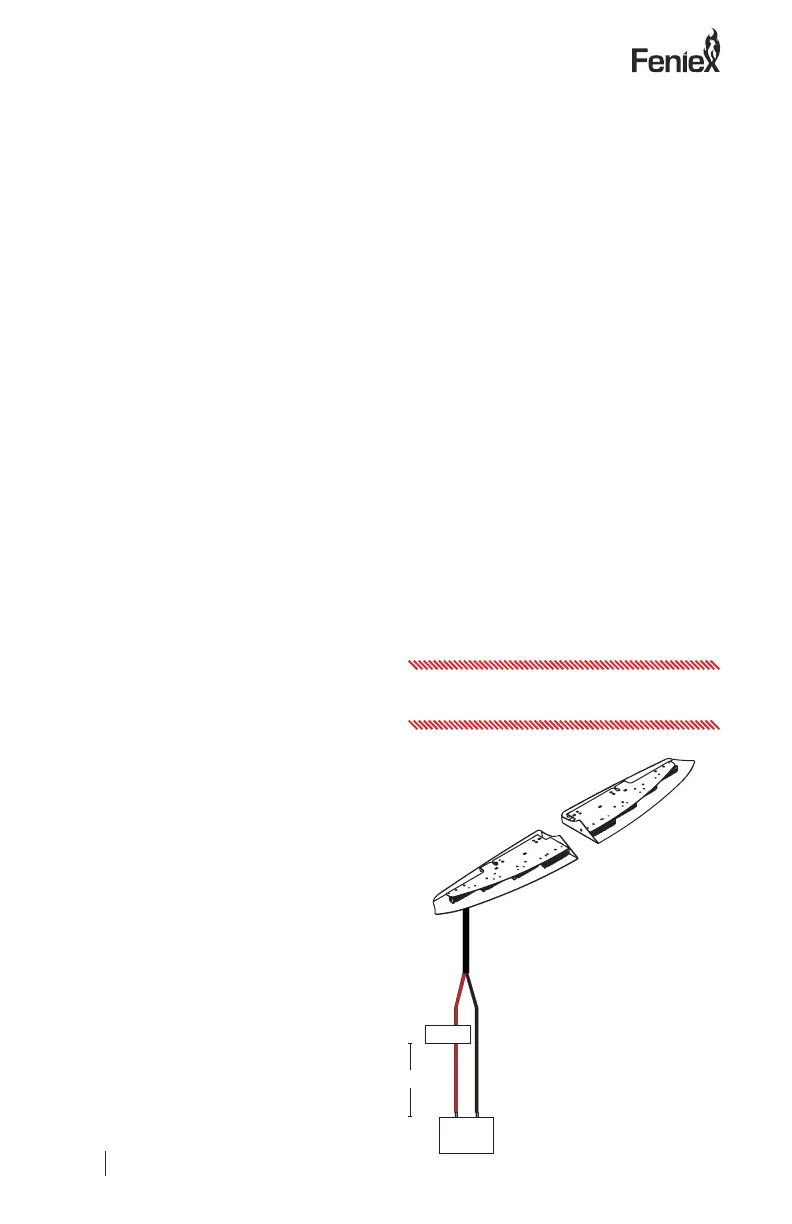
Wiring Instructions
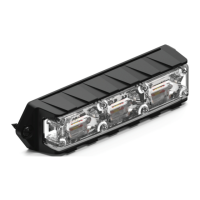
Fusion Single Color Wiring Instructions:
Step 1: In order to power the unit, extend
the red, 12V(+) wire to the 12V(+) post of
the vehicle’s battery. Extend the black 12V(-)
wire to the ground post of the vehicle’s
battery.
Step 2: To turn the lightbar on, connect the
brown wire to a 12V(+) source.
Step 3: Momentarily connect the yellow wire
on a 12V(+) source to change ash patterns.
Step 4: For left arrow function, connect the
blue wire to a 12V(+) post (switch). There
are 2 different left arrow ash patterns. To
select a pattern, engage the blue wire to a
12V(+) source and momentarily connect the
yellow wire on a 12V(+) source to select the
desired pattern.
Step 5: For right arrow function, connect the
gray wire to a 12V(+) post (switch). There
are 2 different right arrow ash patterns. To
select a pattern, engage the gray wire to a
12V(+) source and momentarily connect the
yellow wire on a 12V(+) source to select the
desired pattern.
Step 6: In order to achieve a center out
directional pattern, connect both the gray
and blue wires to a 12V(+) post (switch).
There are 2 different center out ash
patterns. To select a pattern, engage the
blue and gray wires to a 12V(+) source and
momentarily connect the yellow wire on a
12V(+) source to select the desired pattern.
Step 7: For takedown steady functionality,
connect the white wire to a 12V(+) post
(switch).
How to Activate Takedown Flashing for
Dual Color Fusion Bars:
Step 1: Connect the black wire to the
battery’s 12V(-) ground.
Step 2: Select the wire that will be set as
the takedown ashing mode wire, either the
green or brown wire.
Step 3: Twist the selected mode (green
or brown), red, white, and yellow wires
together.
Step 4: Power the lightbar on by connecting
the twisted wires to the battery’s positive
(+). Once activated, the takedown steady
function will engage. To verify takedowns
are ashing, disconnect the Takedown
Steady (white) wire from power.
Step 5: Repeat steps 1 through 3 to
deactivate Takedown Flashing.
+ -
battery
fuse
> 1’
Important! Takedown Steady overrides
takedown ashing.