10 Ferm
SPARE PARTS LIST FZT-250
REF NR DESCRIPTION FERM NR
1/2/3 SAWBLADE COVER COMPLETE 407460
13-18 ANGLE GAUGE COMPLETE 407461
19/20 TABLE INSERT 407462
22-35 SAWGUIDE COMPLETE 407463
45 GEAR SHAFT 407464
46 KEY 407465
47 GEAR 407466
54 ROTOR 407467
56 STATOR 407468
59/60/61 CARBON BRUSH + HOLDER 407469
81 HEX. NUT M16 X 1.5 407472
82 OUTSIDE FLANGE 407470
83 HARD METAL SAW BLADE 250 X 30 X16, T36 327252
83 HARD METAL SAW BLADE 250 X 30 X 16, T30 310360
84 INSIDE FLANGE 407471
103 CRANK 407473
111 MAGNETIC SWITCH 407474
115/116 FIXED BRACKET + RING -
OPERATIONAL SAFETY
Warning! This machine can produce fine dust,
which can be harmful to your health – always wear
a suitable dust mask and other
protection equipment as appropriate. Use dust extraction.
Concentrate
Routine and repetition can lead to mistakes. Remember
that a slight lack of concentration can result in serious
injuries in a split second.
Keep work area clean
Cluttered areas and benches invite injuries.
Consider the work environment
Do not expose power tools to rain or use them in damp
or wet locations. Keep work area well lit. Do not use
power tools in the presence of flammable liquids, vap-
ours or gases.
Guard against electric shock
This unit contains dangerous voltages. Use a RCD (resi-
dual current device) to provide protection against elec-
trical shock. Prevent body contact with grounded sur-
faces (e.g. pipes, radiator, ranges or refrigerators).
Keep children and pets away
Do not let children or pets come into contact with the
tool, extension cable or work area.
Do not force the tool
It will work better and safer at the rate for which it was
intended.
Use the right tool
Do not force small tools or attachments to do the job of a
heavy-duty tool. Do not use tools for purposes for which
they were not intended; for example do not use a circular
saw for cutting trees or logs.
Do not abuse cable
Never carry the tool by the cable or pull it to disconnect
it from the power socket. Keep the cable away from heat,
oil and sharp edges. Do not touch the metal plug pins
when connecting or removing the plug.
Do not over-reach
Keep a proper footing and balance at all times.
Disconnect tools from power supply
When not in use, before servicing and when changing
accessories such as blades, bits and cutters.
Always switch off and unplug the saw from the
power supply before making adjustments or chan-
ging blades.
Remove adjusting keys and wrenches
Ensure that they are removed from the tool before swit-
ching on.
Avoid unintentional starting
Do not carry plugged in tools with your finger on the
switch. Check that the switch is off before plugging in to
socket.
Outdoor use extension cables
When the tool is used outdoors use only an extension
cable intended for outdoor use and marked accordingly.
Use a RCD (residual current device) to provide protec-
tion against electrical shock. Do not use in rain or damp
conditions.
Connect a dust extraction device
Whenever there are facilities for fitting a dust or fume
extraction system, make sure it is connected and used.
Use recommended accessories
The use of any other accessory or attachment other than
recommended in the instructions or catalogue may pre-
sent a risk of personal injury.
Extension cables
Use extension cables suitable for the power input of the
saw (minimum cable size 1.5mm
2
- maximum cable
length 20 metres).
Only connect to an earthed socket When using a cable
reel unwind the cable fully.
BEFORE USING THE SAW
This saw must be fully assembled before use.
If you have not used a circular saw before, make sure
you fully understand the machine and operating procedures
before using it. Beginners can seek help and advice from instruc-
tors, local technical collage courses or from professionals.
Ensure the saw is unplugged from mains.
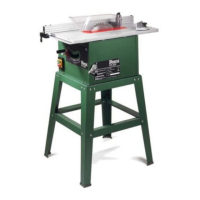
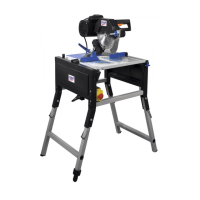
• Place the saw on a level stable bench or surface; the
saw must be fixed securely to the bench or used free-
standing with the floor stand (not supplied)
• If you are mounting the saw on the floor stand it must
be fixed securely to the floor with appropriate
fixings.
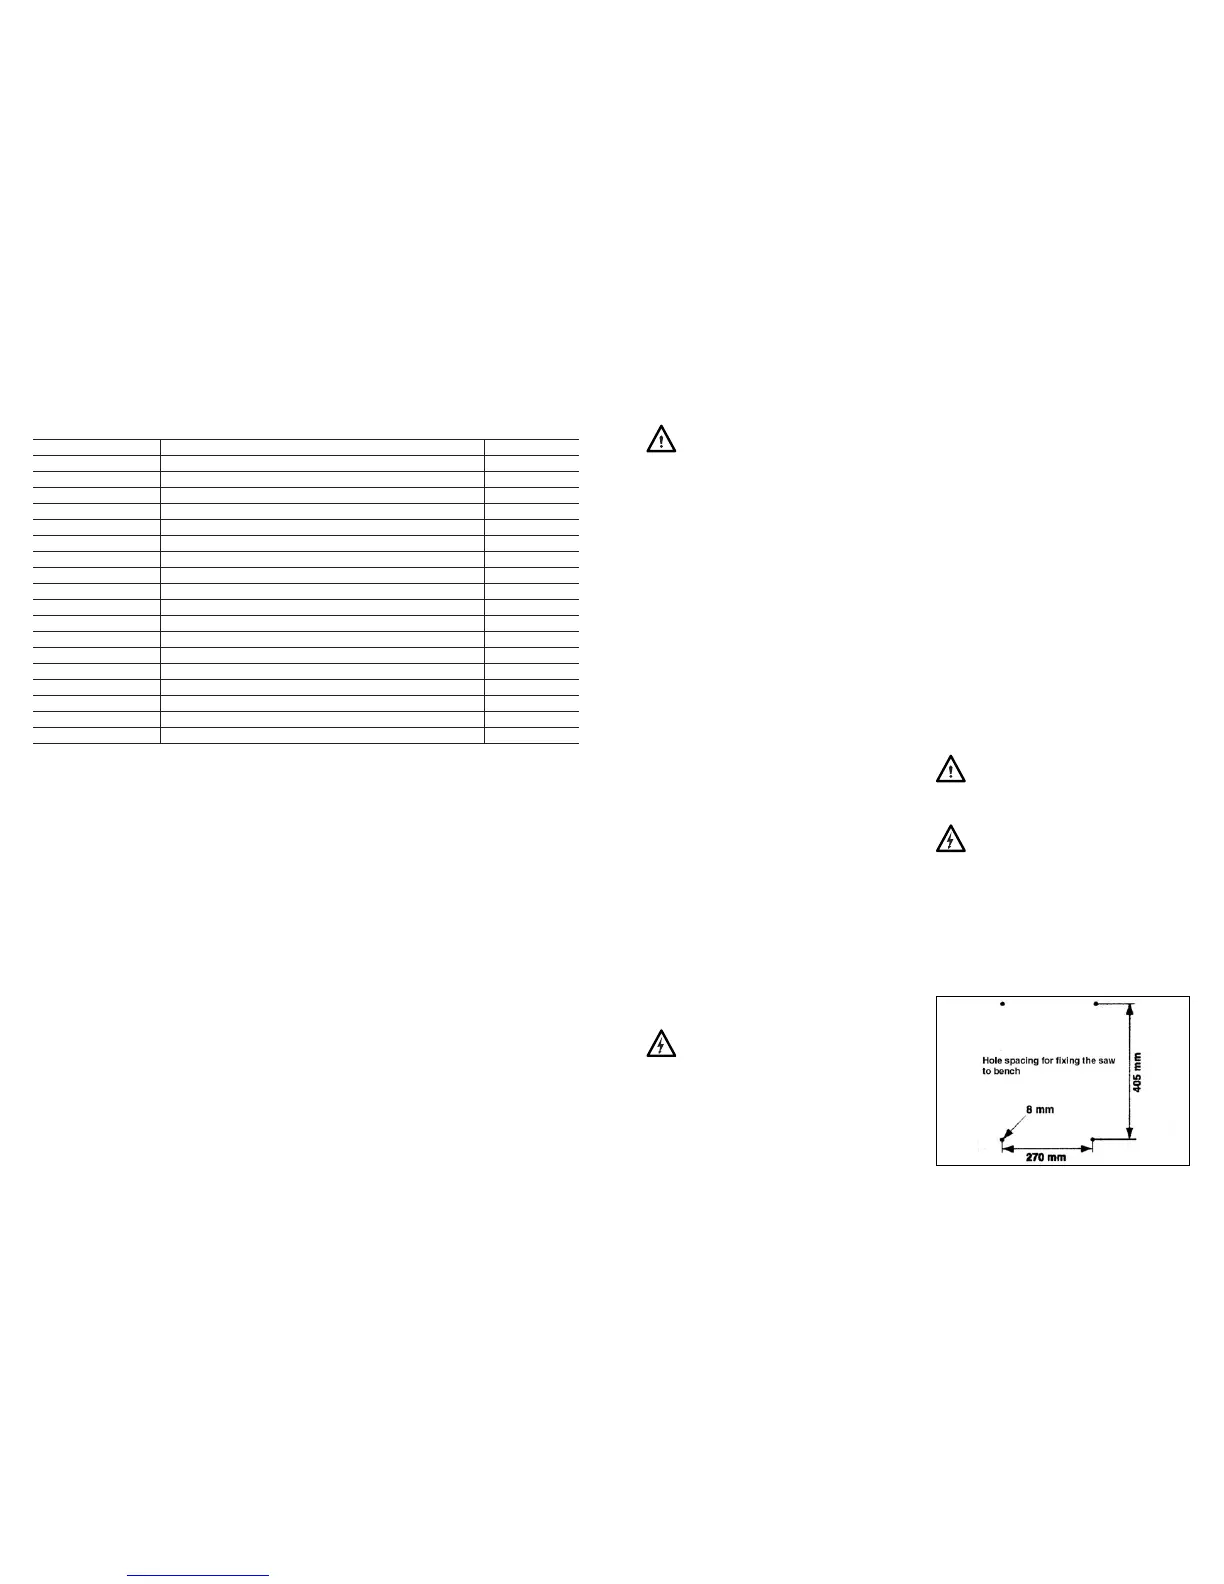
• The holes in the flanges of the saw base are for fixing
the unit to the bench with bolts, use suitable
bolts/washers and nuts. Below are diagrams of the
fixing hole spacing and the cutout for dust removal.
Ferm 3
 Loading...