Ferm 9
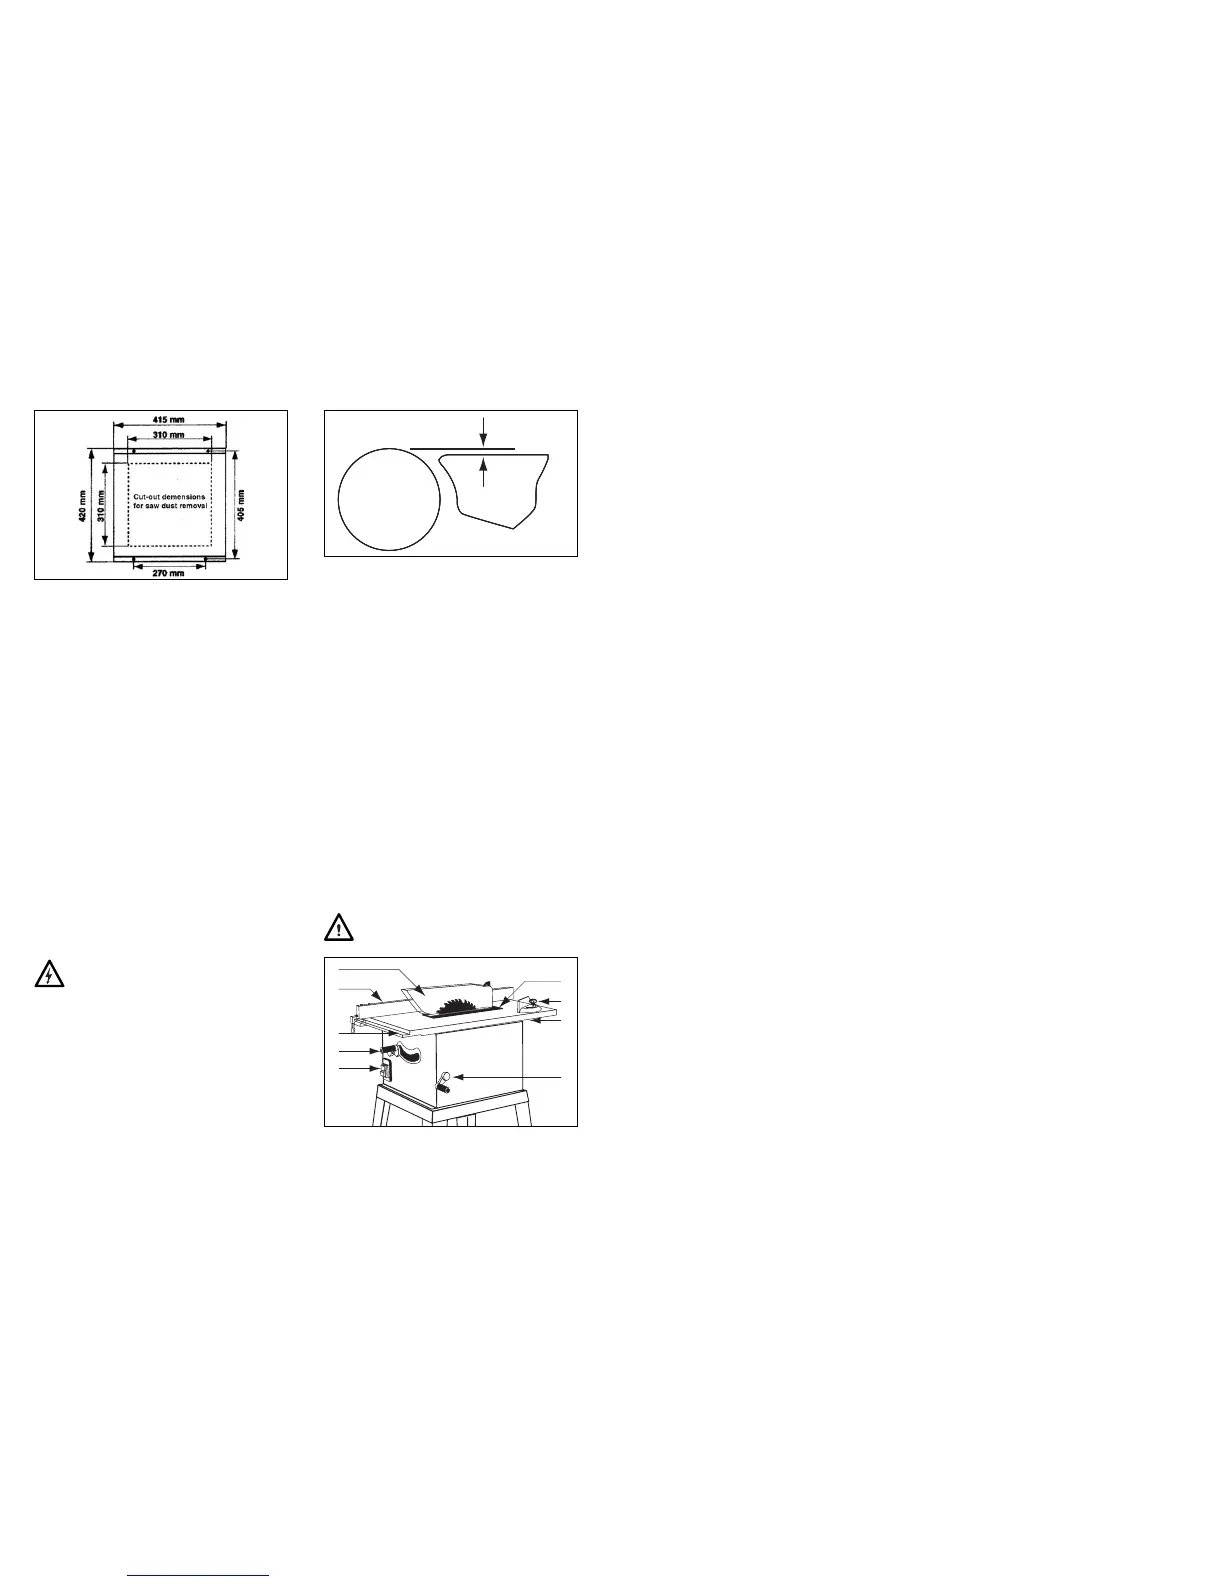
• The dust removal cutout is only necessary if you are
not using a dust extractor.
• The unit is equipped with a connection for a dust
extractor (not supplied) -it is strongly recommended
that dust extraction be used while operating this saw.
REMOVE INTERNAL PACKING
• Turn the saw upside down and unscrew the four-bot-
tom plate securing screws, remove the bottom plate.
• Remove the polystyrene packing piece, which pro-
tects the motor in transit.
• Replace the bottom plate and the screws with their
washers and tighten securely, turn the saw right way up.
ROUTE THE MAINS LEAD
Keep the mains lead away from the saw and ensure that it
cannot get caught in the workpiece or blade/blade guard.
ASSEMBLE THE CRANK HANDLES
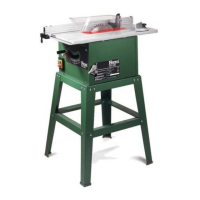
The saw is supplied with two crank handles (4,5), one
operates the tilt mechanism on the right hand side of the
saw and the other operates the blade rise and fall on the
front.
Put the handle onto its shaft and line up the flat on the
shaft with the grubscrew, push the handle assembly onto
the shaft and screw the grubscrew in part way – check
that it’s locating on the shaft flat and tighten securely.
ASSEMBLING THE RIVING KNIFE AND
BLADE GUARD
Ensure the saw is unplugged from mains.
Refer to illustration below.
Turn the front crank handle (5) (slack off red knob anti-
clockwise first) to raise the saw blade as far as it will go.
Assembly of the riving knife
• Remove the eight countersunk screws and the red
blade inset (3).
• Slacken off the two Allen bolts you will see to the rear
of the blade but do not remove them.
• Put the riving knife, the end with the two slots in, it
behind the square washer held by the Allen bolts,
screw up the Allen bolts hand tight.
• Check the curved knife tip is 5mm lower than the
blade tips as illustrated.
• Check the knife and blade are in line with a straight
edge.
• Adjust as necessary by moving the knife and /or was-
hers.
• Rotate the blade by hand to check that no tips are
touching the knife.
• Tighten the Allen bolts with the 5mm wrench provi-
ded.
• Replace the blade inset and screws and tighten them.
Assembly of the blade guard
• Put the blade guard assembly (1) over the long slot in
the riving knife with the direction arrow on the guard
facing the front of the saw.
• Take the long bolt and remove the nut, washer and
knurled thumb screw.
• Push the bolt through the slot in the guard, the slot in
the knife and the slot on the other side of the guard.
• Make sure the square shank of the bolt locates in the
slot in the guard.
• Fit flat washer, thumbscrew and nut and tighten
thumbscrew by hand until the slack has been taken up
but the guard is still able to rise and fall easily under its
own weight.
• Tighten the nut with a suitable spanner to prevent the
thumbscrew coming undone.
• Finally check the guard again – when you pull it up or
tilt it, it should fall back under its own weight, if it does
not readjust it.
Never use this saw without the guard and knife fit-
ted and working properly.


 To Next Page
 Loading...