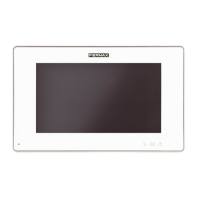
Monitor iLoft 4+NMonitor iLoft 4+N
Monitor iLoft 4+NMonitor iLoft 4+N
Monitor iLoft 4+N
Monitor iLoft 4+NMonitor iLoft 4+N
Monitor iLoft 4+NMonitor iLoft 4+N
Monitor iLoft 4+N
Pag 16
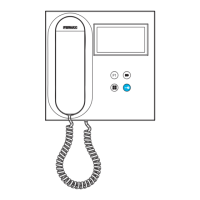
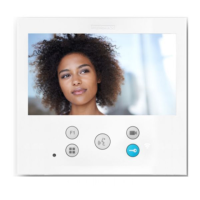
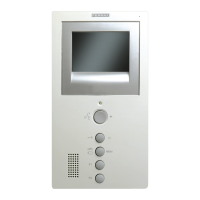
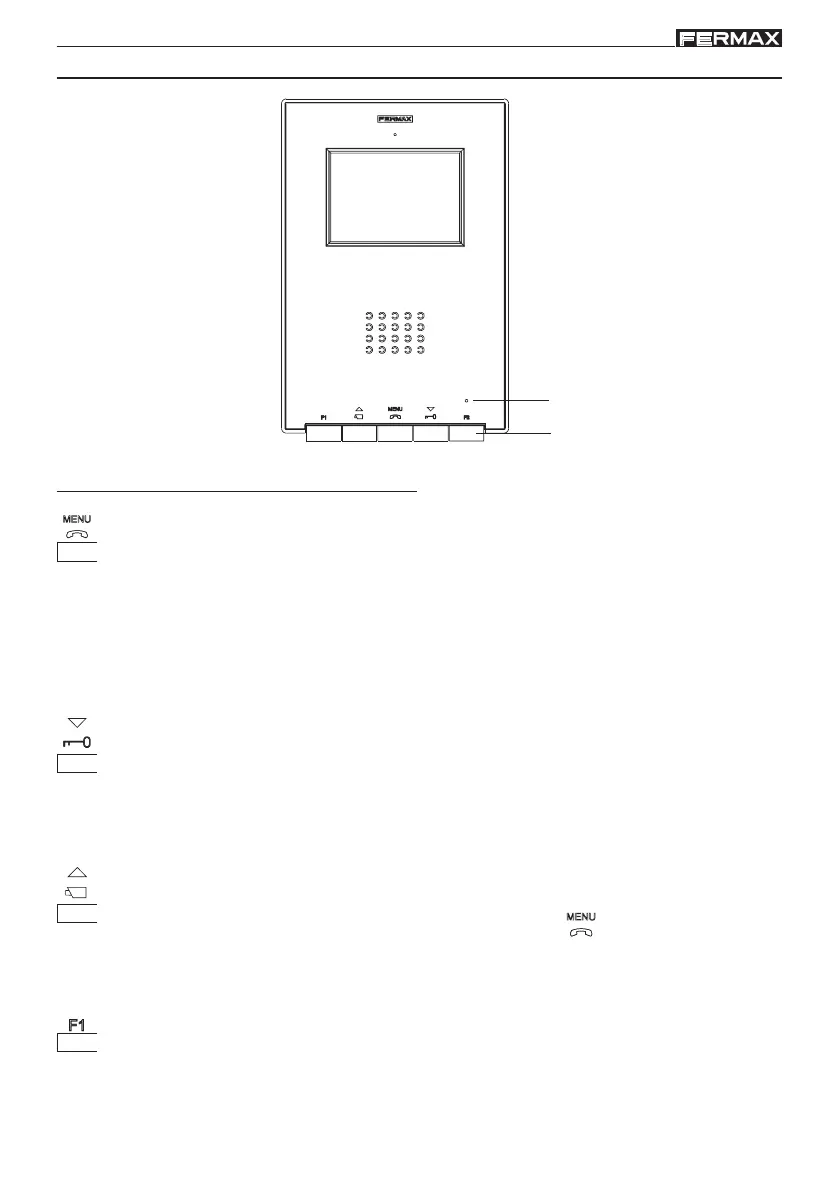
Buttons
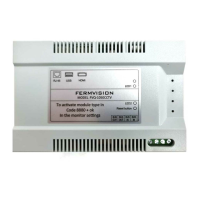
4+N iLOFT MONITOR
NOTE: The monitor screen goes on once the call from the panel has ended.
Auto-start button (function availability depends on the type of installation)
· With the monitor on standby, press this button for 1 second to switch the monitor
on manually. To activate the audio, press the button .
· With video, maintain pressing this button for 2 seconds to select the following
camera sequentially (if it exists).
F1 and F2: Buttons for Additional Functions (assigned by the installer).
F1:________________________________________
F2:________________________________________
Audio Activation, Hanging-up and Configuration-adjustment Button (menu).
· When a call is received, press this button to speak to the visitor. The audio
channel between the street and the home is opened; operation is in hands-free
mode.
· Press to end the communication.
· With the monitor on standby, press this button for 2 second to go into monitor
configuration mode. See the «Monitor Settings» section.
Door-opener / call to reception button.
· When you are in conversation with the Street Panel, pressing this button will
activate the door-opener.
· Installations with guard unit, with the monitor in default position, press this
button to realise a call to the guard unit.
Led
Buttons