Page 13
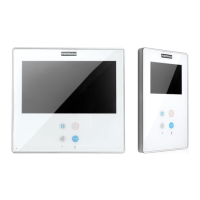
SMILE VDSSMILE VDS
SMILE VDSSMILE VDS
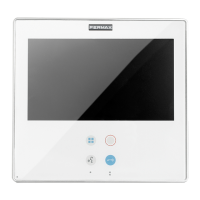
SMILE VDS
SMILE VDSSMILE VDS
SMILE VDSSMILE VDS
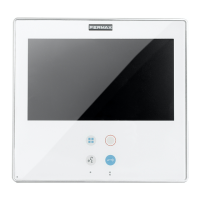
SMILE VDS
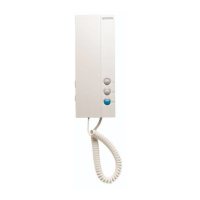
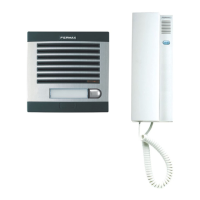
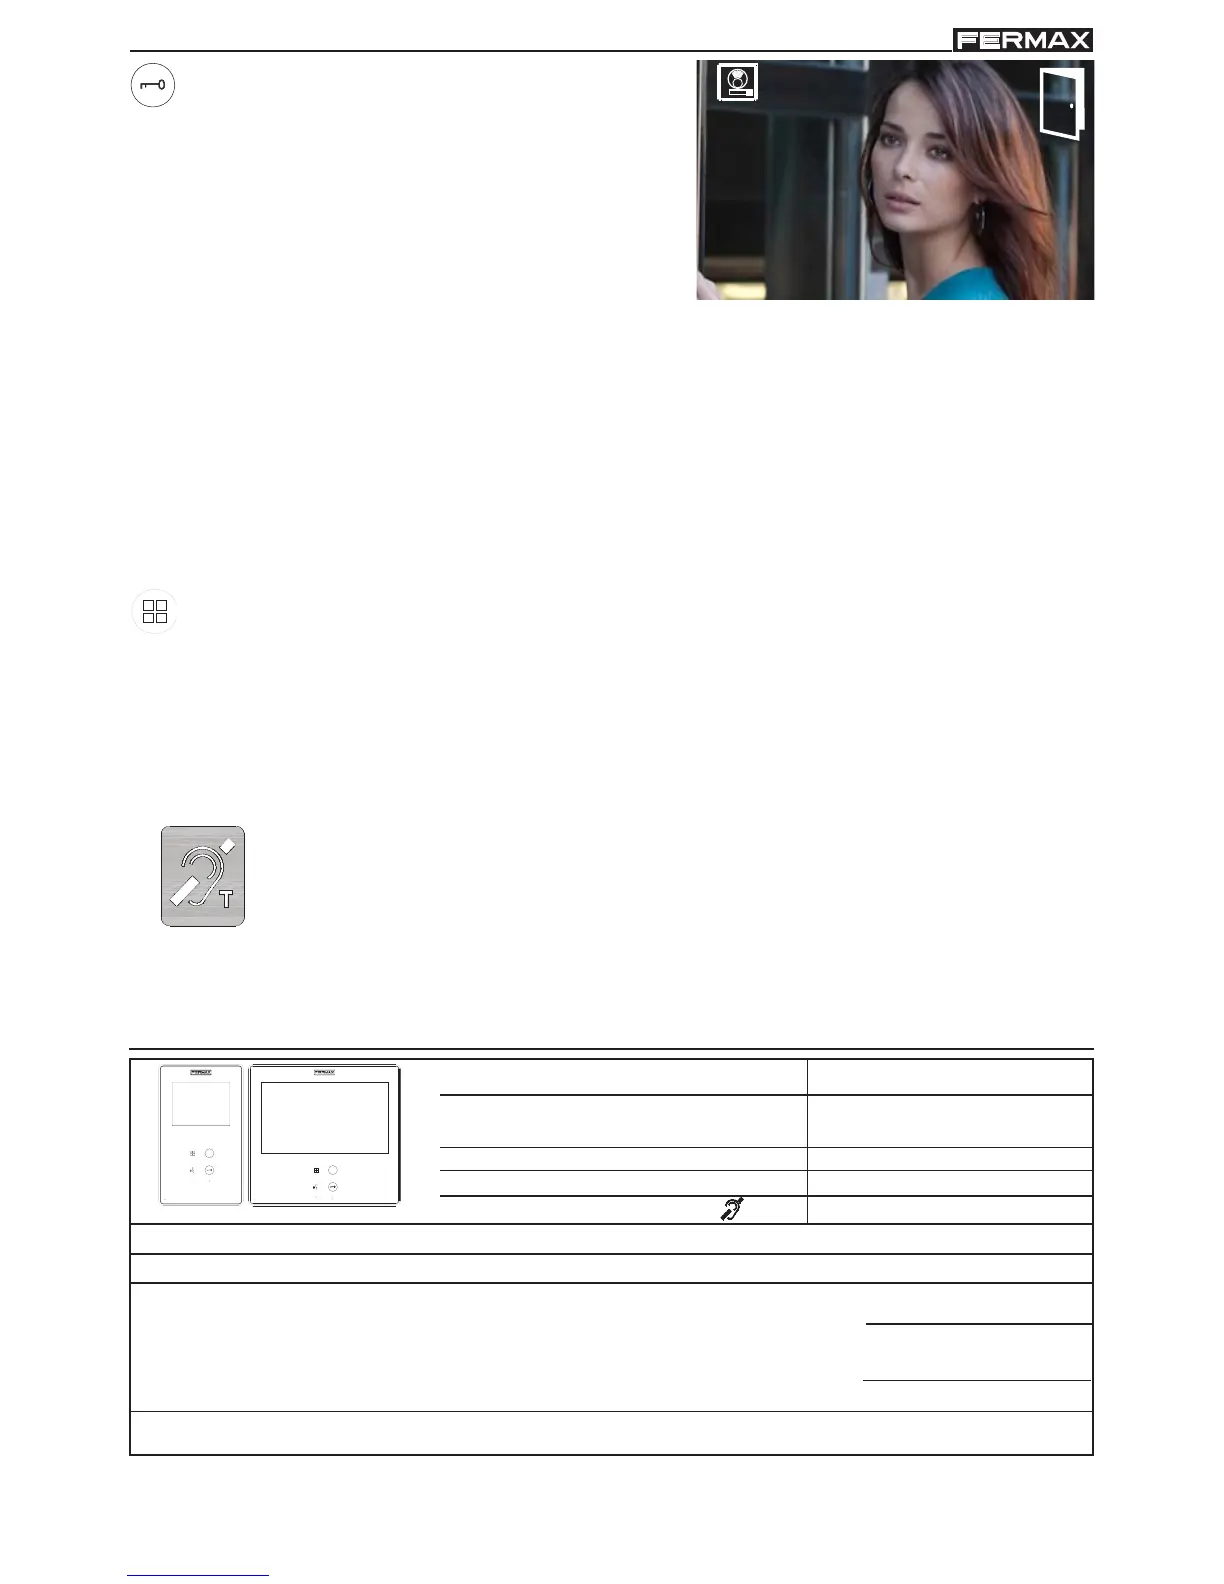
Lock Release / Call Guard Unit Button.
· Pressing this button whilst communicating
with the Entry Panel will activate the lock
release.
Note: The icon will indicate the channel
activated at each moment
(upper right
corner of the monitor).
1
· Pressing this button whilst the monitor is on standby will result in a call being made
to the guard unit (where one exists).
Note: If the channel is busy an error tone "BEEP" will be generated and the call to
the guard will not be made.
· The option of activating an output terminal (F2), once the lock-release is activated.
Note: Optionally, you can activate an output terminal (F2), if configured by the
inst
aller, once the lock-release is activated. This output remains active
while pressing the button. See chapter: e5) Auxiliary unction F2).
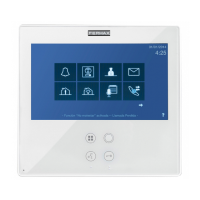
Button Menu: Adjustments and configuration.
· In order to access the Administrator menu, from which you can configure the
monitor according to the installation´s needs, and the user menu, from which
you can access the user´s customised settings.
TECHNICAL FEATURES
33 mA
272mA
400 mA
900mA
Power Supply
Consumption
Operating Temperature
OSD screen
Resolution
18 Vdc
standby
video
audio + video
audio + video with induction loop
[-5, +40 °C]
3.5" TFT
Video signal: Compound signal 1 Vpp 75 Ω, 7 Mhz
Humidity
[5% - 95%]
7" TFT
Hor.: 320 Line TV
Ver.: 240 Line TV
Hor.: 800 Line TV
Ver.: 480 Line TV
Induction loop
This function is available on depending model.
Including induction loop. There are identified with a label.
· Includes an induction loop which interacts with audio devices used by
the hearing impaired.
· Note: In manual audio devices Digital Mode should be configured.
 Loading...