11
© Ferno-Washington, Inc 234-3451-01 February 2011
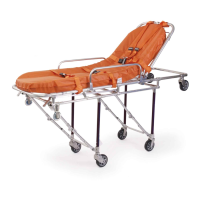
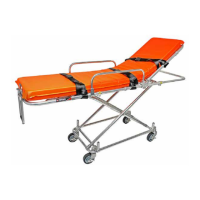
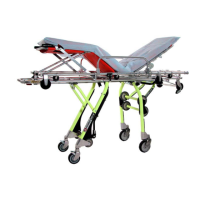
Model 35A Series
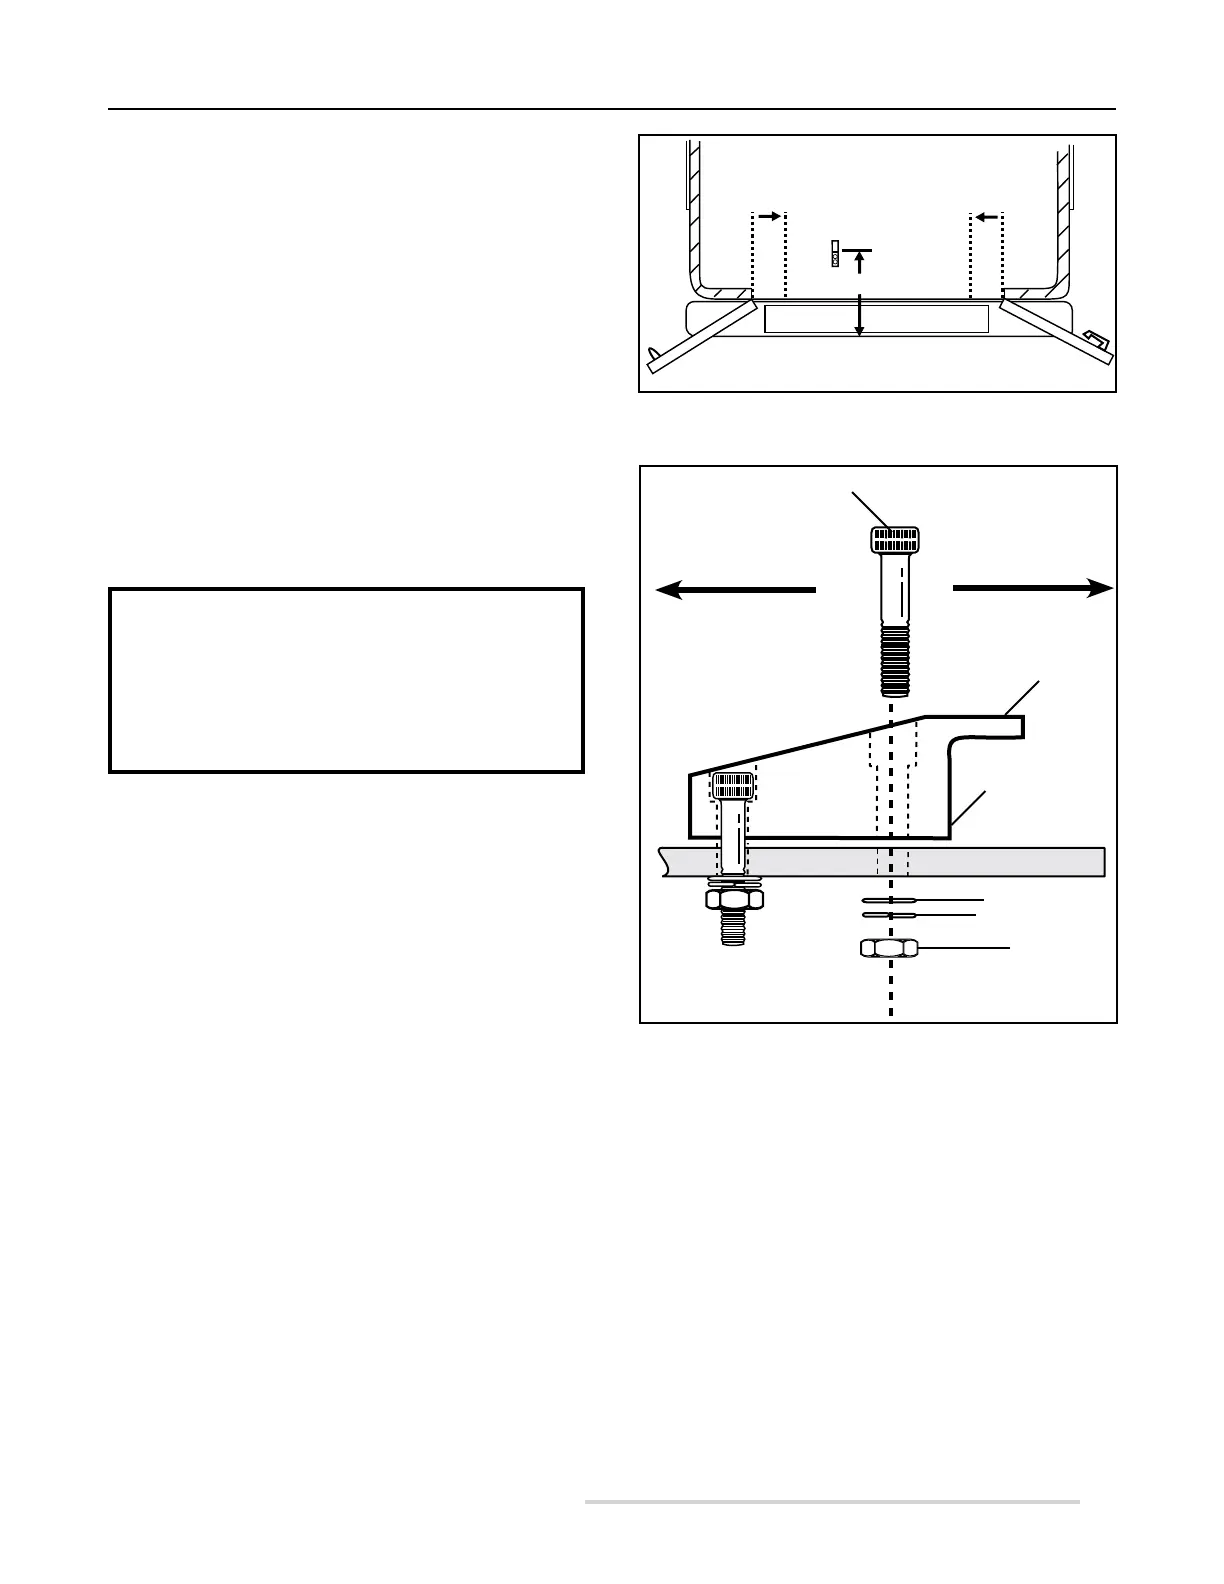
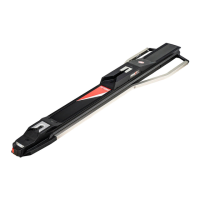
Figure 4 - Safety Hook Placement
Setup and Installation
INSTALLING THE SAFETY HOOK
1. Markthepositionofthesafetyhookontheoor.
2. Drill holes for the screws and attach the safety hook to
theoor(Figure5).
3. To test the hook, load and unload the cot. Verify that
there is no interference with folding or unfolding the
legs.
PROPER SAFETY HOOK PLACEMENT
Position the safety hook as close to the rear of the ambulance as
possible, within the limits below:
● The bumper or extended folding bumper must not exceed
14 inches (356 mm).
● Position the safety hook with the hook facing the front of
the ambulance.
● Position the safety hook at least 11 inches (279 mm)
from both sides of the door frame (Figure 4) so the cot
safety bar will engage the hook when the cot is loaded
or unloaded.
● Position the safety hook no more than
19-7/8 inches (505 mm) from the front edge of the hook
to the rear of the ambulance, including the bumper and
folding bumper step in the extended (open) position.
Important
If the safety hook is installed too far inside the
ambulance, you will not be able to properly fold or
unfold the cot undercarriage when it is secured by the
hook. Measure and install the safety hook as instructed
in this manual.
19-7/8" (505 mm)
Maximum
Figure 5 - Installing the Safety Hook
Socket-Head Cap Screw
Hook
Front Edge
Flat Washer
Lock Washer
Nut
Ambulance Rear Ambulance Front
11" (279 mm)
11" (279 mm)