10
© Ferno-Washington, Inc 234-3451-01 February 2011
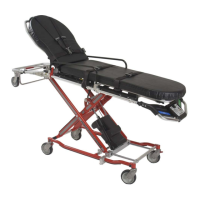
Model 35A Series
WARNING
Failure to use the safety hook can cause injury.
Install and use the safety hook as described in this
manual.
Important
Before installing the safety hook, consult the
ambulance manufacturer about possible interference
with wiring and other elements under the ambulance
oor, and about the ambulance warranty.
Setup and Installation
4.4 Install the Safety Hook
Note: If your ambulance service uses only the Stat Trac
®
Fastening System, skip the rest of Section 4.
The safety hook (Figure 2) provided with the cot must be
installedontheambulanceoor.Thesafetyhookisusedwith
the Ferno
®
Model 175 Cot Fastener.
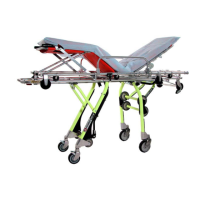
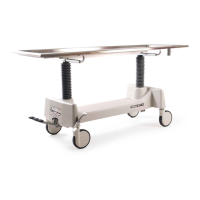
The safety hook catches the cot safety bar (Figure 3) to ensure
that the cot remains secure inside the ambulance while the
operators raise or lower the undercarriage during loading or
unloading.
Installing the safety hook requires the skills of a mechanic
familiar with ambulance construction.
Before installing the safety hook, consult the ambulance
manufacturer regarding:
● the location of wiring, oxygen or fuel lines, and other
elementsundertheambulanceoor
● the ambulance warranty.
HARDWARE REQUIRED NOT SUPPLIED
2 1/4-20 Socket-head cap screws
2 Flat washers
2 Lock washers
2 1/4-20 Nuts
● The socket-head cap screws must be long enough to pass
through the safety hook, patient compartment oor, both
washers, and still have at least two full threads extending
past the nut.
● The hardware should be of at least SAE Grade 5 or higher,
with UNC-2 threading (or equivalent), and a corrosion-
reisistant coating.
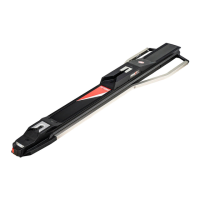
Safety Hook
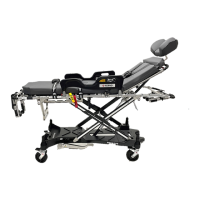
Figure 3 - Engaging the Safety Hook
Safety Bar
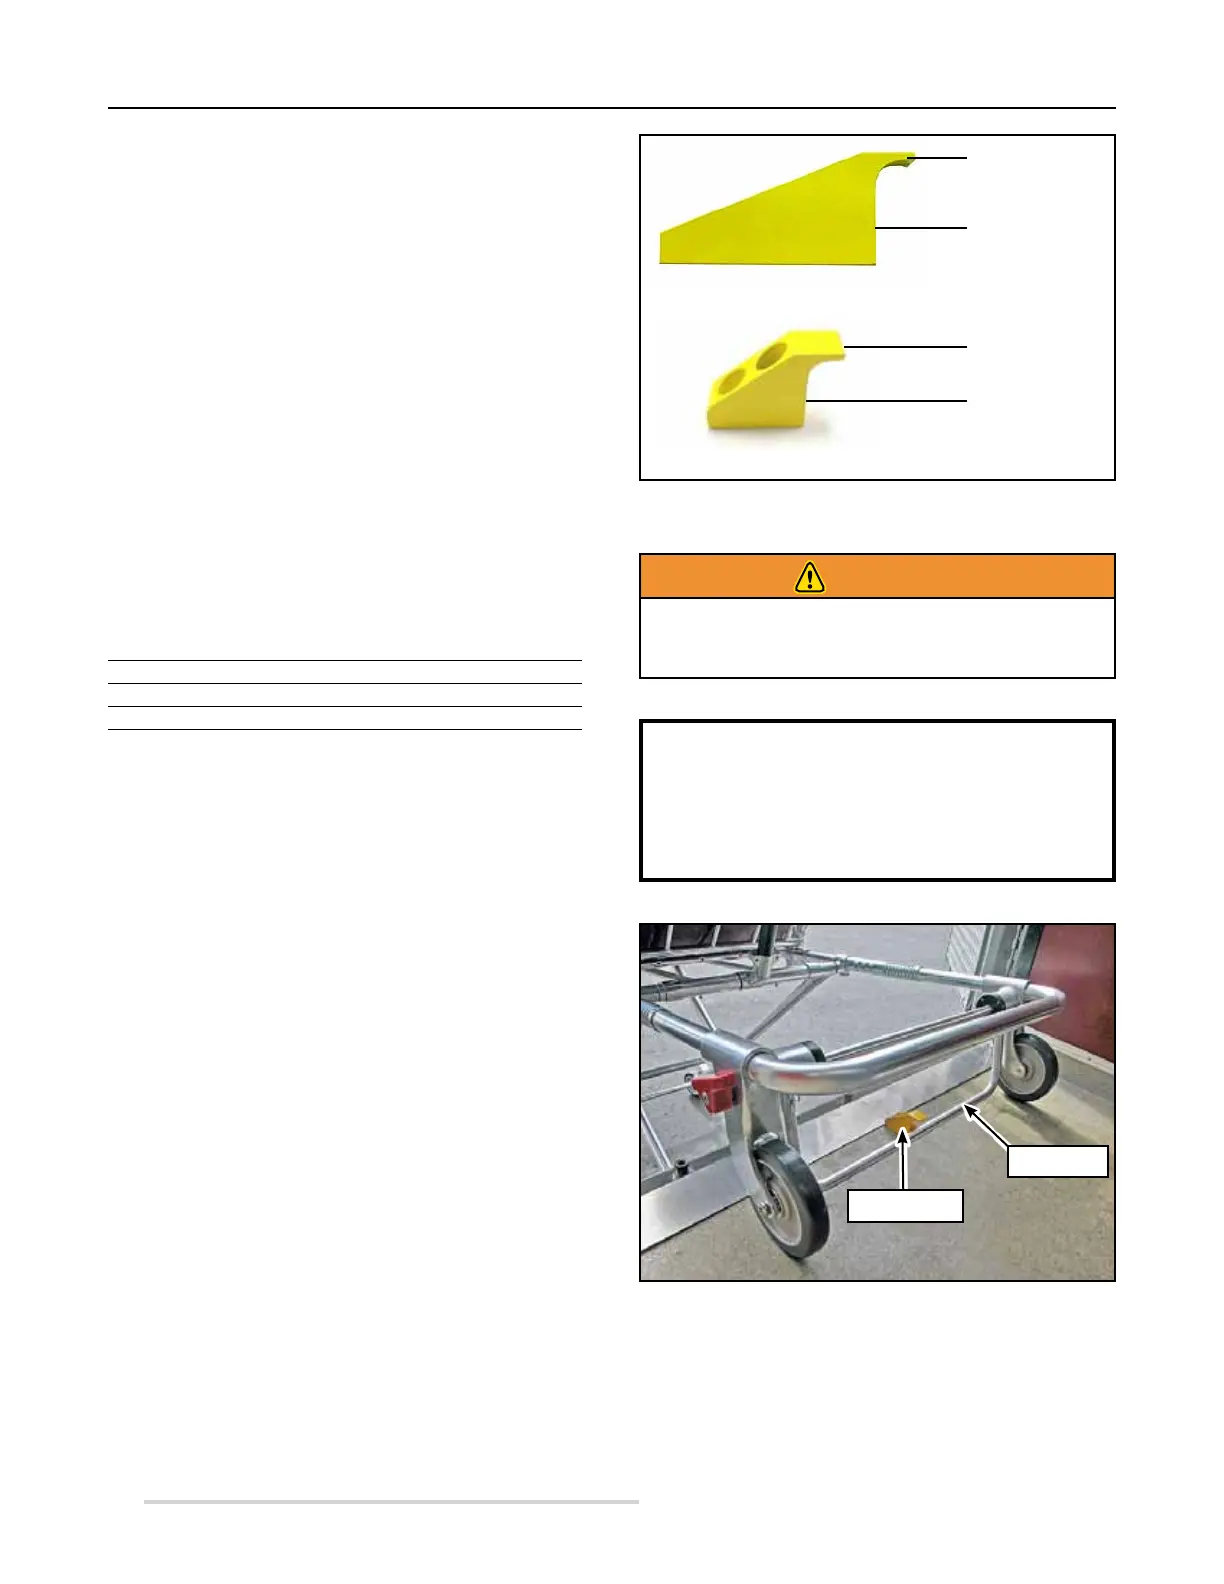
Figure 2 - Safety Hook (One Shipped with Cot)
Hook
Front Edge
4-Inch Safety Hook (Standard)
2.5-Inch Safety Hook (Optional)
Hook
Front Edge