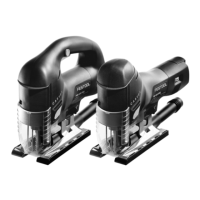
11
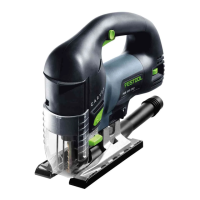
Using the chip guard
The chip guard
[1-1]
prevents chips from flying
away and improves the efficiency of the chip ex-
traction system.
X
Using minimal pressure, push the chip guard
[1-1]
downwards.
Changing saw table
X
Open the change lever
[1-9]
.
X
Removing the saw table downwards.
L
Assembly is performed in reverse sequence to
removal. Ensure that the saw table is firmly
seated in the guide.
Instead of the saw table, the angle table WT-PS 400
or adaptation table ADT-PS 400 can be installed at
the support.
Never saw without the saw table, or one of
the other tables offered in the Festool acces-
sories program.
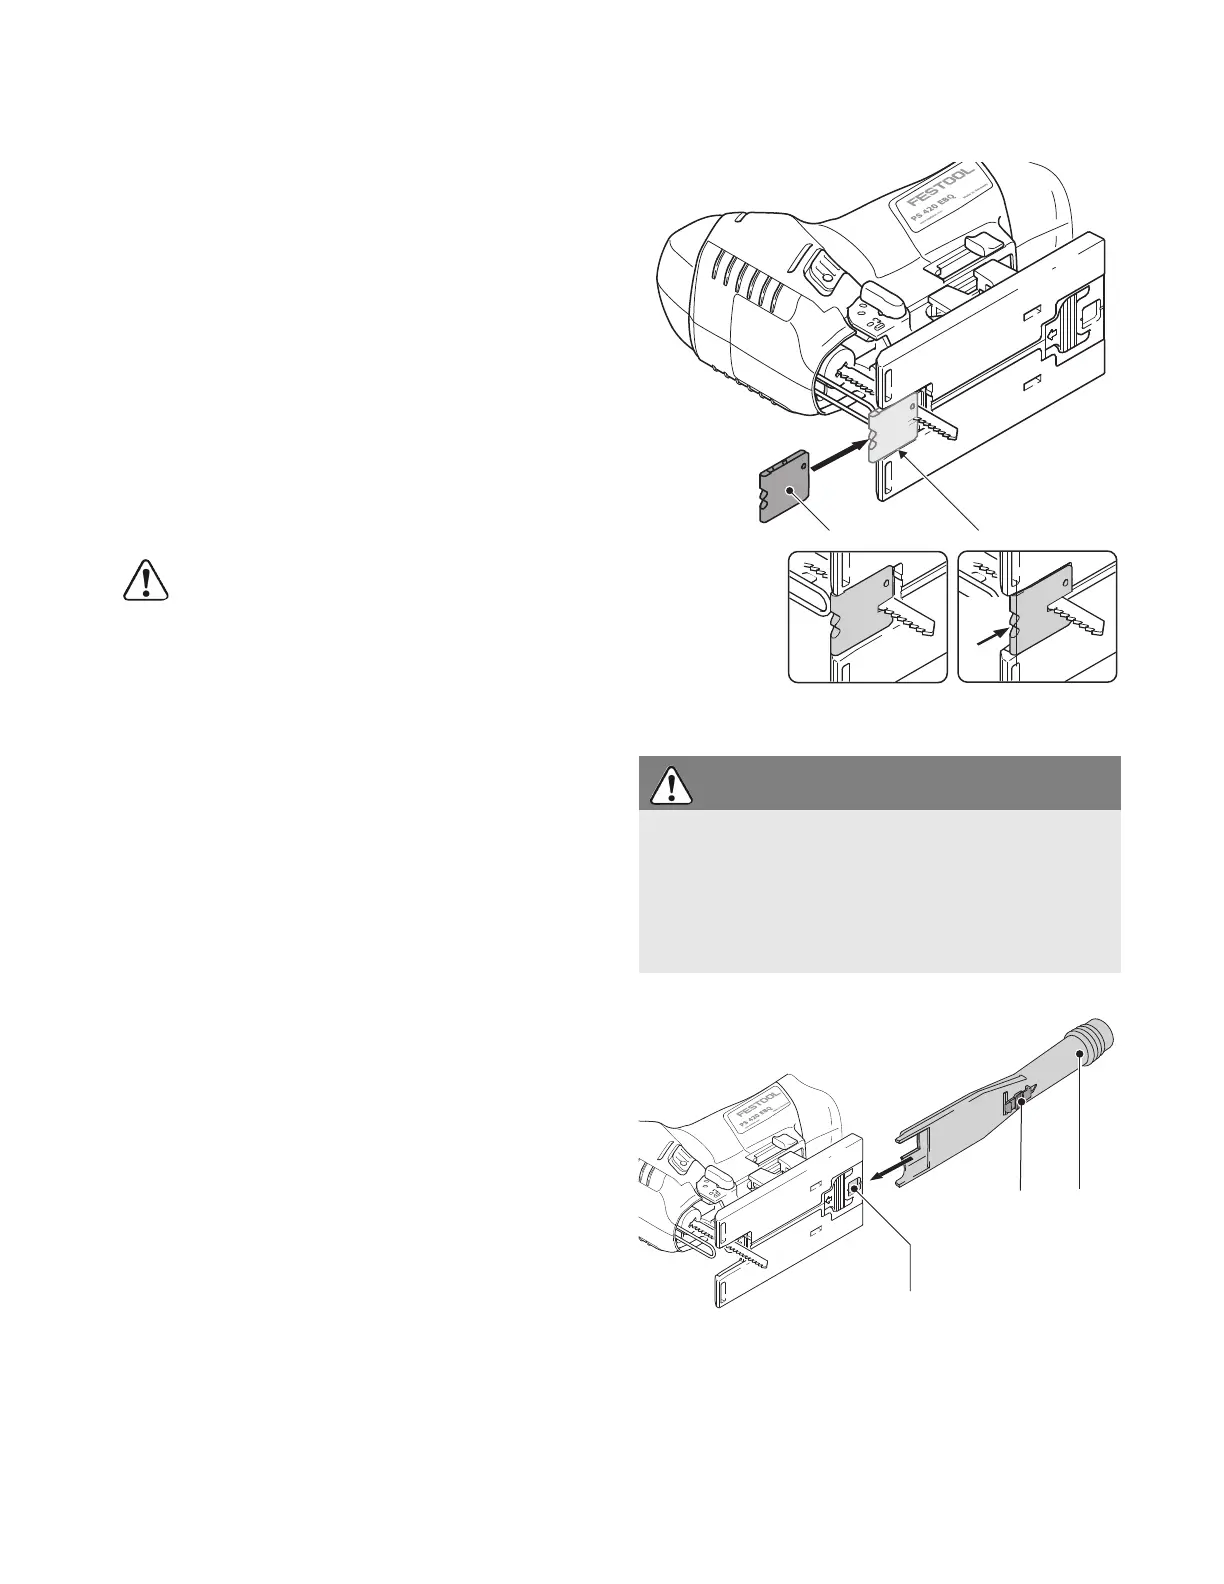
Inserting the splinterguard
The splinterguard ensures a smooth, splinter-free
cutting edge, even when exiting the material.
X
Switch off the machine and slide down the
splinterguard
[3-1]
into the guide
[3-2]
and up
to the saw blade,
X
Switch on the jigsaw,
X
On a level surface, slide in the splinterguard
(not using your hand!)
while the machine is op-
erating until it is level with the front edge of the
saw base (speed setting 5). This breaks in the
splinterguard.
L
If machine shows obvious signs of wear, push
the splinterguard approx. 3 mm further to the
rear and continue using it.
L
To guarantee reliable operation of the splinter-
guard, it must seal tightly on both sides of the
saw blade. A new splinterguard should there-
fore be fitted after every saw blade change to
guarantee splinter-free cuts.
Dust extraction
WARNING
Dust hazard
X
Dust can be hazardous to health. Always work
with a dust extractor.
X
Always read applicable national regulations be-
fore extracting hazardous dust.
 Loading...