12
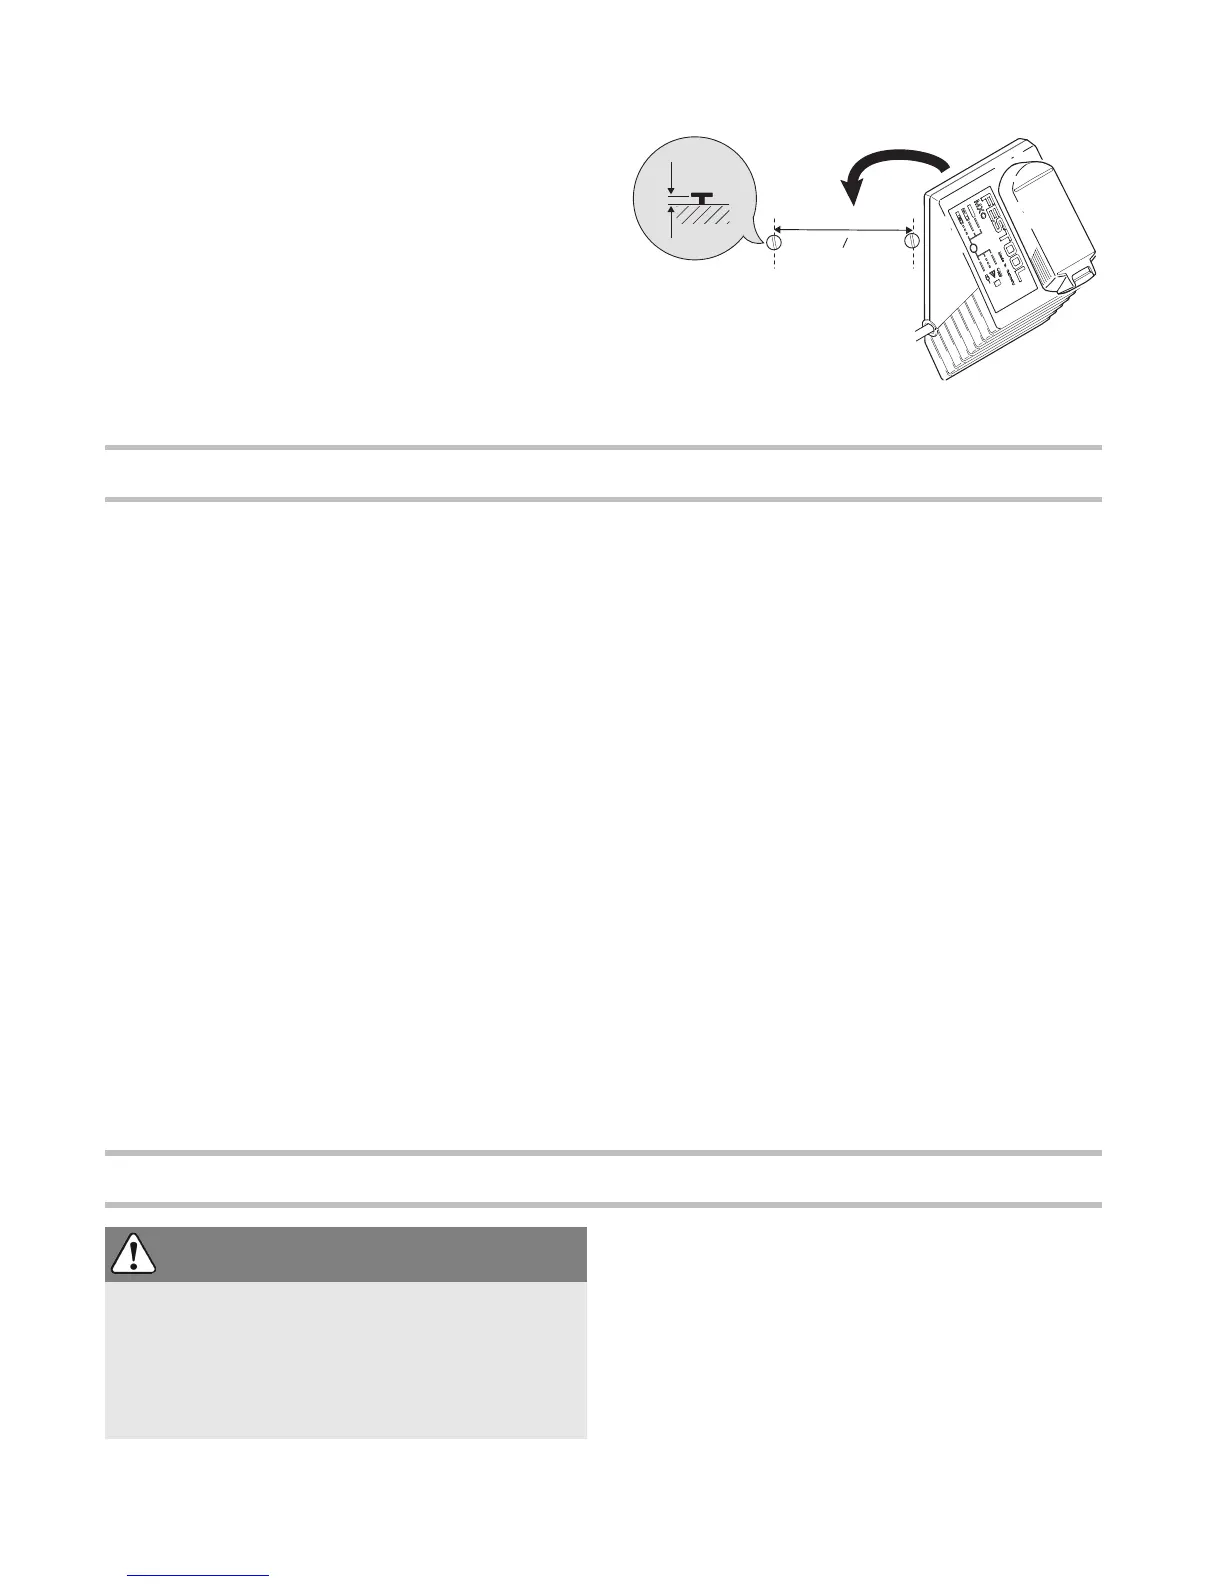
Charger wall mount
The charger MXC has two elongated holes on its
back. It can be mounted on a wall using two screws
(e.g. round head or flat head screw with shank di-
ameter of 5 mm) (see Fig. Fig. [5]).
Settings
Consider the pictures on the fold-out page.
Changing the direction of rotation
The right/left switch
[1-5]
changes the direction of
rotation.
• Move switch from right to left = clockwise rota-
tion
• Move switch from left to right = anticlockwise ro-
tation
Changing gear
Always switch off the machine before changing
gear!
You can change gear using the gear switch
[1-4]
.
• Switch forwards (Number 1 visible) = first gear
• Switch backwards (Number 2 visible) = second
gear
Adjusting torque
By turning the torque thumbwheel
[1-1]
the re-
quired torque can be adjusted. The arrow
[1-3]
aligns with the adjusted state.
Drilling
Turn the torque thumbwheel
[1-1]
so that its
marking
[1-3]
faces the drilling symbol
[1-2]
. Max-
imum torque is set in this position.
Fastening
Adjust the torque accordingly at the torque thumb-
wheel
[1-1]
:
Position 1 = low torque
Position 12 = high torque
The machine switches off when the present torque
is reached. The machine only continues running
when the on/off switch
[1-6]
is released and
pressed again.
Tool holder, attachments
Tool chuck CENTROTEC WH-CE
The tool chuck CENTROTEC WH-CE allows you to
change tools with a CENTROTEC shank in a matter
of seconds.
Always use a CENTROTEC tool chuck to clamp