8
QUICK START INSTRUCTIONS:
CALIBRATION & AIRFLOW SETTING
SAFETY
! Before connecting the device to a power source, ensure that the main power
switch in the rear of the device is in the off position “0”.
! Avoid plugging or unplugging the unit while it is powered ON ( “I” ).
CALIBRATION INSTRUCTIONS
! Device must be calibrated to your specific laser engraver to function properly.
! Failure to calibrate the device prior to usage may significantly reduce the life of
your filters.
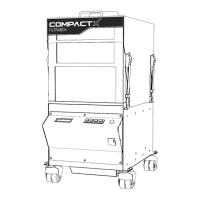
1. Hook up the Filtrabox fume extractor to the Laser Engraver, with the supplied hose or with
the hose you intend to permanently use for the application. Arrange the laser, Filtrabox and
the hoses into their desired locations. ! This is important because the calibration process
takes the restrictions caused by the bends in the hose and positioning of the equipment into
account.
2. Press OK to confirm that the Filtrabox and laser engraver are connected in their desired final
positions; this will initiate the automatic calibration procedure.
3. The Filtrabox will display various screens as the calibration steps are conducted; this will
take a couple minutes. At this point no input is required. When the calibration is finished,
the machine will display the main screen where the flow setpoint can be adjusted with the
up/down keys See AIRFLOW % SETTING to determine how to set your machine.