4. Attach each leg to the bottom of the enclosure using the nuts, bolts, and washers
provided for each leg. Tighten bolts securely.
5. After legs are securely attached, stand the controller up on its legs for fl oor mounting.
Each leg has three holes on the bottom for anchoring to the fl oor or base plate.
NOTE—Consult the appropriate job plans to determine the controller mounting location. Refer to
the controller dimension print for necessary mounting dimensions.
The controller is fl oor/base plate mounted by using the three pre-drilled holes in each leg. The
holes are dimensionally on the same line for ease of mounting.
1. Using either the dimension print or by measuring the distance between the center lines of
the holes on one leg, transcribe these dimensions onto fl oor/base plate.
2. Drill three holes in the fl oor/base plate for anchoring the leg.
3. Mark the location of the holes for the opposite leg and drill three more holes.
4. Secure the controller to the fl oor/base plate with bolts and washers and tighten.
5. Check to be sure the enclosure door opens freely and that the enclosure is level.
MAKING ELECTRICAL CONNECTIONS
Important Precautions—
Prior to making any fi eld connections:
1. Open door of enclosure and inspect internal components and wiring for any signs of frayed or
loose wires or other visible damage.
2. Verify that the controller information is what is required on the project:
• Firetrol catalog number
• Motor voltage and horsepower
• Incoming line voltage and frequency
• Maximum system pressure
3. Project electrical contractor must supply all necessary wiring for fi eld connections in accordance
with the National Electrical Code, local electrical code and any other authority having jurisdic-
tion.
4. Refer to the appropriate fi eld connection drawing for wiring information.
Procedure—
All fi eld connections, remote alarm functions and AC wiring are brought into the enclosure through
the top, bottom, or side conduit entrances as indicated on the dimension drawing.
1. Use a hole (conduit) punch, not a torch nor a drill, and punch a hole in the enclosure for the size
conduit being used.
2. Install necessary conduit.
3. Pull all wires necessary for fi eld connections, remote alarm functions, AC power and all other
optional features. Allow enough excess wire inside the enclosure to make up connections to
the appropriate line, load and control terminal block points. Be sure to consult the appropriate
fi eld connection diagram included with the manual. For proper wire sizing, refer to the National
Electrical Code, NFPA 70.
4. Make all fi eld connections to the remote alarm functions and any other optional features. Con-
nect motor to controller load terminals. Do not connect AC power.
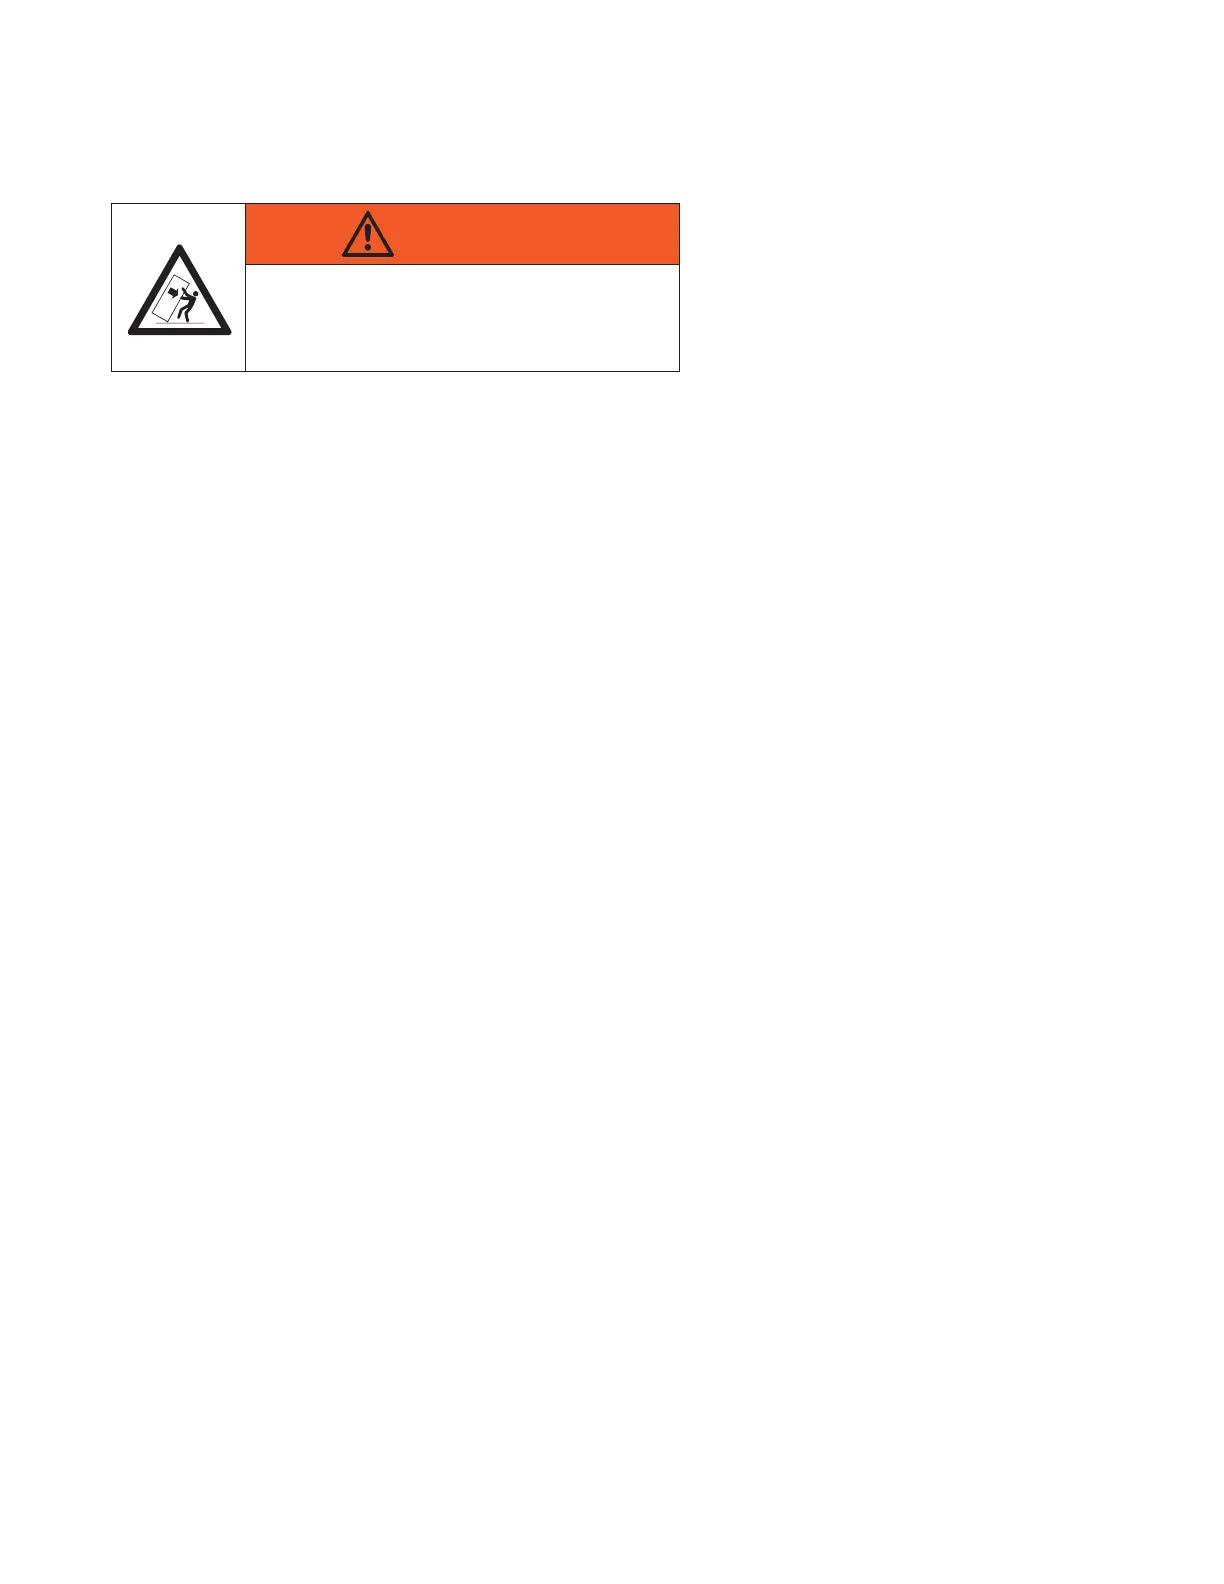
WARNING
RISK OF PERSONAL INJURY
Controller is NOT free standing. Do not open doors
or attempt to operate equipment while not anchored
to wall or floor.
3
 Loading...