Instruction Manual
D103042X012
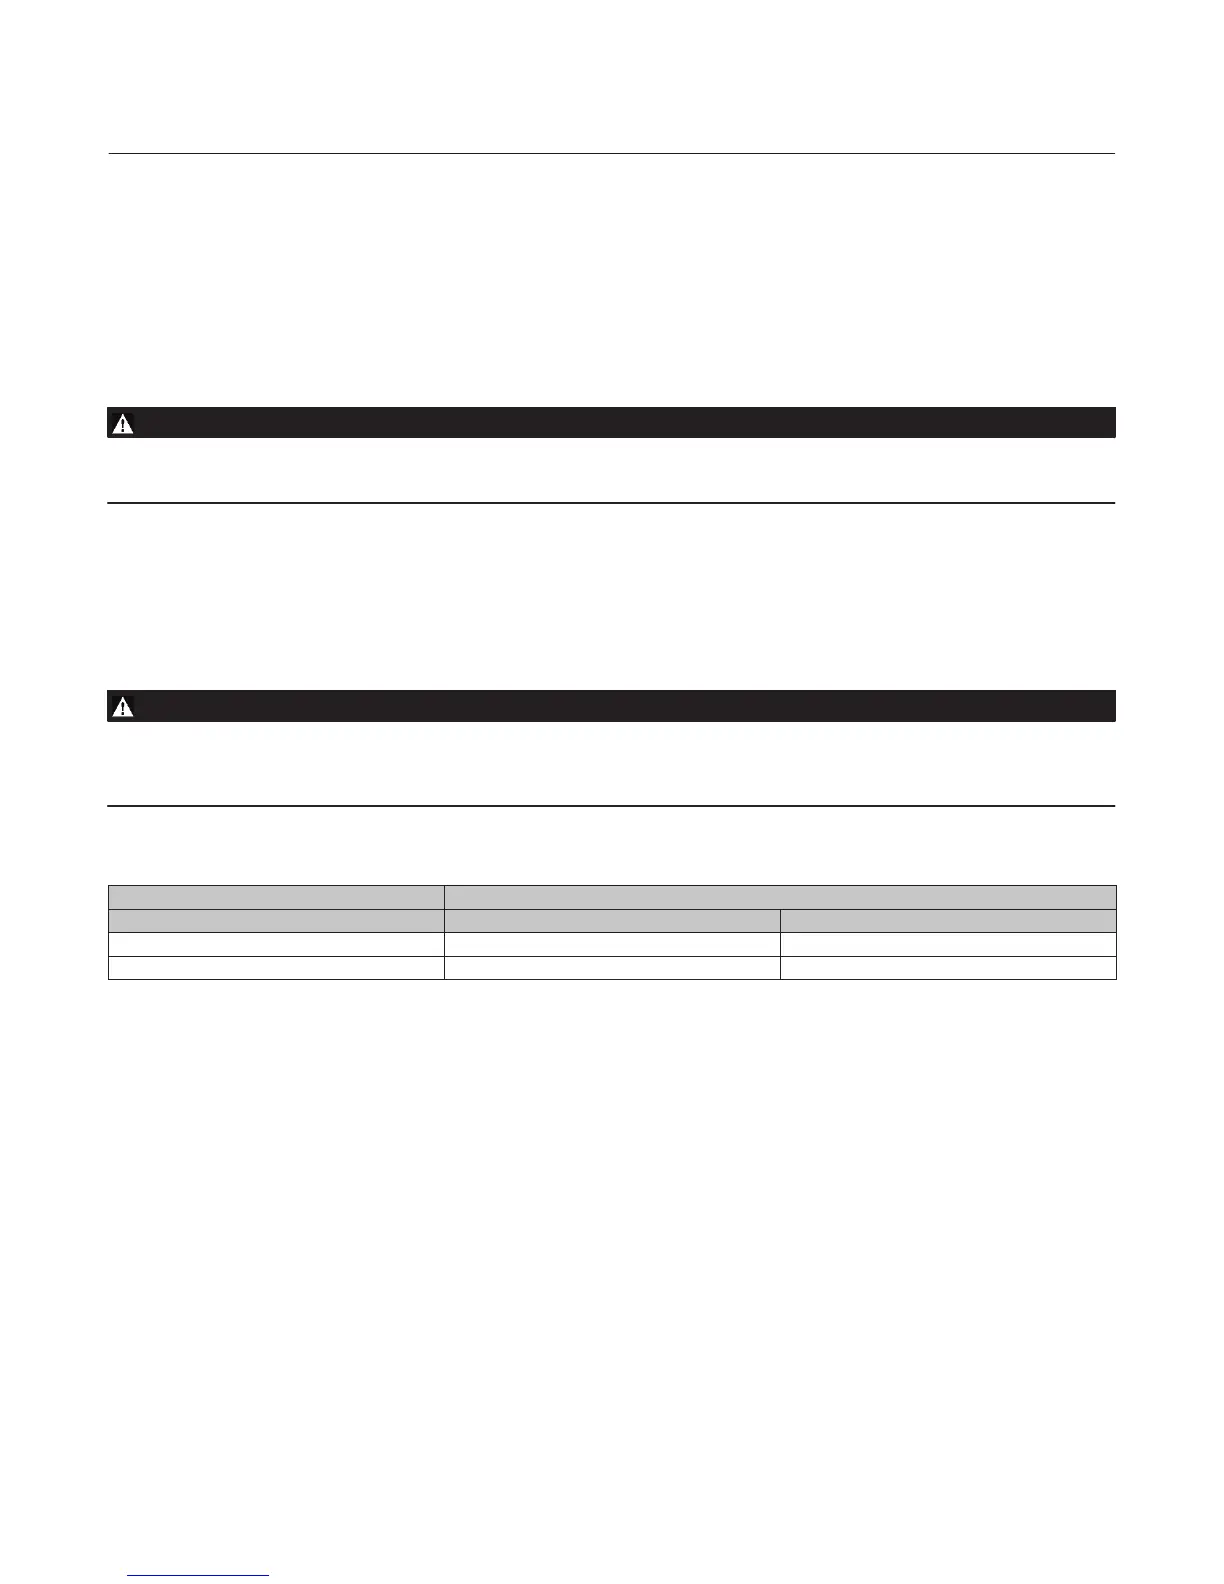
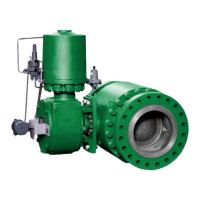
D4 Valve
July 2015
7
Disassembly
1. Remove the loading pressure tubing and any accessories that may hamper disassembly.
2. Break the hammer nut (key 6) loose with a hammer. Continue turning the hammer nut by using a hammer or a
large adjustable wrench, tightened around one ear of the hammer nut. If the bonnet is stuck on the valve, continue
to unscrew the hammer nut. The hammer nut will contact the spring pins (key 7) and will force the bonnet out of
the valve. Carefully lift the actuator, bonnet, and valve plug assembly from the valve body.
WARNING
The spring pins must always be in place during valve operation. They provide a safeguard against injury when the unit is
being disassembled.
3. Use a socket wrench to loosen the seat ring (key 3).
4. Remove the seat ring (key 3) and seat ring gasket (key 9) from the valve body.
5. Inspect parts for wear or damage that would prevent proper operation of the valve body. Carefully clean the seat
ring gasket surfaces and seat ring threads.
WARNING
Be careful to avoid damaging the seating surface on the valve plug or seat ring as damage in these areas will allow
excessive leakage at shutoff. Avoid damaging the highly polished valve stem surface. A damaged valve stem could cut the
packing and allow process fluid to leak to the atmosphere.
Table 8. Torque for Seat Ring (Key 3)
VALVE SIZE RECOMMENDED TORQUE
NPS NSm LbfSft
1 407 300
2 698 515
6. For spring‐to‐close only: To remove the valve plug (key 2), drive out the groove pin (key 4) and unscrew the valve
plug from the stem (key 47). If the groove pin (key 4) is not exposed, verify that downward movement of the stem is
not restricted by instrument linkages attached to the stem (key 47).
If the valve plug cannot be easily unscrewed from the stem, use a punch to keep the stem from turning as the plug is
removed.
7. For spring‐to‐open only: To remove the valve plug (key 2), first remove the spring case assembly (key 27). Remove
the adjustment screw nut (key 44), the upper spring seat (key 29), and the spring (key 30). Push the adjustment
stem (key 31) fully downward until the diaphragm plate (key 40) contacts the cap screws (key 38), exposing the
groove pin (key 4) in the plug. If the groove pin (key 4) is not exposed, verify that downward movement of the stem
is not restricted by instrument linkages attached to the stem (key 47). Drive out the groove pin (key 4) and unscrew
the valve plug from the stem (key 47).
If the valve plug cannot be easily unscrewed from the stem, use a punch to keep the stem from turning as the plug is
removed.
Assembly
1. Make sure the bonnet O‐ring (key 8) is on the bonnet and lubricated with lithium grease (key 49).