Instruction Manual
D101554X012
Vee-Ball Valves
June 2017
47
2. Rotate the ball to the closed position.
3. Follow one of the procedures below:
D When viewed from the valve body inlet, the ball is in the proper position when both V‐notches of the ball are
centered between the machined diameter of the ledge that supports the seal.
D If the ball has a spot machined on the top, align that spot to the exact center of the seal cavity.
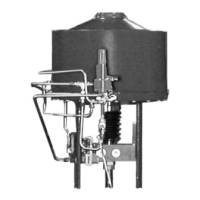
4. Adjust the actuator linkage as described in the appropriate actuator instruction manual until the condition
described in step 3 exists. A line is stamped on the actuator end of the drive shaft (see figure 23) to indicate the ball
position.
WARNING
Use only genuine Fisher replacement parts. Components that are not supplied by Emerson Automation Solutions should
not, under any circumstances, be used in any Fisher valve, because they will void your warranty, might adversely affect the
performance of the valve, and could give rise to personal injury and property damage.
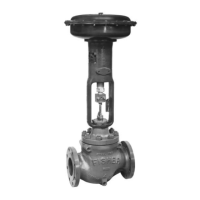
Non‐Series B Design Parts (figure 30)
Note
Contact your Emerson sales office
or Local Business Partner for Part
Ordering information.
Key Description
2 Ball
2 Ball with attenuator (RH mtg in Common parts section)
6 Drive Shaft
9 Follower Shaft
10* Bearing (2 req'd)
PEEK
S44004 (440C SST)
R30016 (alloy 6B)
Silver‐plated R30016 (alloy 6B)
Carbon‐filled PTFE with N10276 sleeve
Glass‐filled PTFE with N10276 sleeve
*Recommended spare parts
 Loading...