Maintenance
Created by EBCCW 00:06
21
5814EN-3
3.9 Replacement of worn parts – conveyor
chain
3.9.1 Removal of conveyor chain
1 Ensure that the power to the drive motor is disconnected.
2 Disengage the motor; there are various methods depending on
the type of drive unit:
– Detach the slip clutch.
– Remove the roller chain.
– Disengage the gear from the drive wheel.
For more information see "Assembly manual", 5764.
3 Split the chain by removing the steel pin from the pivot. Use the
special tool for insertion/removal.
4 Pull out the chain.
3.9.2 Fitting the conveyor chain
Check that the slack is not excessive. See Checking the tension of convey-
or chain on page 14
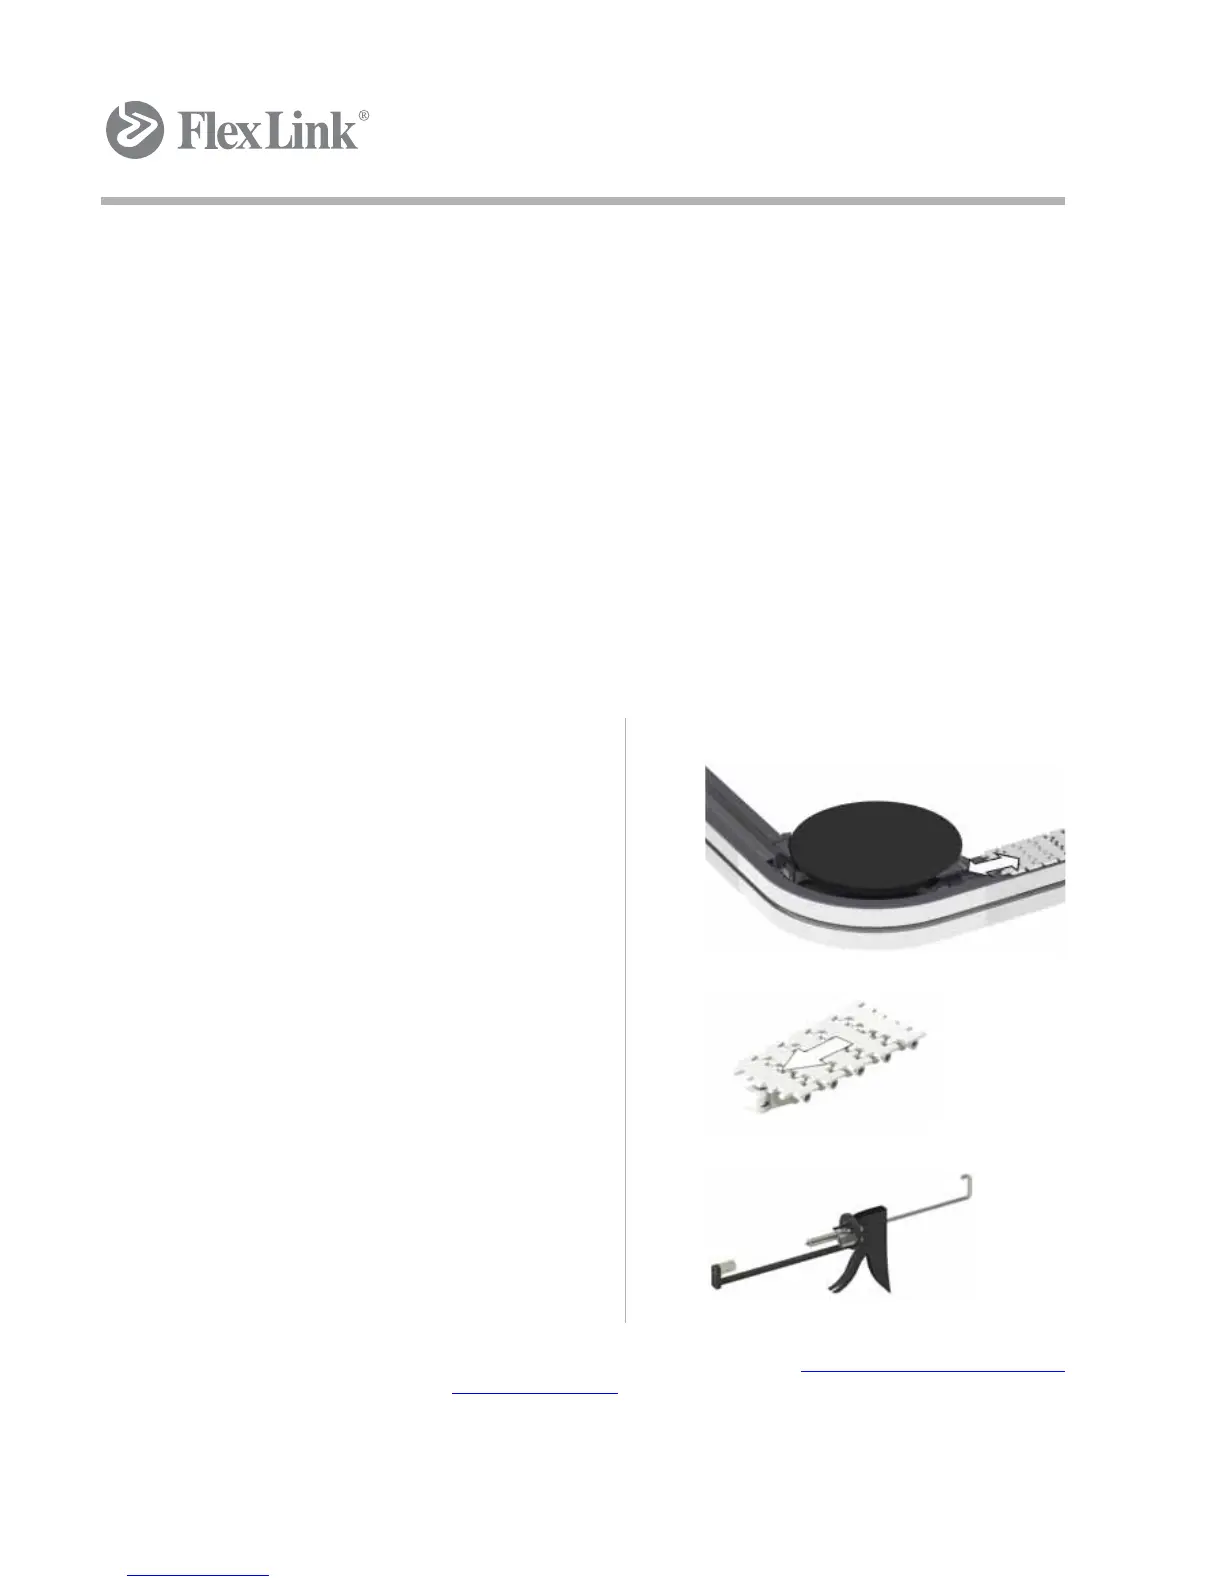
1
Run a sample (approx. 0.3 m) of
conveyor chain through the installation
in the direction of the conveyor. Check
that the chain moves easily and
correctly through the bends and idler
ends. Check at the same time that
there is enough space for the chain.
Immediately investigate the reasons
for any jamming and take immediate
action.
2
Put the new conveyor chain in place.
Check that the chain direction
corresponds to the conveyor direction.
NB: Be careful that the first link of the
conveyor chain does not damage
the slide rails.
3
Shorten the conveyor chain to the right
length. Fit the pivot and steel pin, using
the special pin insertion/removal tool.
After fitting, check that the steel pin is
centered and that the chain can easily
bend in the fitted link.