Handling the camera13
Note
• In this mode, the digital camera is used, which means that continuous autofocus will
not work in darkness.
• When continuous autofocus is enabled, it is not possible to manually adjust the focus
by rotating the focus ring.
• To stop continuous autofocus (e.g., to stabilize the focus before saving an image),
push the Save button half-way down.
13.8.2 Procedure
Follow this procedure:
1. Push the joystick to display the menu system.
2. Use the joystick to go to
(Settings).
3. Push the joystick to display the Settings menu.
4. Select Device settings and push the joystick.
5. Select Continuous autofocus and push the joystick.
6. Select On and push the joystick.
Note You can also assign the function Continuous autofocus to one of the program-
mable buttons. Select
(Settings) > Programmable buttons.
13.9 Operating the laser pointer
WARNING
Do not look directly into the laser beam. The laser beam can cause eye irritation.
Note The laser pointer is enabled by a setting. Select (Settings) > Device settings
> Lamp & laser > Enable lamp & laser.
Note The laser pointer may not be enabled in all markets.
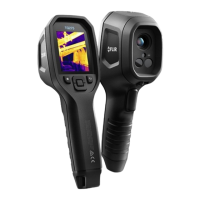
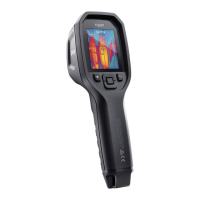
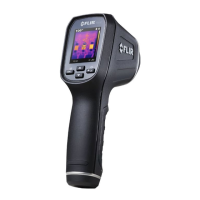
13.9.1 Figure
13.9.2 Procedure
Follow this procedure:
1. To turn on the laser pointer, push and hold the laser button.
2. To turn off the laser pointer, release the laser button.
#T559954; r. AP/42311/42335; en-US
32