Handling the camera
7
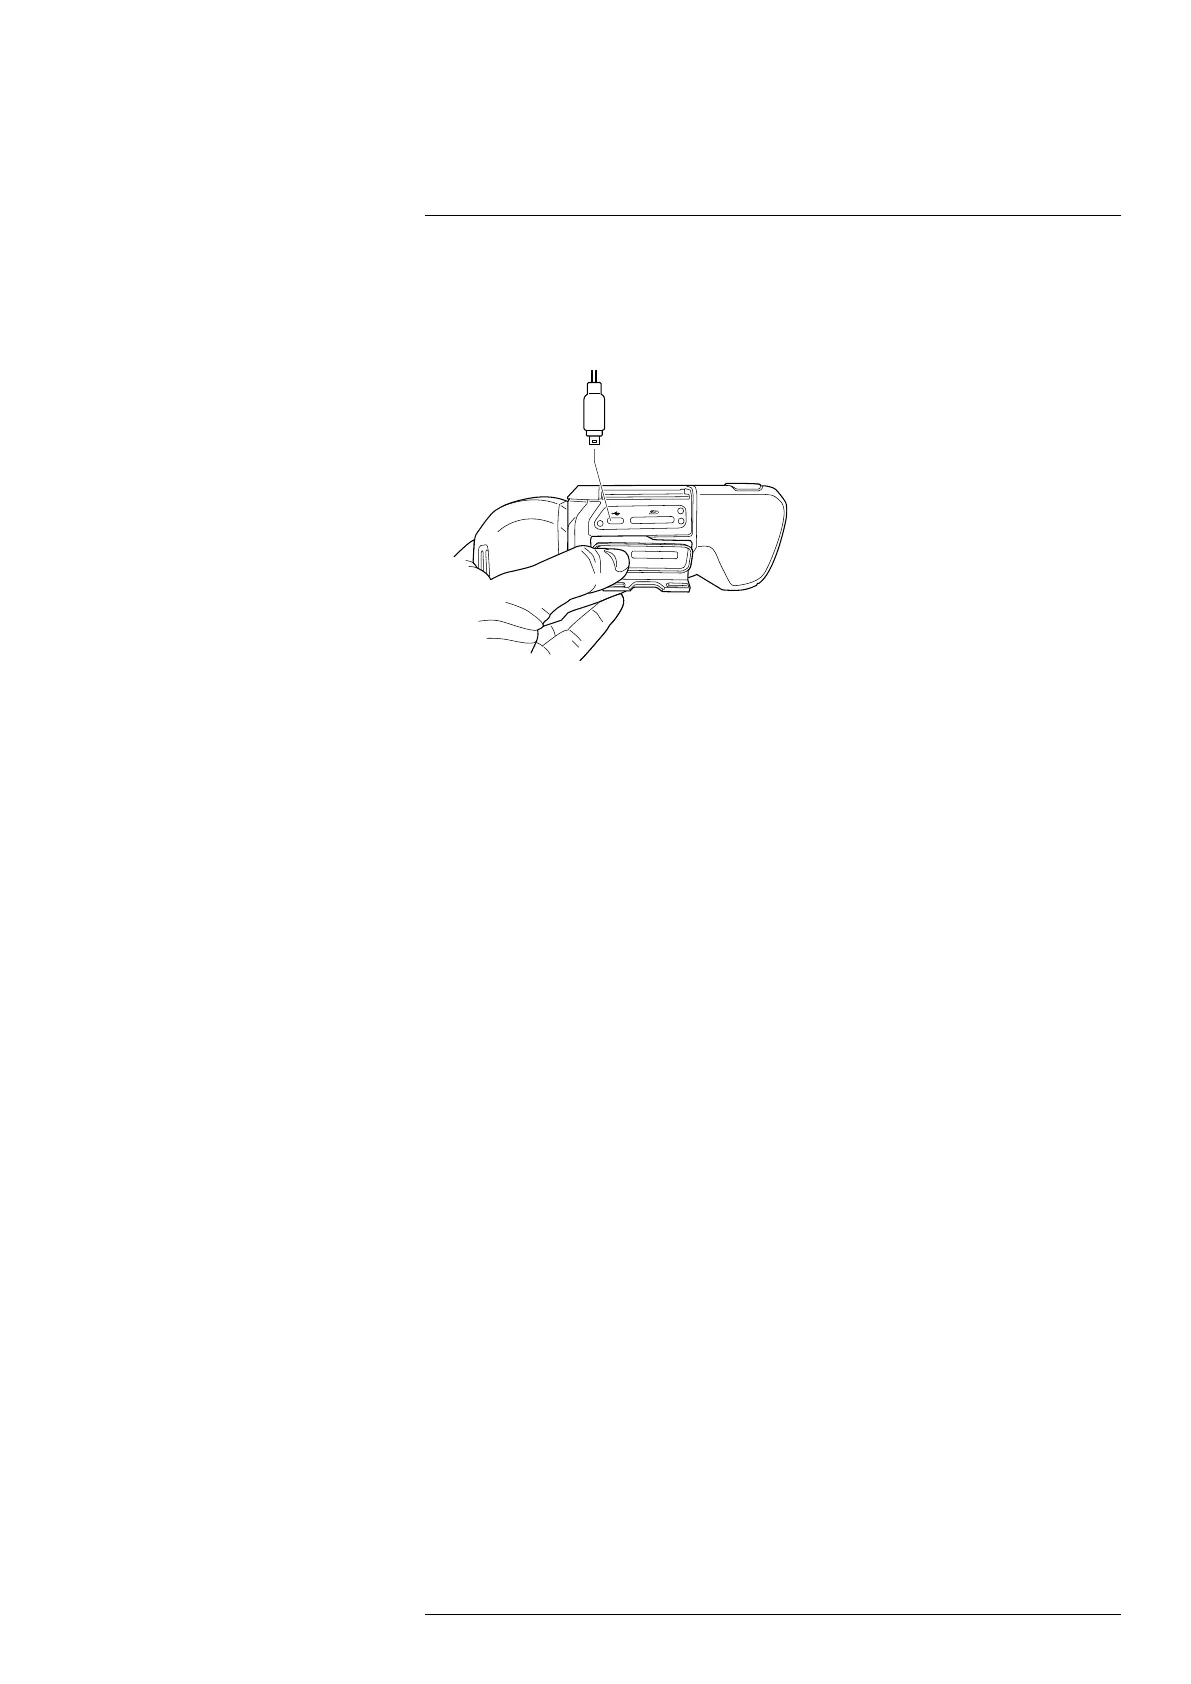
7.1.4 Charging the battery using a USB cable connected to a computer
1. Open the cover for the connector compartment at the bottom of the camera.
2. Connect a USB cable to the USB-C connector in the connector bay. Connect the oth-
er end of the USB cable to the computer.
Note
• To charge the camera, the computer must be turned on.
• Charging the camera using a USB cable connected to a computer takes considerably
longer than using the USB battery charger or the stand-alone battery charger. If the
camera is on, it may use more power than the computer provides.
• When closing the cover for the connector compartment, firmly press along the edges
of the cover to make sure that it closes tightly.
7.2 Installing and removing the camera battery
7.2.1 Installing the battery
Note Use a clean, dry cloth to remove any water or moisture on the battery before you
install it.
Follow this procedure:
1. Push the battery into the battery compartment. The battery makes a click when it
locks in place.
7.2.2 Removing the battery
Note Use a clean, dry cloth to remove any water or moisture on the camera before you
remove the battery.
Follow this procedure:
1. Turn off the camera.
#T810253; r. AL/84068/84441; en-US
20