4
STEP 2: REMOVE OLD PARTS
LEFT
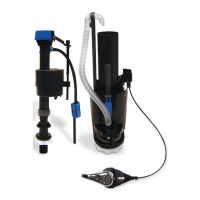
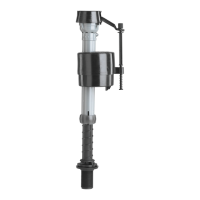
A: REMOVE CONNECTOR
Remove water supply
connector from bottom of fill
valve by twisting connector nut to
the left (clockwise).
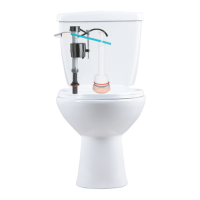
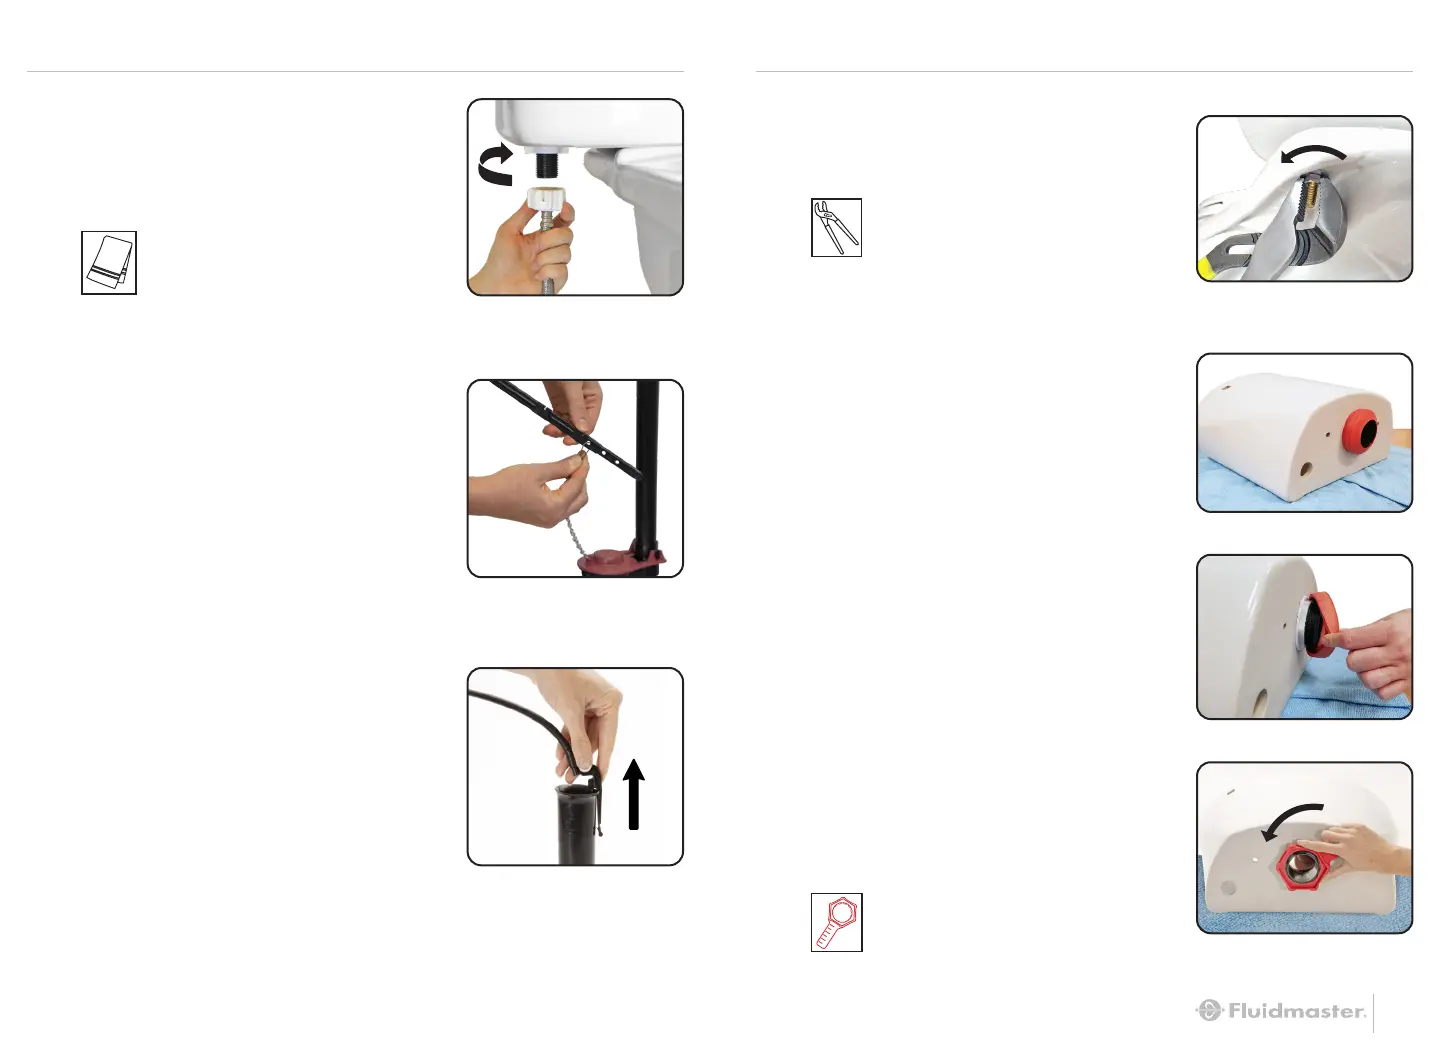
E: REMOVE TANK FROM BOWL
Using plyers, unscrew nuts from
under the bowl and remove bolts
from tank.
F: LAY TANK ON ITS SIDE
Place on a safe and secure surface.
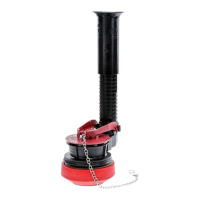
B: DISCONNECT
FLAPPER CHAIN
C: DISCONENCT
REFILL CLIP
Towel
(Optional)
NOTE: Inspect water
supply connector. Replace it if
it is worn, or you don’t know
how old it is, to prevent flooding
and property damage.
5
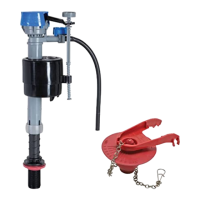
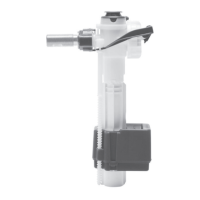
H: REMOVE FLUSH VALVE
LOCKNUT
Using red wrench, twist locknut
(counterclockwise) to remove.
Remove old flush valve from tank.
Red Wrench
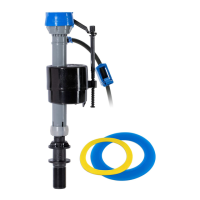
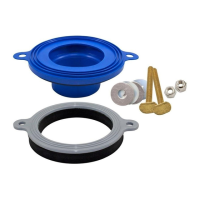
G: REMOVE GASKET
Remove tank-to-bowl gasket from
below the tank.
NOTE: Keep gasket for identification on Step 4A.
Large
Adjustable
Pliers (Optional)