6 7
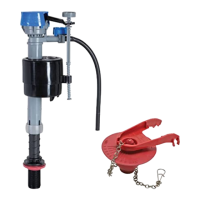
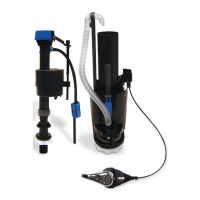
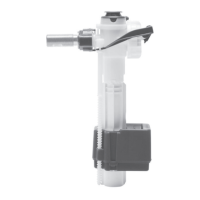
A: REMOVE FLUSH VALVE PIECES FOR INSTALLATION.
STEP 3: INSTALL FLUSH VALVE STEP 3: INSTALL FLUSH VALVE
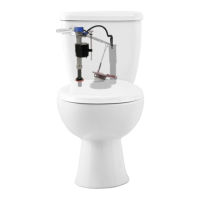
NOTE: Do not cover tank bolt holes with flush valve. If flush valve covers
a bolt hole, turn flush valve slightly to the right (overflow tube to the right)
to clear the bolt hole. In some cases, placing bolts in the holes first may
be necessary.
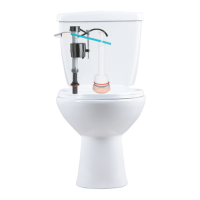
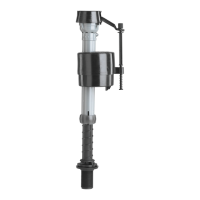
B: INSERT FLUSH VALVE INTO TANK HOLE
Position overflow pipe toward back of tank.
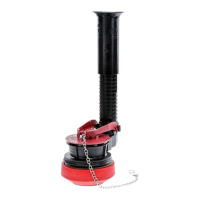
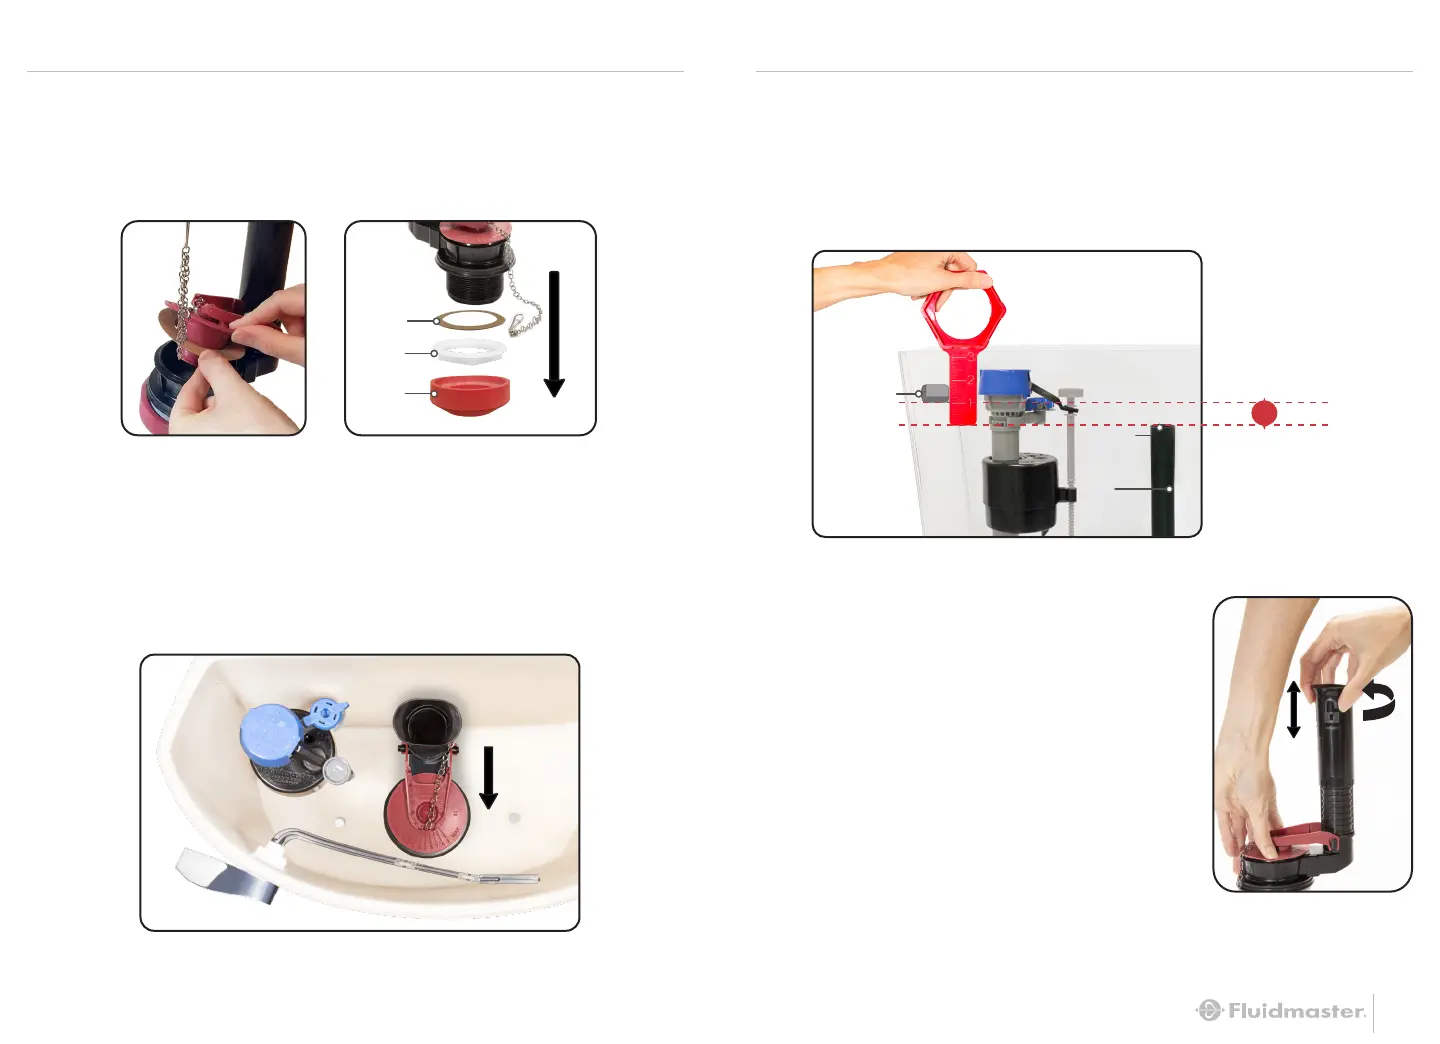
C: USE RULER ON THE RED WRENCH TO MEASURE
AND ADJUST NEW FLUSH VALVE
Mark the flush valve 1” below bottom of tank lever hole.
NOTE: The top of the overflow pipe must be at minimum of 1” below
the tank lever hole.
TOP OF
OVERFLOW PIPE
Overflow
Pipe
Lever Hole
1"
BOTTOM OF
TANK LEVER HOLE
Adjusted
Height
TWIST
D: ADJUST FLUSH VALVE HEIGHT
Twist to unlock, pull or push to correct
height, twist to lock in place.
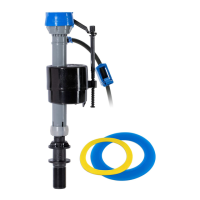
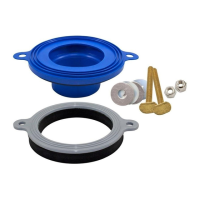
Remove cardboard from under flapper and discard. Remove
gasket (a), locknut (b) and friction washer (c) (cardboard)
and keep for installation.
a
b
c