5730A Sales and Demo Guide
Fluke Corporation Company Confidential Page 19 of 28
Linearity Error
1) Press the 8846A’s “Range” button to lock its 100 mV range. A small “MAN” indicator will
light up on the left side of the display. If not in the 100 mV range, press the up and down
arrow keys on the 8846A until “RANGE=DC100mV” is displayed.
2) Press the “Auto Range” button on the 5730A to lock the calibrator in the 220 mV range.
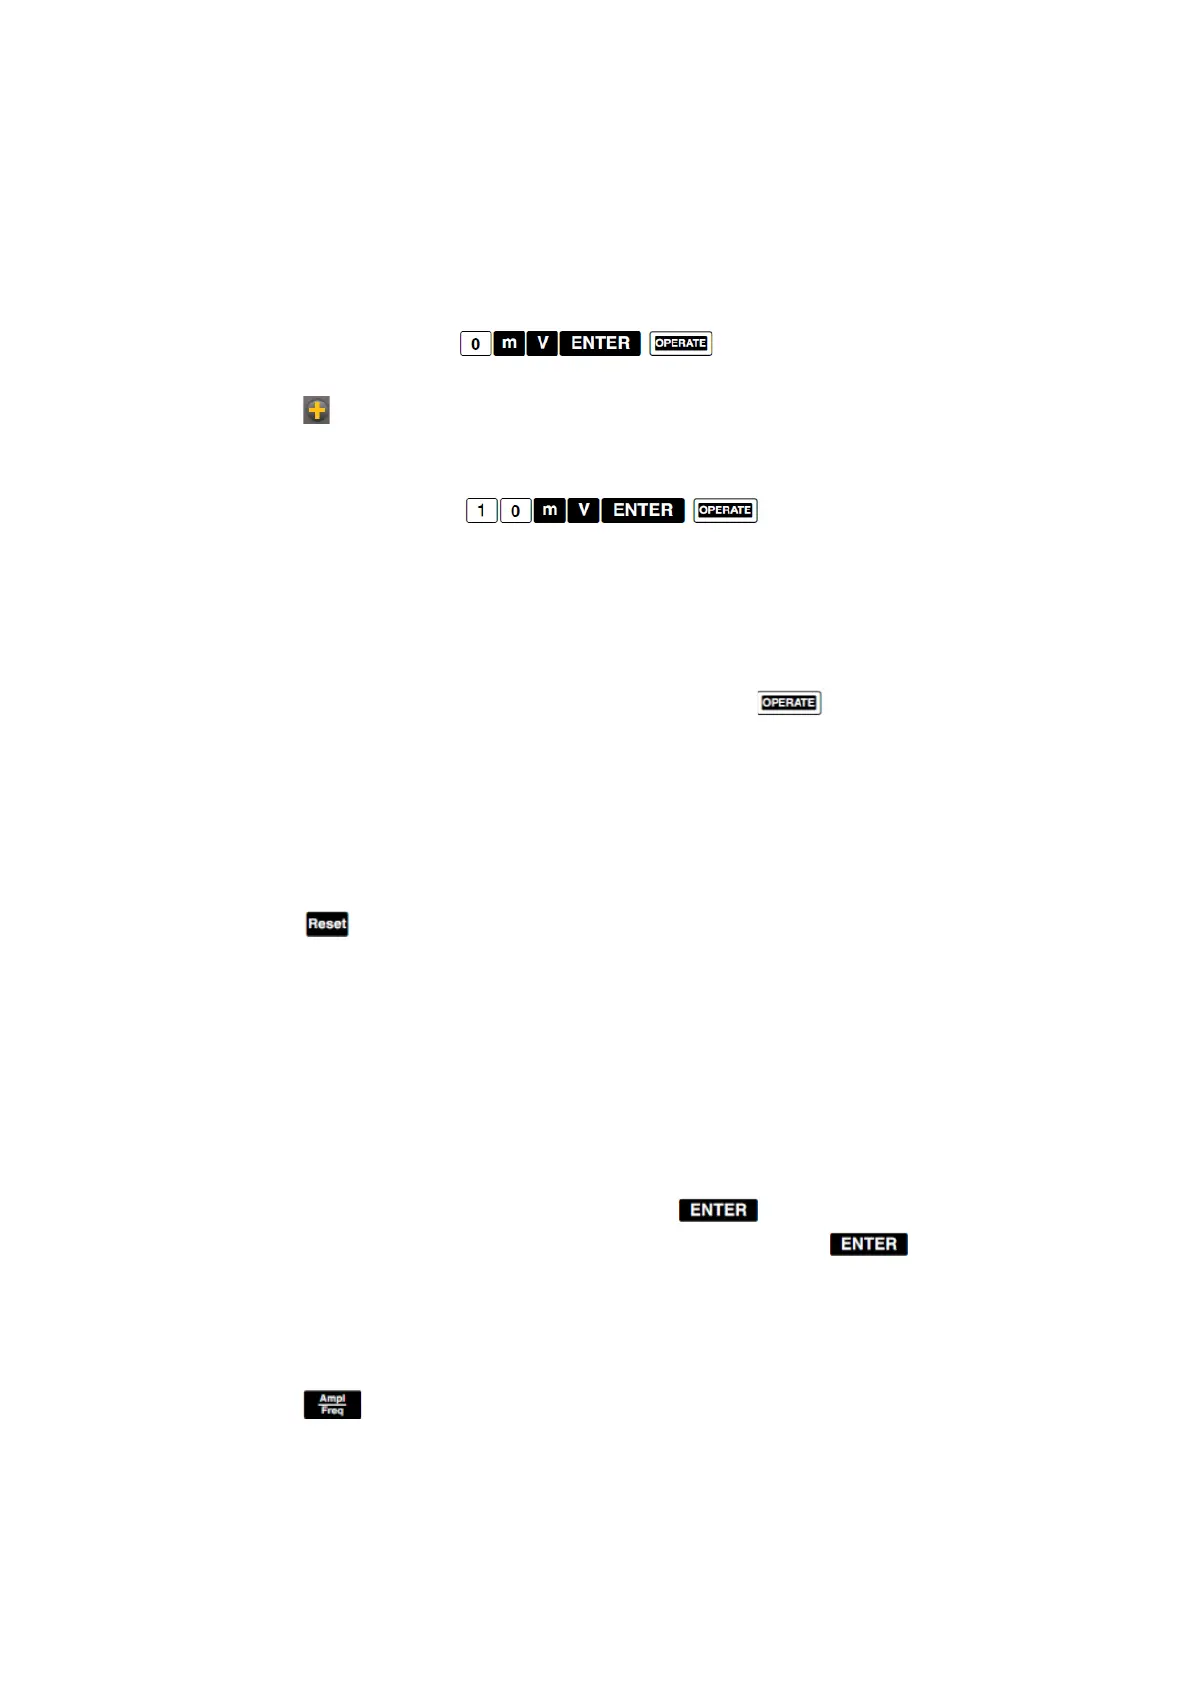
3) On the 5730A, enter 0 mV.
4) Adjust the 5730A by rotating the knob until the 8846A displays 0 mV.
5) Press the key above the 5 button toolbar to access the Linearity Error menu. Press the
“Offset” button. The zero offset of the 8846A is now displayed at the bottom of the output
screen.
6) Enter 10 mV on the 5730A. . Instead of 10 mV, the offset
voltage is displayed on the 5730A output.
7) Use the knob on the 5730A to adjust the output so the display of the 8846A is exactly 10 mV.
8) Press the “Scale” button. The 8846A Scale Error is now displayed in the lower right of the
output screen.
9) Now enter another value that falls in the locked ranges of the 2 instruments. (In this case,
the 8846A range limits you to 100 mV.) Make sure to hit the button after entering the
voltage.
10) The display of the 8846A should be exactly (or very close to) the value you entered on the
5730A since you have now accounted for the linearity error of the DMM. It is important to
check the linearity of DMMs. The 5730A display and error calculations eliminate the need
for manual calculations. In a closed-loop application, this can all be done over the IEEE-488
interface between the calibrator and UUT.
11) Press the key to place the 5730A calibrator in Standby and 0 mV output. Alternately,
you can play with the Scale and Offset keys to adjust the output or change voltages as you
desire.
AC Voltage
1) Press the 8846A [AC V] key to select AC Voltage.
2) Enter 1 V at 1 kHz on the 5730A. Notice both the voltage and frequency are displayed on
the 5730A output screen. The output of the 5730A is always displayed on the touchscreen
unless you are in Setup. This is to provide for user safety.
3) To quickly change to DC voltage, simply enter “0 Hz ” on the 5730A. Conversely, to
quickly change to AC voltage, simply enter a frequency value and hit .
4) Adjusting for Offset and Scale Error is the same as for DC Voltage. Notice that the dot to the
left of the “Auto Range” button is no longer yellow. Nothing happens when you touch the
button this time. This is because there are no locked ranges in AC Voltage, AC Current, or
Resistance.
5) Press the key on the 5730A located above the knob. Now the frequency output is
highlighted and you can edit the frequency value in the same way you changed the voltage

 Loading...


