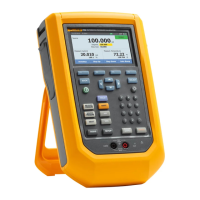
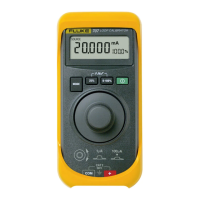
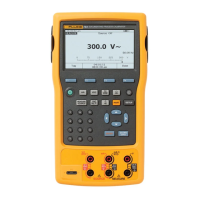
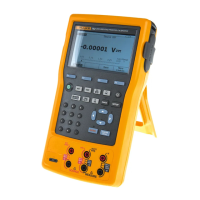
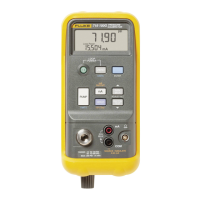
718 Series
Product Overview
8
Switch Test
To perform a switch test follow these steps:
Note
This example used a normally closed switch.
The procedure is the same for an open switch
but the display reads OPEN instead of CLOSE.
1. Connect the Calibrator mA and COM terminals
to the switch using the pressure switch terminals
and connect the pump from the Calibrator to the
pressure switch. The polarity of the terminals
does not matter.
Note
If using an external pump, connect the pump to
the Calibrator and to the input of the switch
using a tee fitting.
2. Make sure the vent on the pump is open and
zero the Calibrator if necessary. Close the vent
after Zeroing the Calibrator.
3. Press S to enter pressure switch test mode.
The Calibrator will display CLOSE instead of a
mA measurement.
4. Apply pressure with the pump slowly until the
switch opens.
Note
In the switch test mode, the display update rate
is increased to help capture changing pressure
inputs. Even with this enhanced sample rate,
pressuring the device under test should be done
slowly to ensure accurate readings.
5. OPEN is displayed once the switch is open.
Bleed the pump slowly until the pressure switch
closes. RCL appears on the display.
6. Press S to read the pressure values for when
the switch opened, for when it closed, and for
the deadband.
Hold S for three seconds to exit the switch test or
press a to reset the switch test.
 Loading...