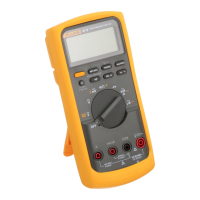
Getting Started Quickly
3
Table 1. International Electrical Symbols
B
AC-Alternating
Current
W
See Explanation in
Manual
F DC-Direct
Current
T
Double insulation
(Protection Class II
C Either DC or AC I Fuse
J
Ground
• Disconnect the live test lead before disconnecting the
common test lead.
• Follow all safety procedures for equipment being
tested. Disconnect the input power and discharge all
high-voltage capacitors through a protective
impedance before testing in the Ω and L functions.
• When making a current measurement, turn the power
off before connecting the meter in the circuit.
• Check meter fuses before measuring current
transformer secondary or motor winding current. (See
"Fuse Test" in the "Maintenance" Section.) An open
fuse may allow high voltage build-up, which is
potentially hazardous.
Getting Started Quickly
Examine the meter carefully, familiarizing yourself with the
layout of the input terminals, rotary switch, pushbuttons
and display. Notice the Warning information and summary
of power-on options engraved into the rear panel.
If you have used a multimeter before, simply examining
your meter will probably give you a good idea how to use
it. The following procedure is an overview of how to take
basic measurements.
Warning
To avoid electrical shock or damage to the
meter, do not apply more than 1000V between
any terminal and earth ground.
1. Insert the test leads in the appropriate input terminals
(see Table 2). If the test leads are in the wrong input
terminals when the meter is turned on and the beeper
has not been disabled, the beeper will emit a
warning. See "Input Terminals and Input Alert",
below.

 Loading...