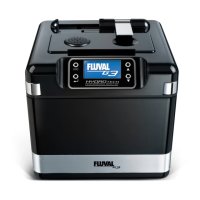
HYDRO TECH PERFORMANCE MONITOR
ADVANCED FILTRATION SYSTEM
www.fluval-g.com
EN.8
INSTALLATION AND SETUP
IMPORTANT: Read all instructions before
beginning.
•Forbestresults,topoffwaterinaquarium
before beginning setup.
•Allow45-60minutesforsetupandinstallation.
•Ifatanytimeyouneedmoredetailwiththe
instruction, please visit www.fluval-g.com to
follow a photo slide show of these step-by-step
instructions.
•Toolsrequired:Utilityknifeorapairofscissors
CAUTION: DO NOT PLUG IN FILTER UNTIL SETUP
IS COMPLETE AND THE UNIT HAS FILLED WITH
WATER.
WARNING: This filter-pump is not submersible.
Never put the filter head in water or under
water jets.
STEP 1: Unpack and identify all parts.
See Parts Diagram for a visual guide.
STEP 2: FILTER PLACEMENT
This is a gravity-fed system! For it to work properly,
all installation requirements must be properly
followed:
The top of the filter
must be at least 20 in.
(50 cm) below your
aquarium’s water level,
but never more than
4.9 ft. (150 cm). The
hosing supplied with the
unit is 9.8 ft. (3 m) long.
Do not use longer and/
or different type hosing, as the priming efficiency and
waterowratecouldbediminishedandthelter
may not operate correctly.
•NEVER INSTALL THE FILTER ABOVE THE
WATER LEVEL. The aquarium water level should
never be more than 6 in. (15 cm) below your
aquarium rim.
•Forbestperformance,theltershouldbeplaced
completely beneath the aquarium in such a way
that the AQUASTOP assembly is always within
easy reach and can be removed easily for
maintenance purposes.
STEP 3. INSTALLING THE FILTER
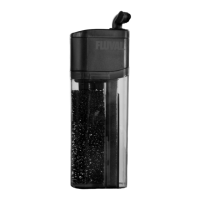
A. Preparation of Pre-Filter Cartridge
Open the cartridge lid.
The silver AQUASTOP
valve lever must be
completely up and the
black AQUASTOP release
lever must be completely
pushed down in order to
open the lid.
Remove the pre-filter cartridge, located on the left
(when facing the filter), by turning the knob counter-
clockwise from the “ ” position to the “ ”
position. Pull out the cartridge.
Rotate the pre-filter
cartridge anti-clockwise
to separate it from the
priming chamber.
• Toremovethecartridgefromitsreddirt
collection cup, simultaneously squeeze the ridged
areas found on either side of the cup’s grooves.
RETURN TO CONTENTS PAGE
20” (50 cm) min
4.9’ (150 cm) max