1 Getting Started
Fully charge battery before using your Flymaster for the rst time.
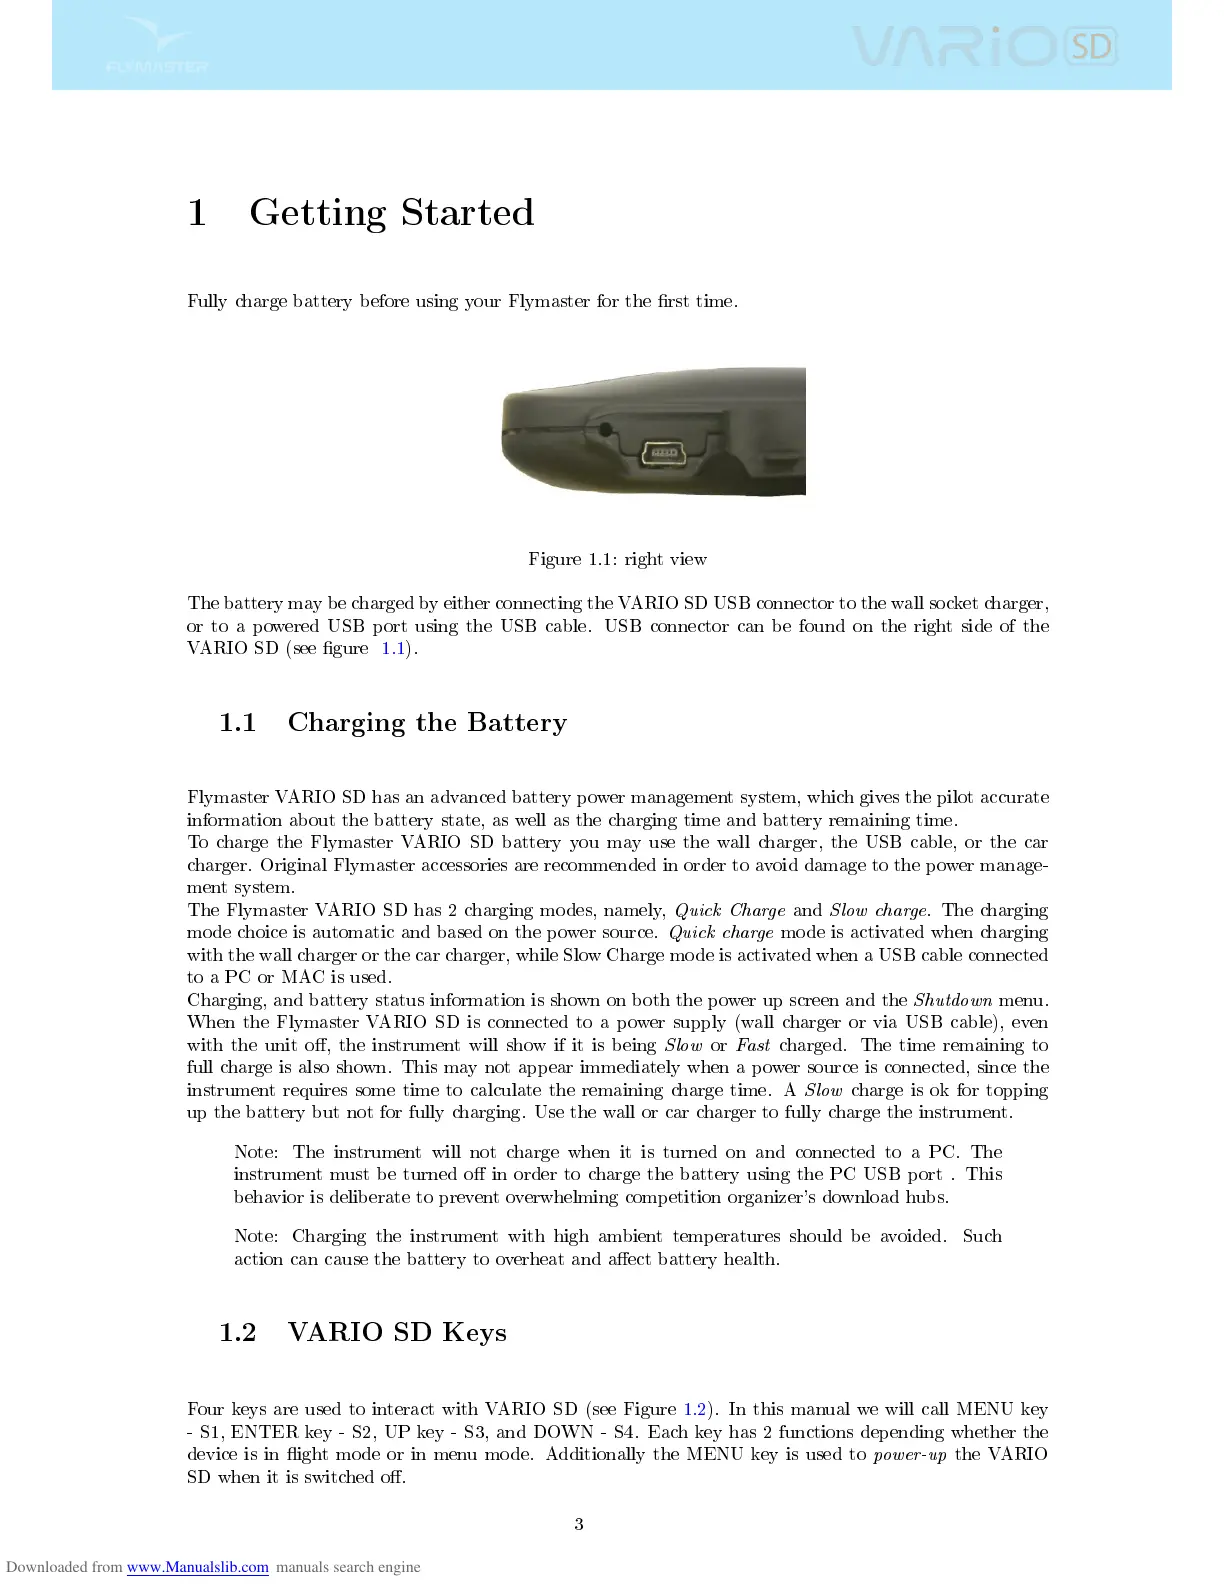
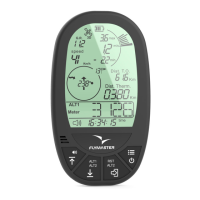
Figure 1.1: right view
The battery may be charged by either connecting the VARIO SD USB connector to the wall socket charger,
or to a powered USB port using the USB cable. USB connector can be found on the right side of the
VARIO SD (see gure 1.1).
1.1 Charging the Battery
Flymaster VARIO SD has an advanced battery power management system, which gives the pilot accurate
information about the battery state, as well as the charging time and battery remaining time.
To charge the Flymaster VARIO SD battery you may use the wall charger, the USB cable, or the car
charger. Original Flymaster accessories are recommended in order to avoid damage to the power manage-
ment system.
The Flymaster VARIO SD has 2 charging modes, namely,
Quick Charge
and
Slow charge
. The charging
mode choice is automatic and based on the power source.
Quick charge
mode is activated when charging
with the wall charger or the car charger, while Slow Charge mode is activated when a USB cable connected
to a PC or MAC is used.
Charging, and battery status information is shown on both the power up screen and the
Shutdown
menu.
When the Flymaster VARIO SD is connected to a power supply (wall charger or via USB cable), even
with the unit o, the instrument will show if it is being
Slow
or
Fast
charged. The time remaining to
full charge is also shown. This may not appear immediately when a power source is connected, since the
instrument requires some time to calculate the remaining charge time. A
Slow
charge is ok for topping
up the battery but not for fully charging. Use the wall or car charger to fully charge the instrument.
Note: The instrument will not charge when it is turned on and connected to a PC. The
instrument must be turned o in order to charge the battery using the PC USB port . This
behavior is deliberate to prevent overwhelming competition organizer's download hubs.
Note: Charging the instrument with high ambient temperatures should be avoided. Such
action can cause the battery to overheat and aect battery health.
1.2 VARIO SD Keys
Four keys are used to interact with VARIO SD (see Figure 1.2). In this manual we will call MENU key
- S1, ENTER key - S2, UP key - S3, and DOWN - S4. Each key has 2 functions depending whether the
device is in ight mode or in menu mode. Additionally the MENU key is used to
power-up
the VARIO
SD when it is switched o.
3